
Noel Jr. Weber, Lucy Weber, myself, Dave Smith, Noel Weber Sr.
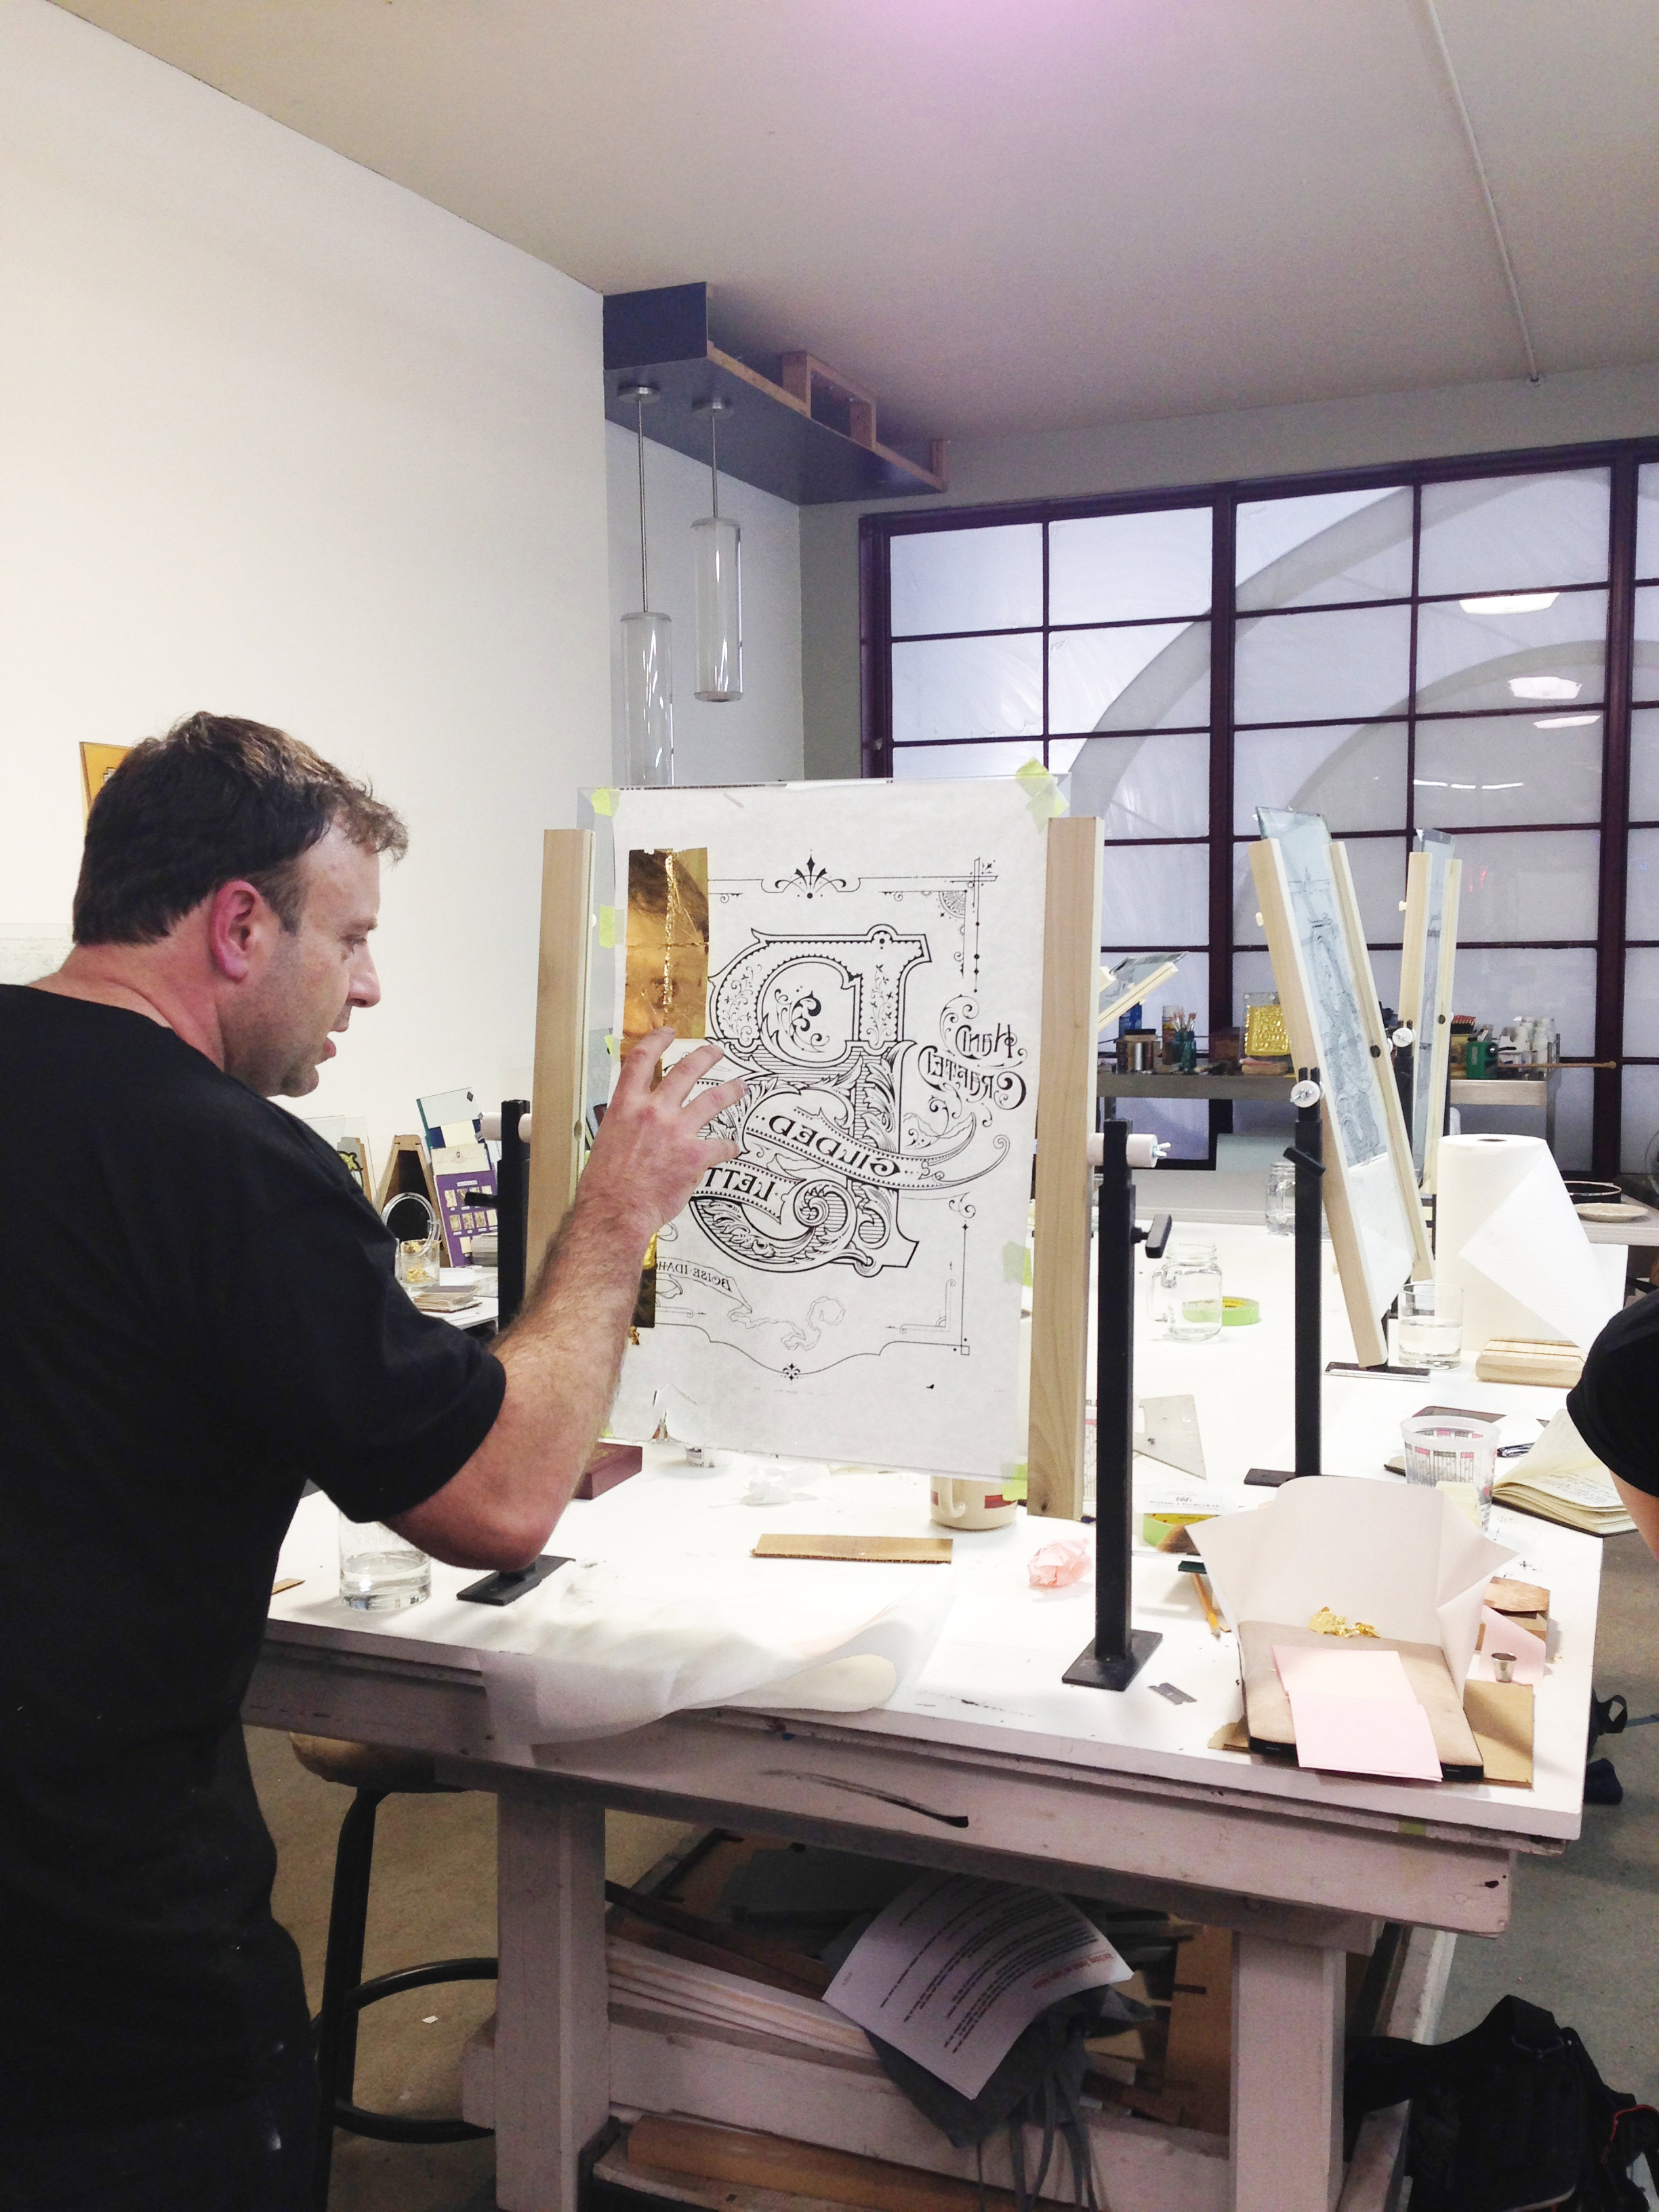
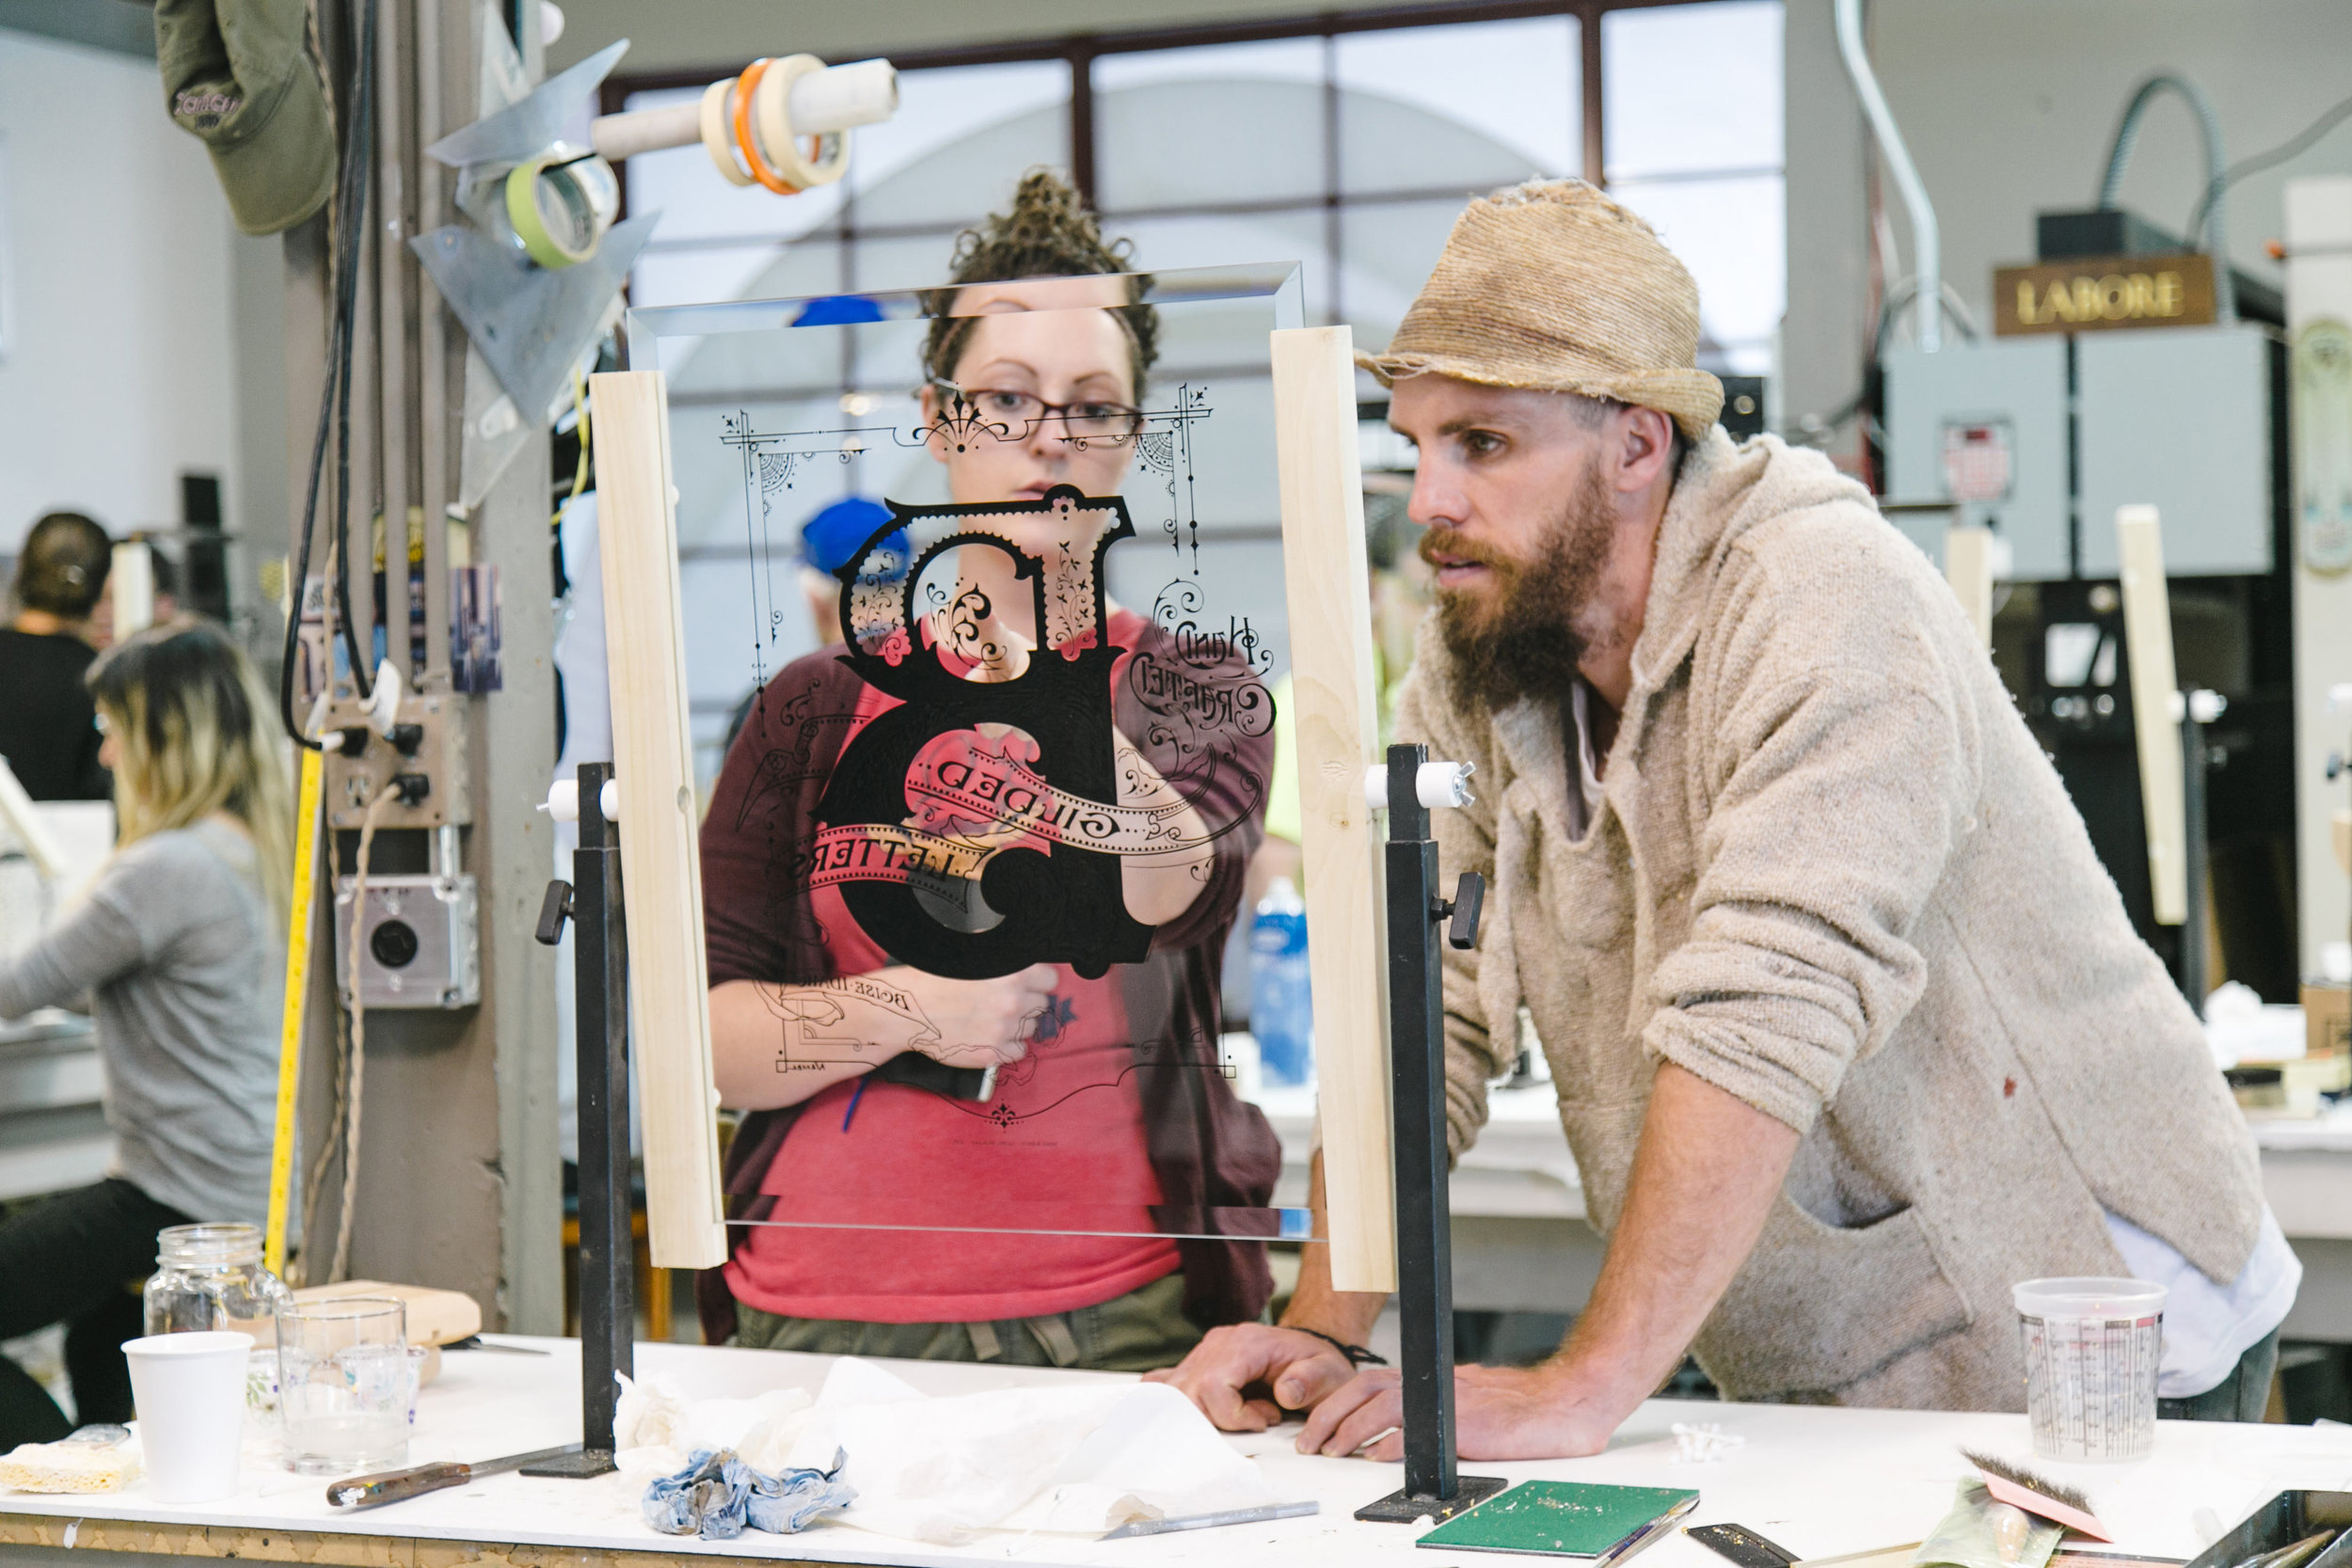
Last week I had the most incredible experience of attending a reverse gold gilding workshop with masters of the craft - Dave Smith of Torquay, England and Noel Weber of Classic Design Studio in Boise, Idaho. They managed to cram what felt like a term's worth of art school into three and a half days - and it was glorious! Not only were these two fountains of knowledge, but they were happy to share and some of the most generous people I've ever met.
I had a few days prior to getting down to work, so I took the opportunity to tour the city and snap a few shots of some of the signage work done by Noel and his shop in Boise, which you can view further down in the page.
The Process
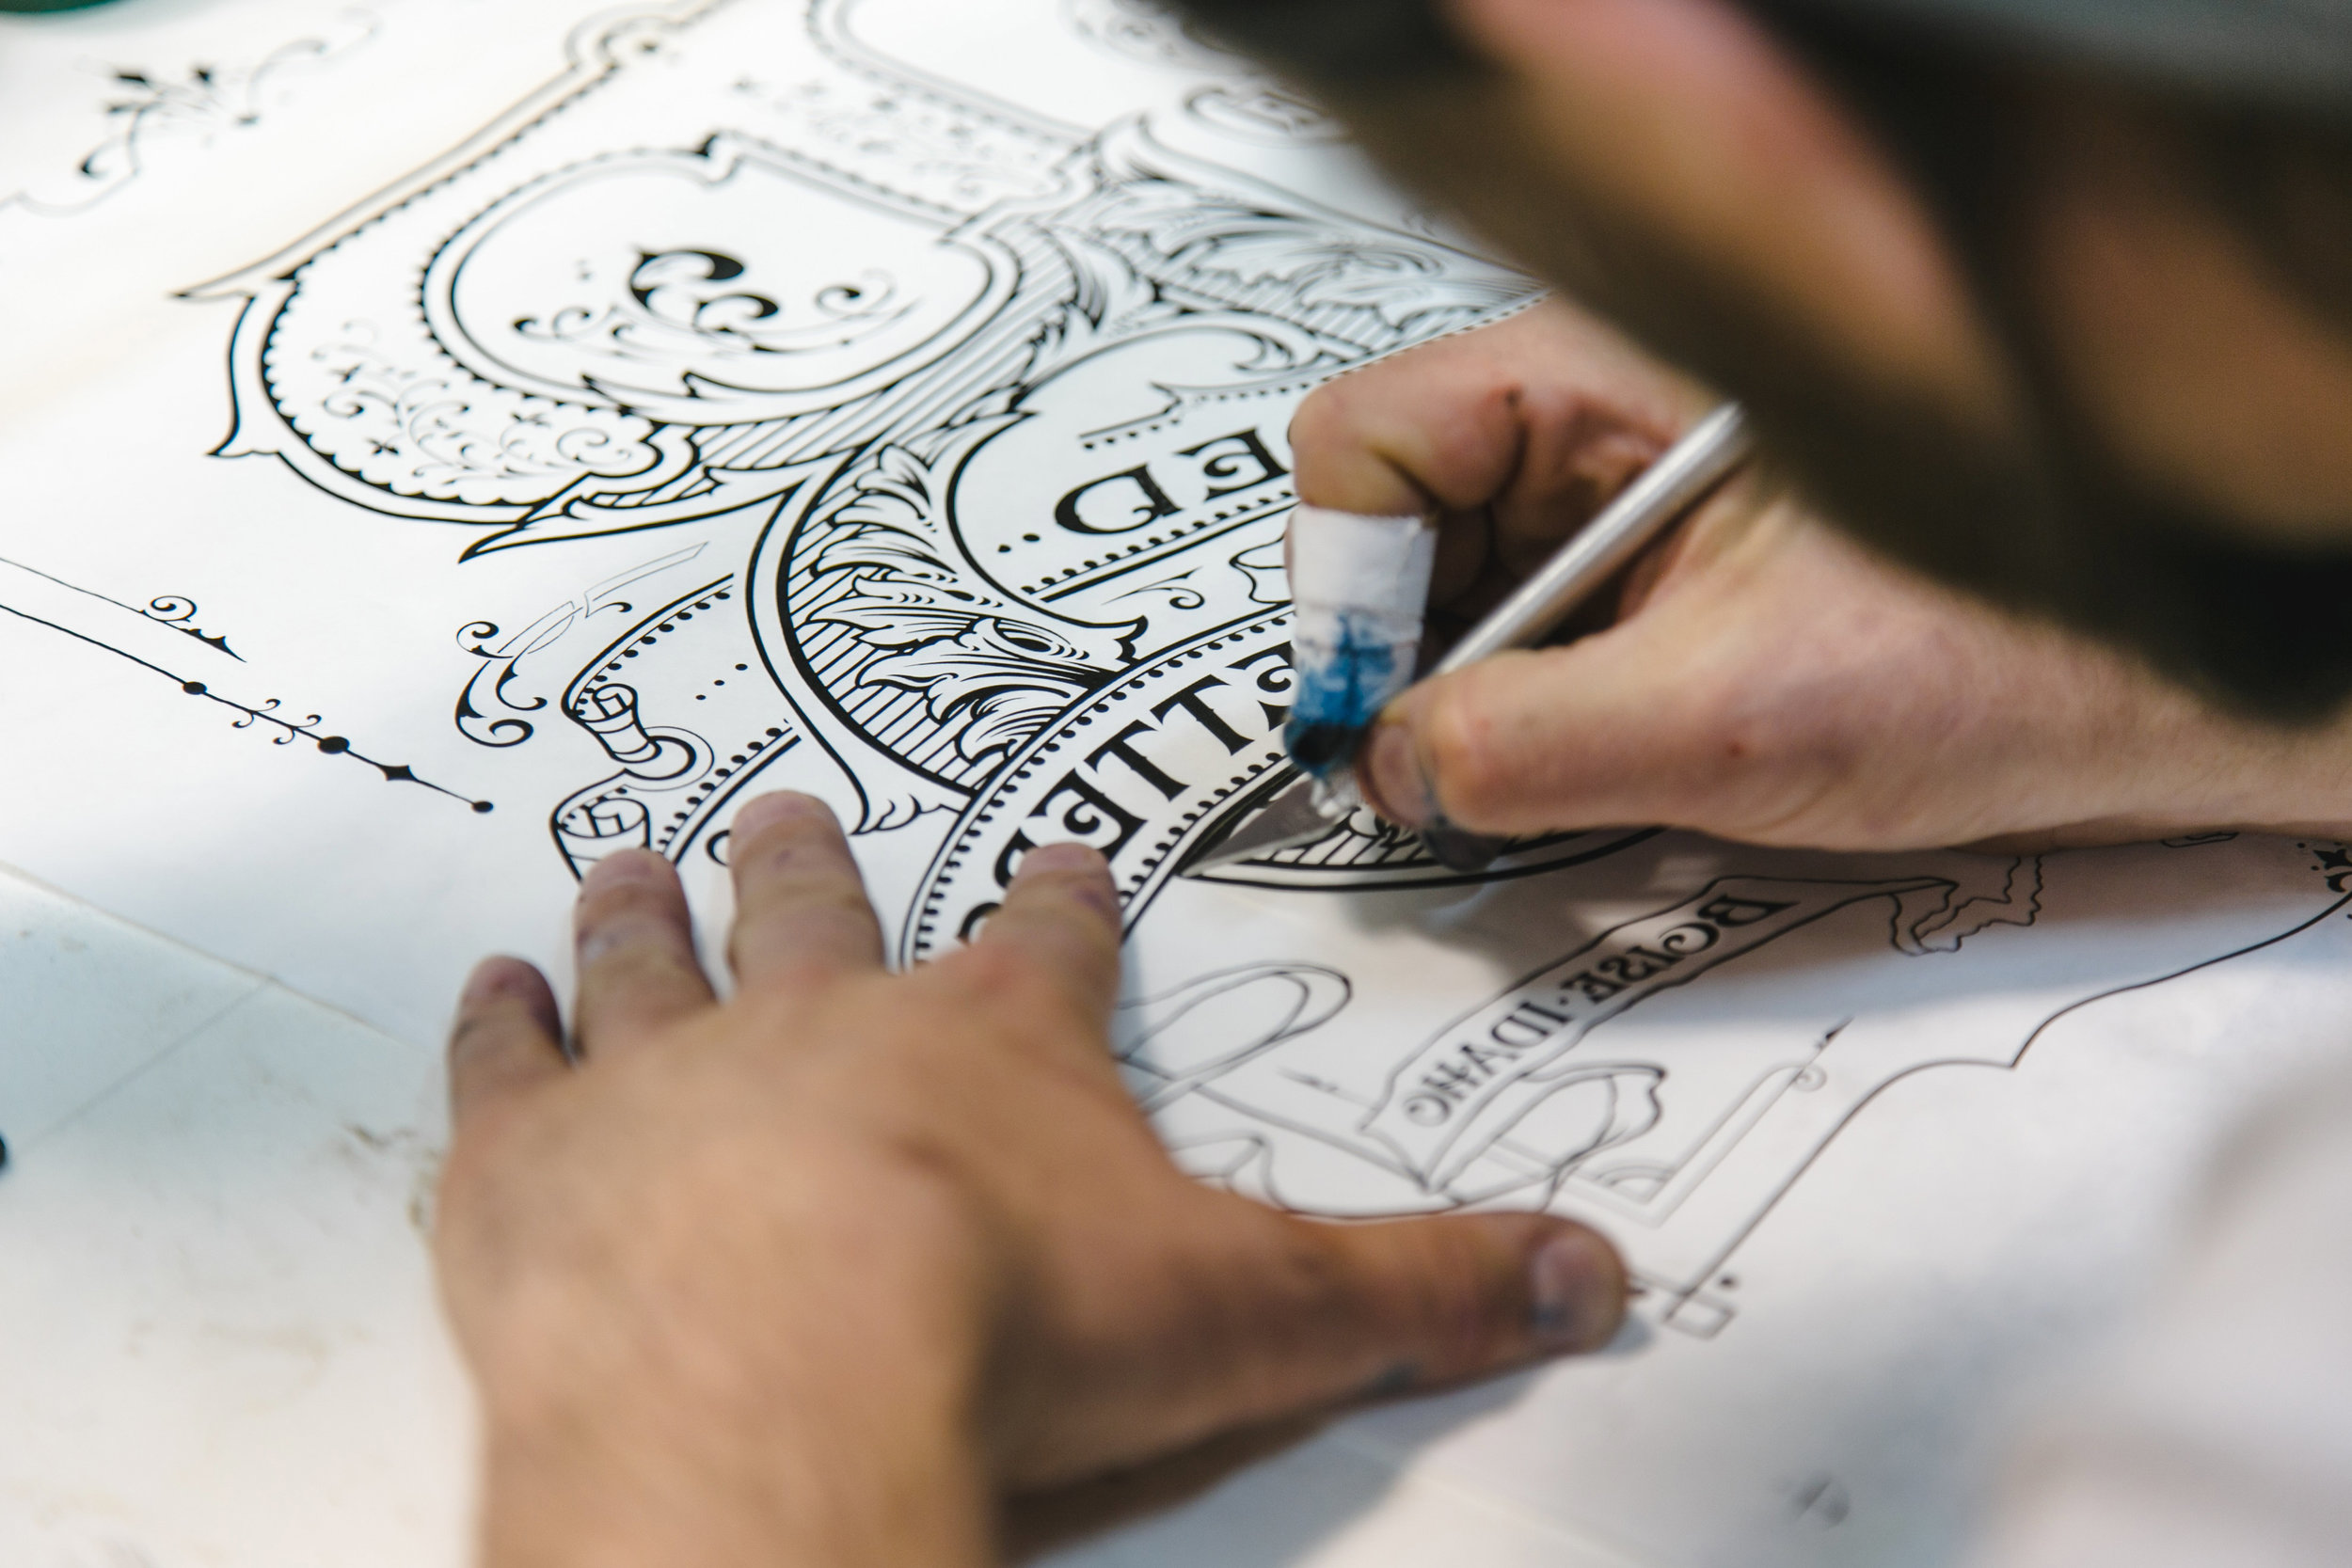
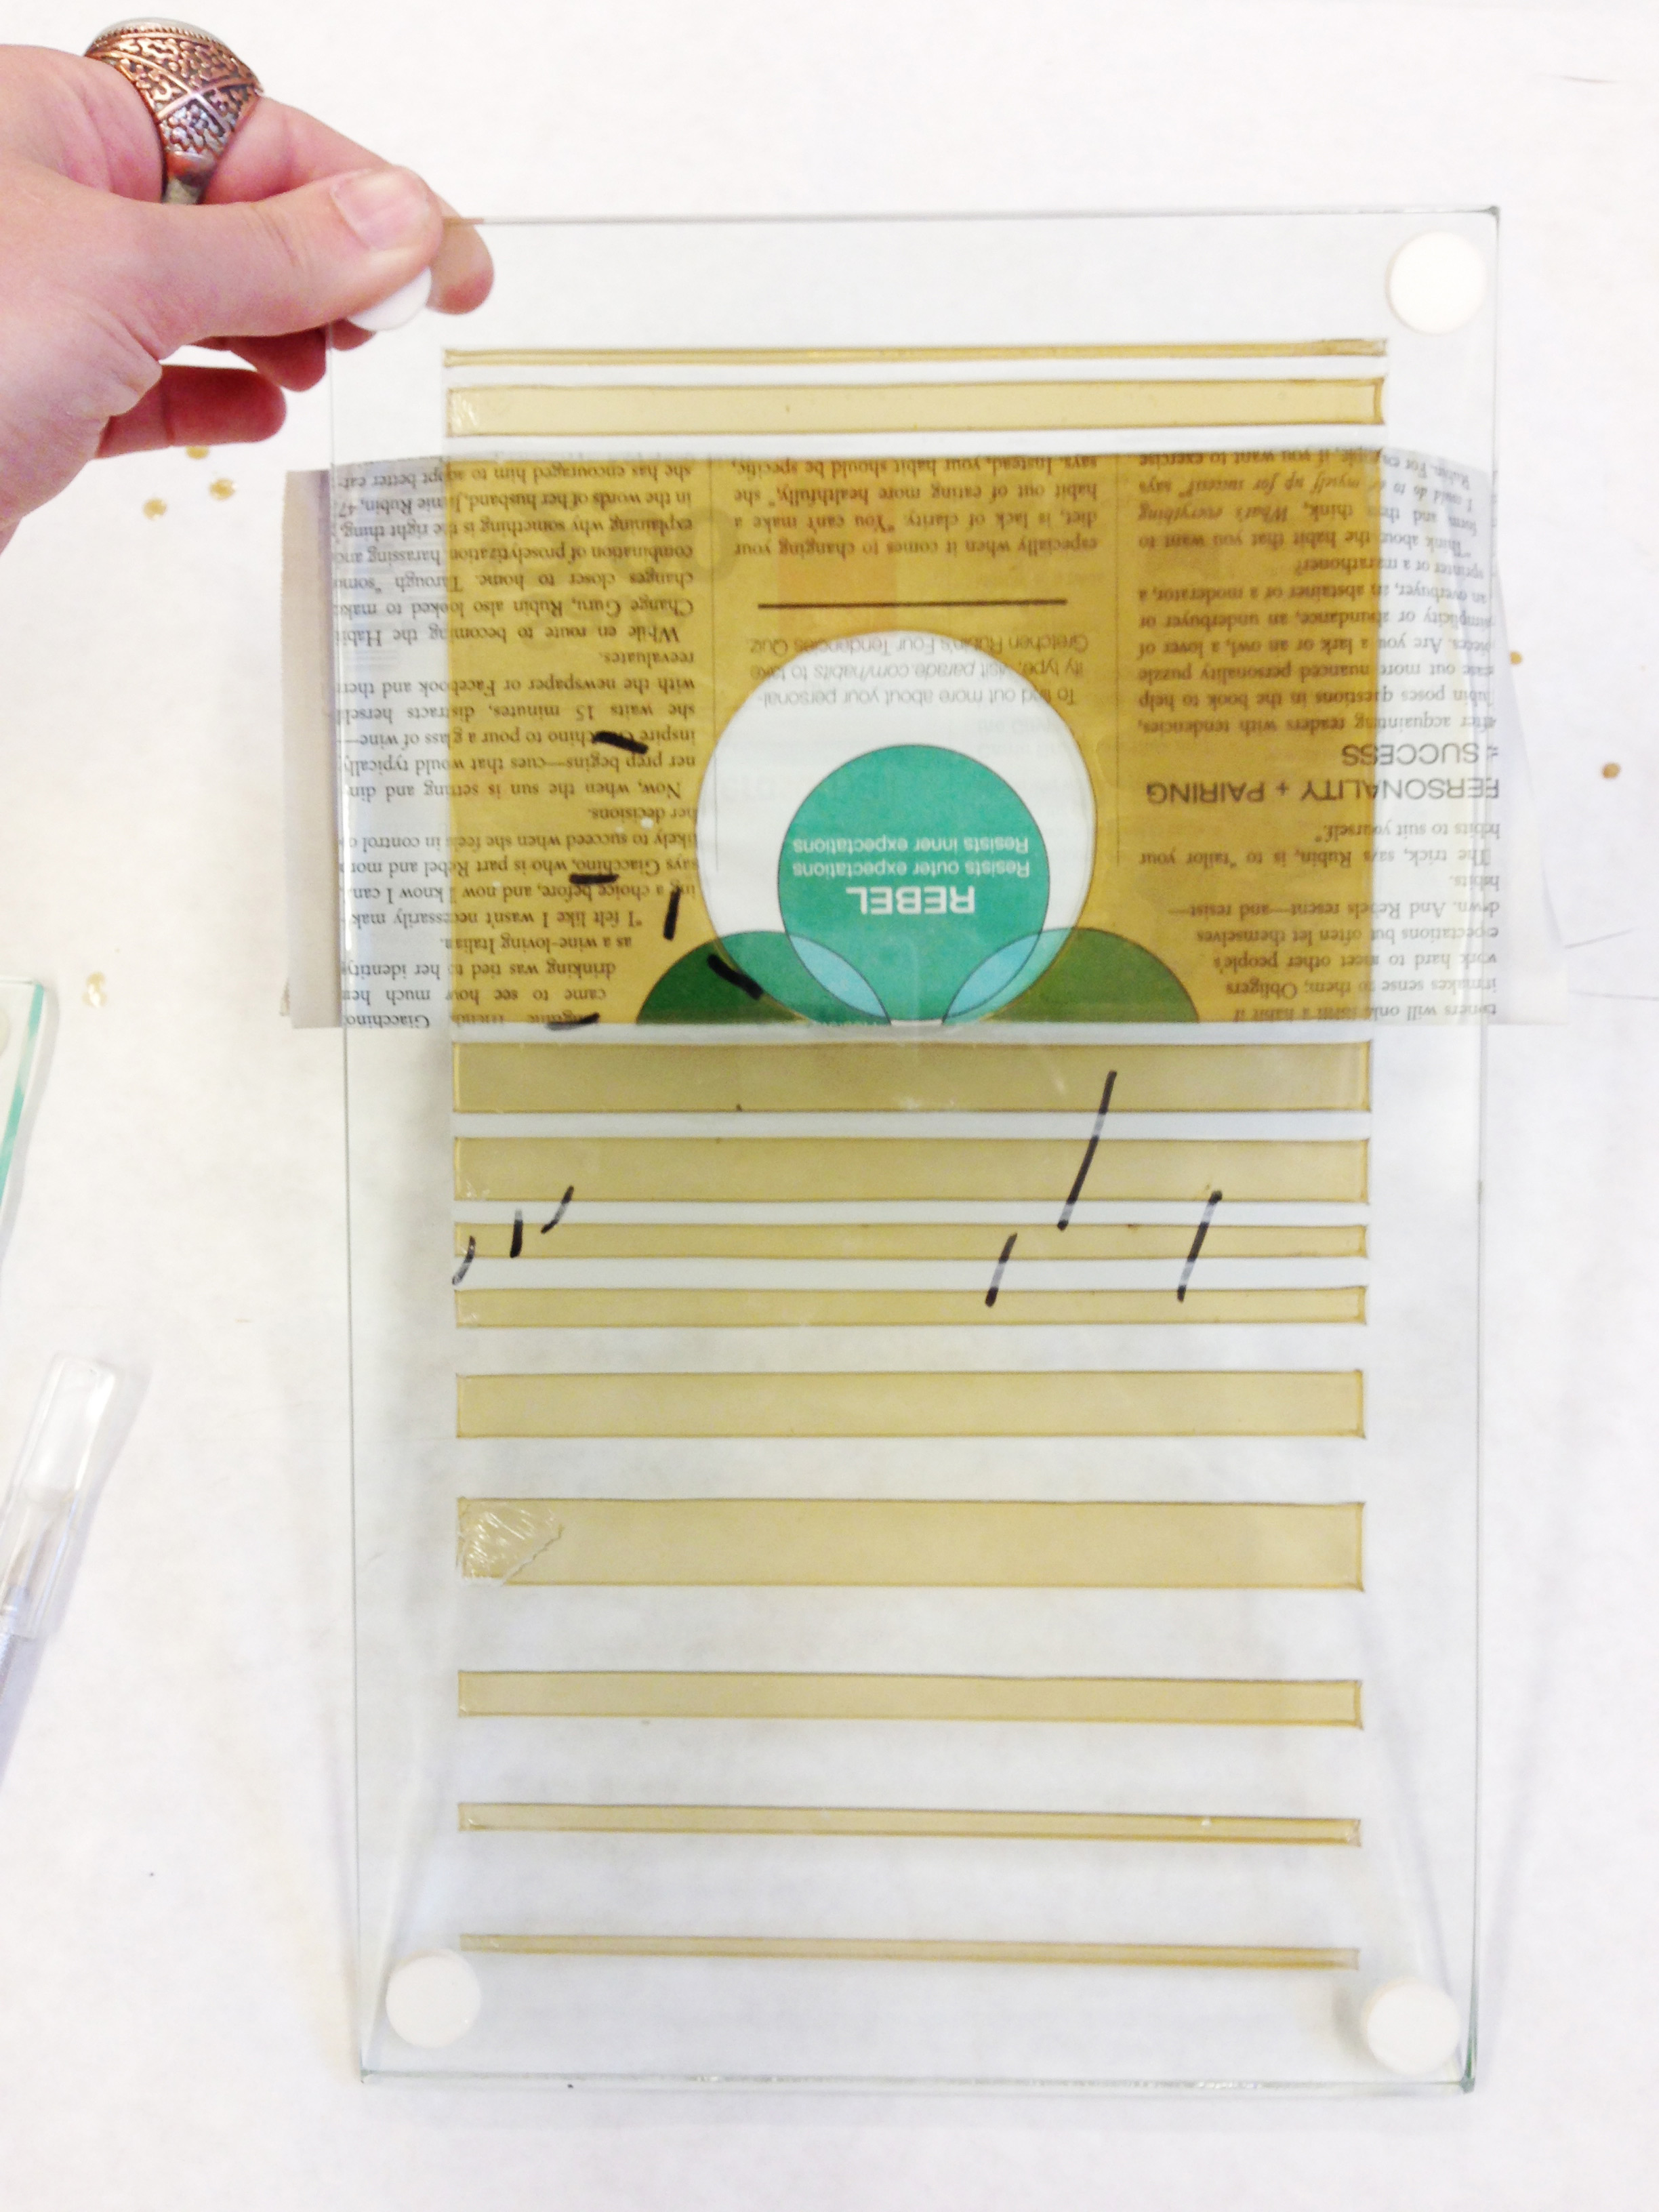
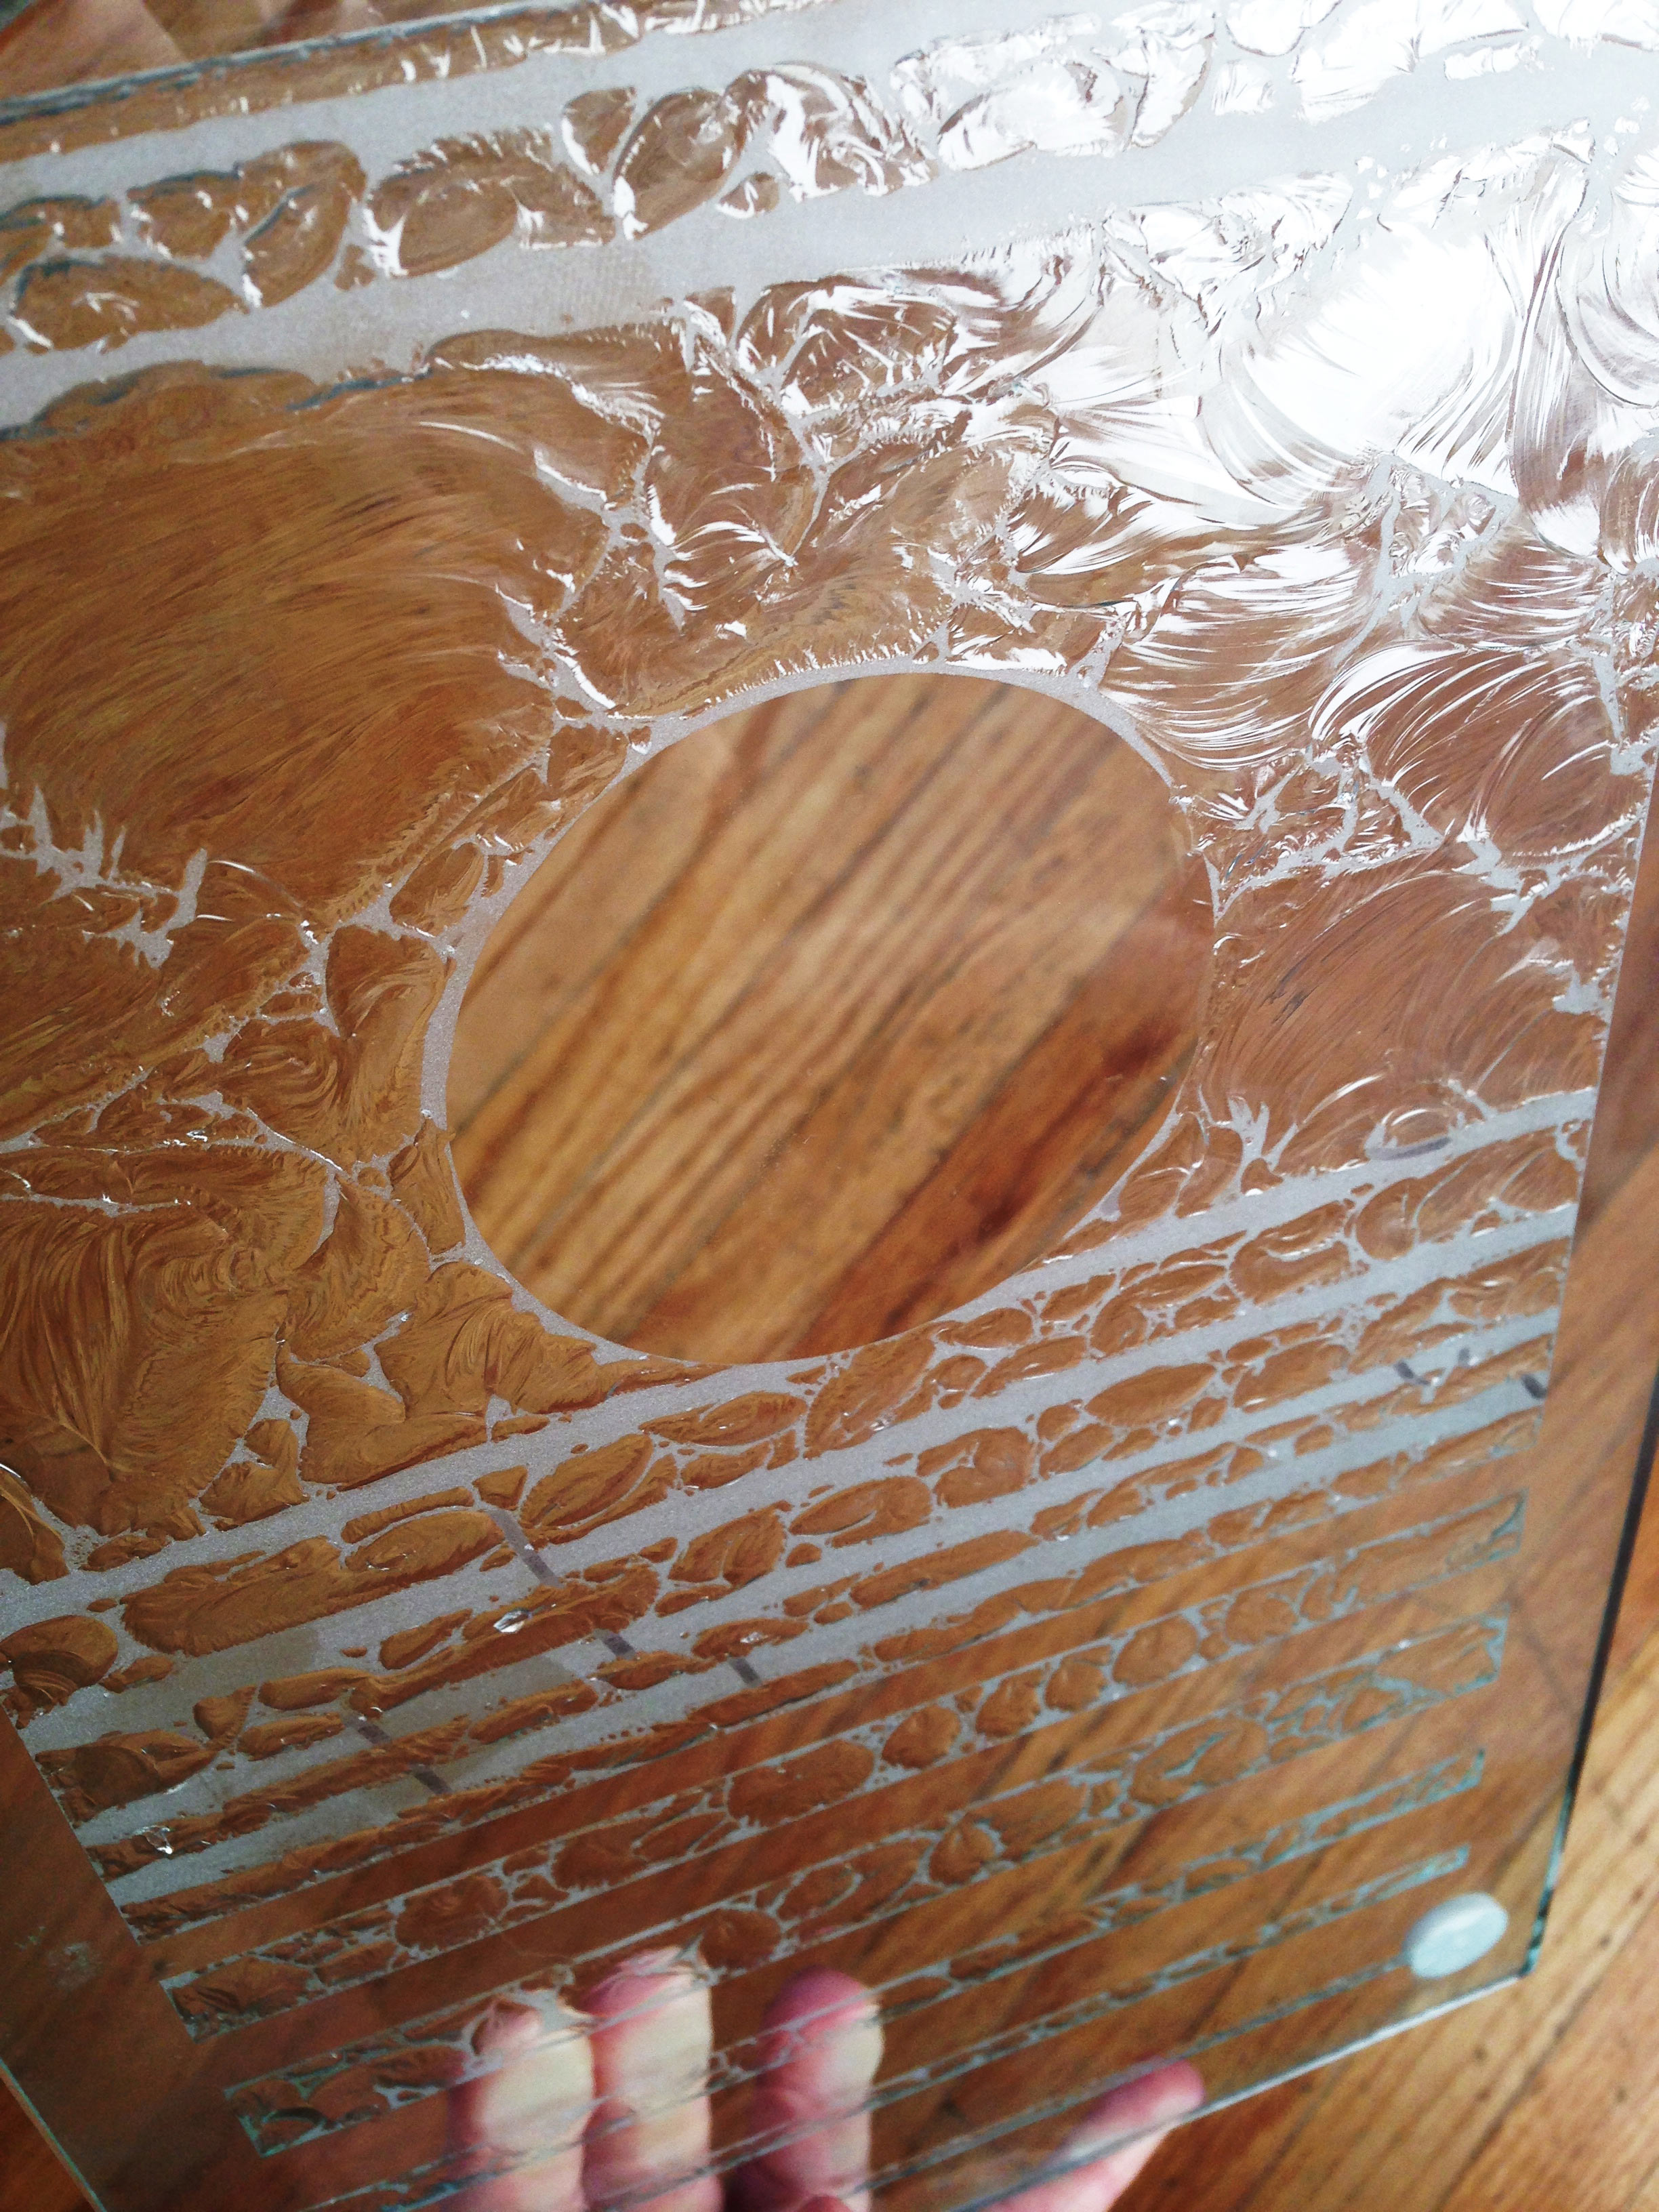
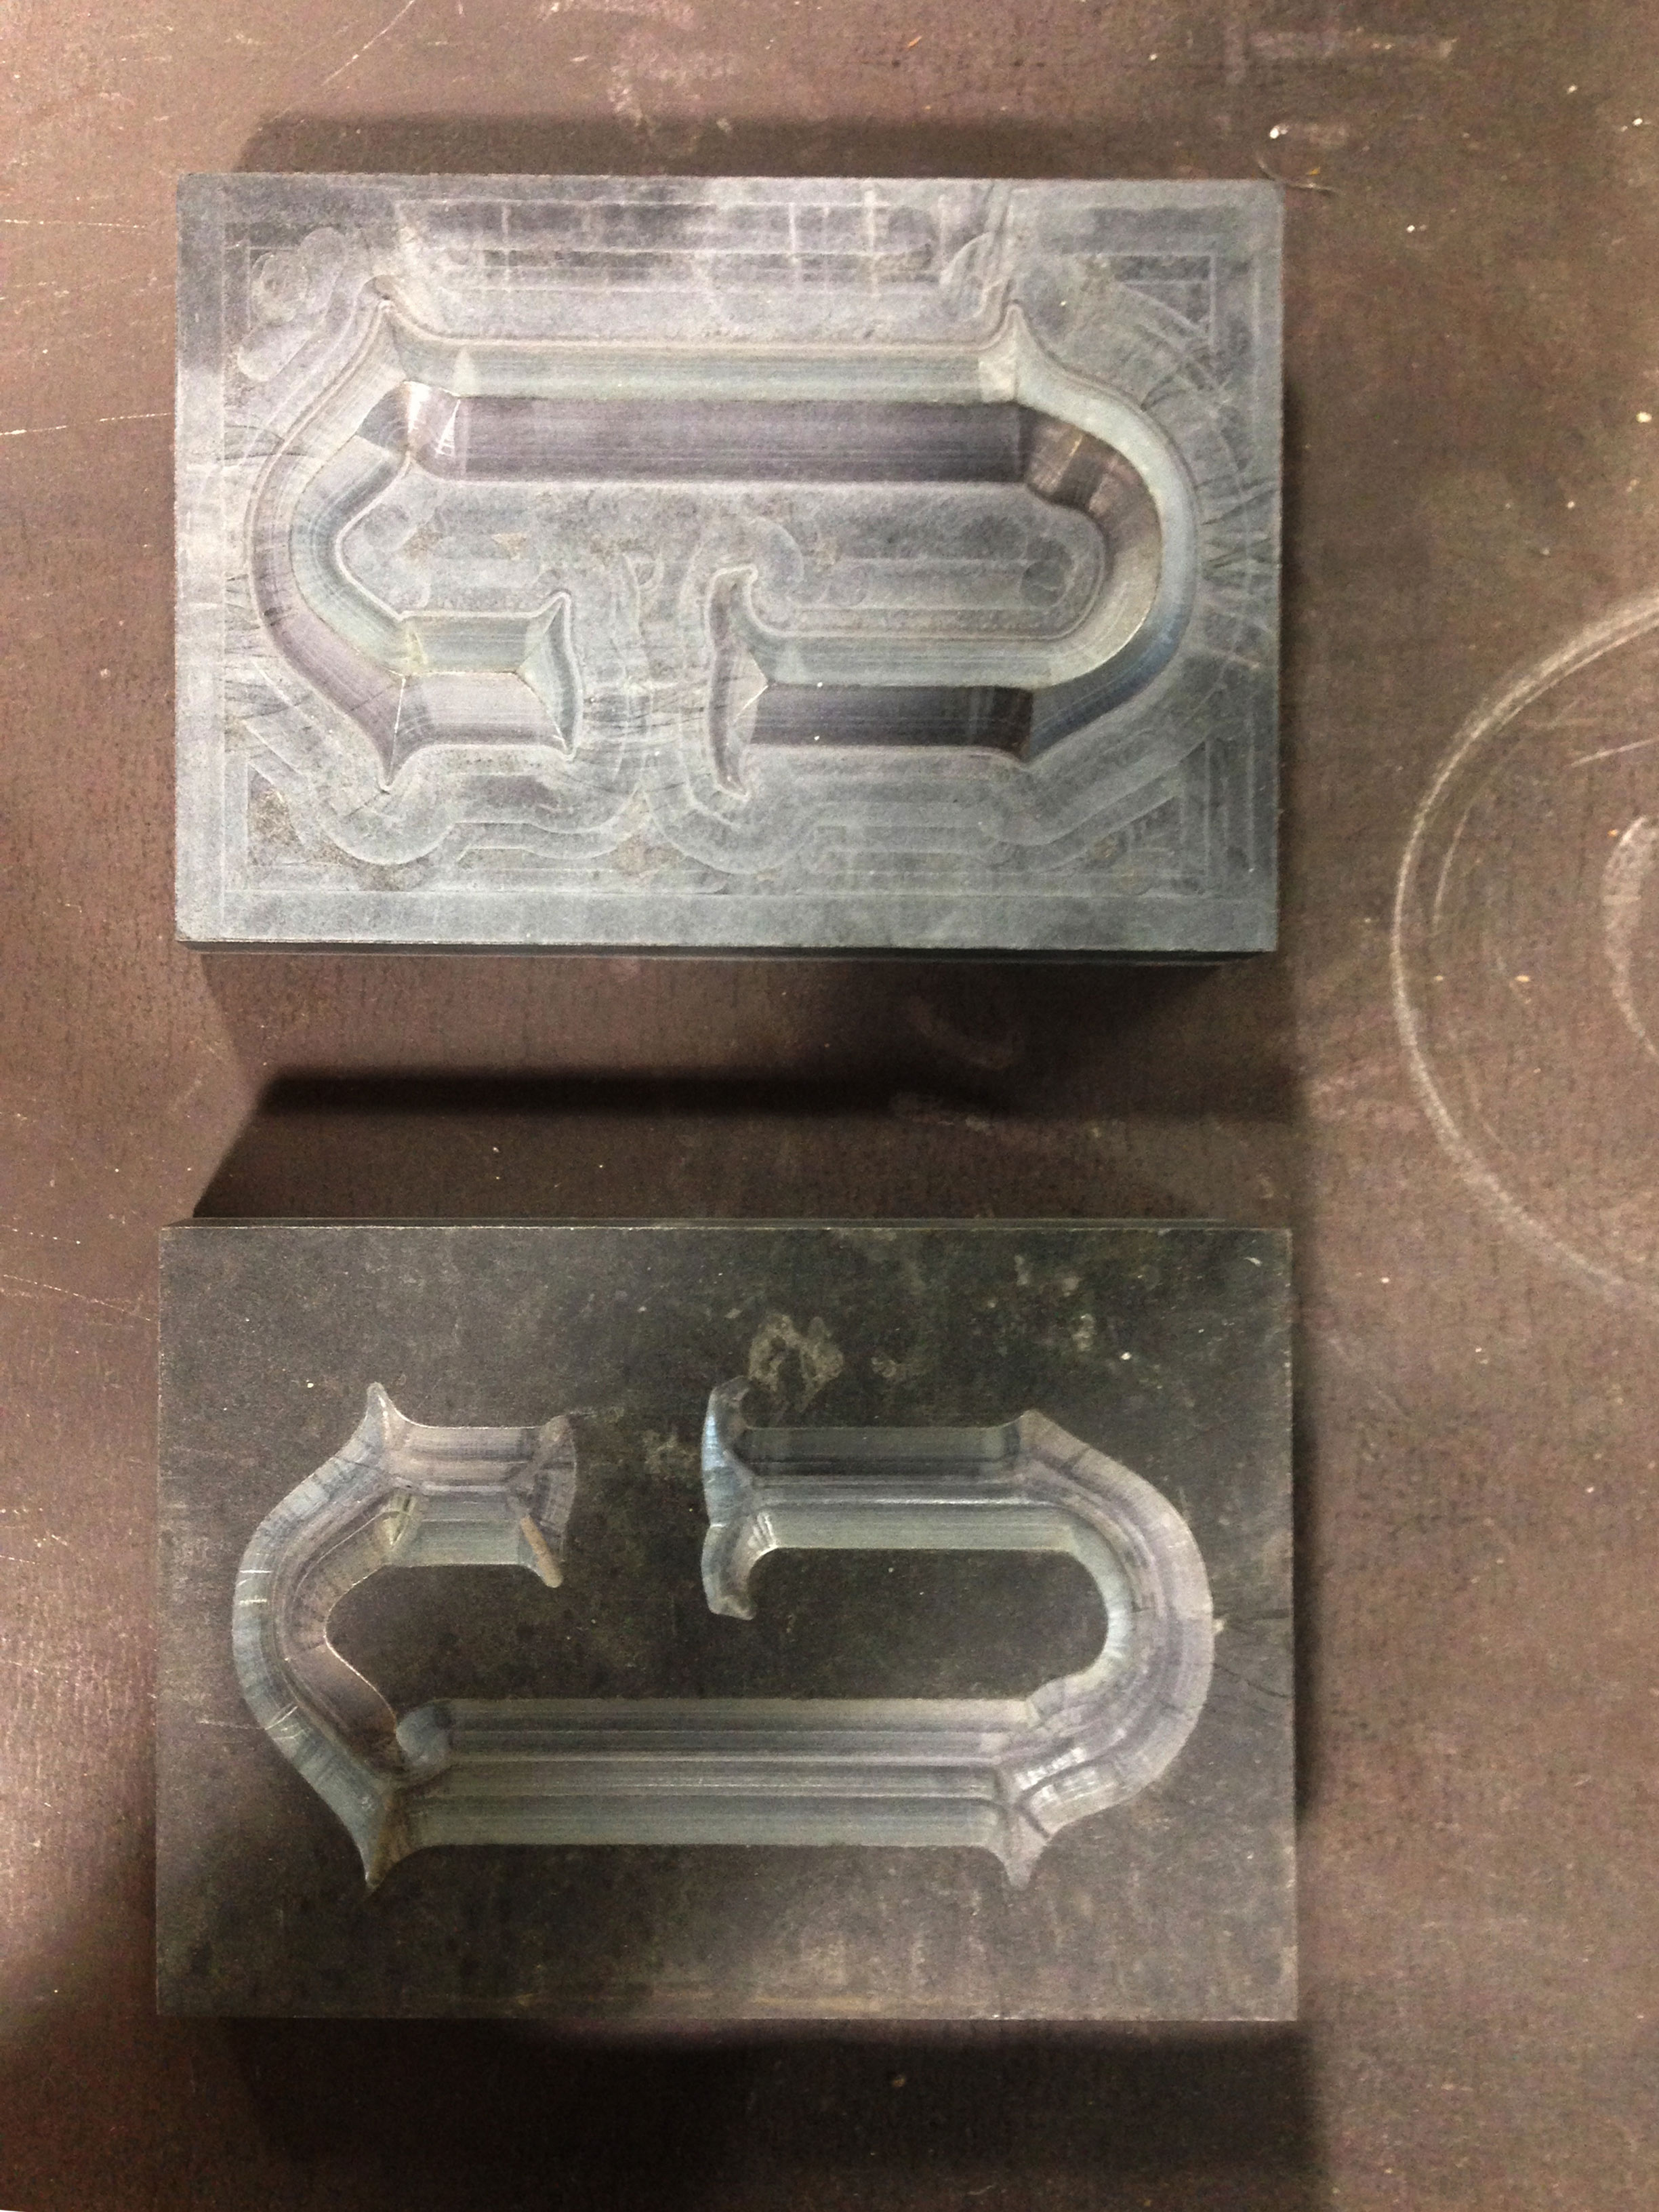
We worked off of a beautiful design made by Dave - a Victorian style "B" for Boise. After a short lesson in applying vinyl to glass and screen printing the designs overtop, we hand-cut the patterns out on the areas to be acid etched. This process gave us the texture in areas at the bottom of the "B". Later, when water gilding the entire area, these textured portions stand out with a slightly more matted appearance from a distance. We hand-cut the vinyl with our screen printed design on it to expose the areas to be etched. Then the acid was mixed with mica flakes, applied in a paste, timed, and rinsed.
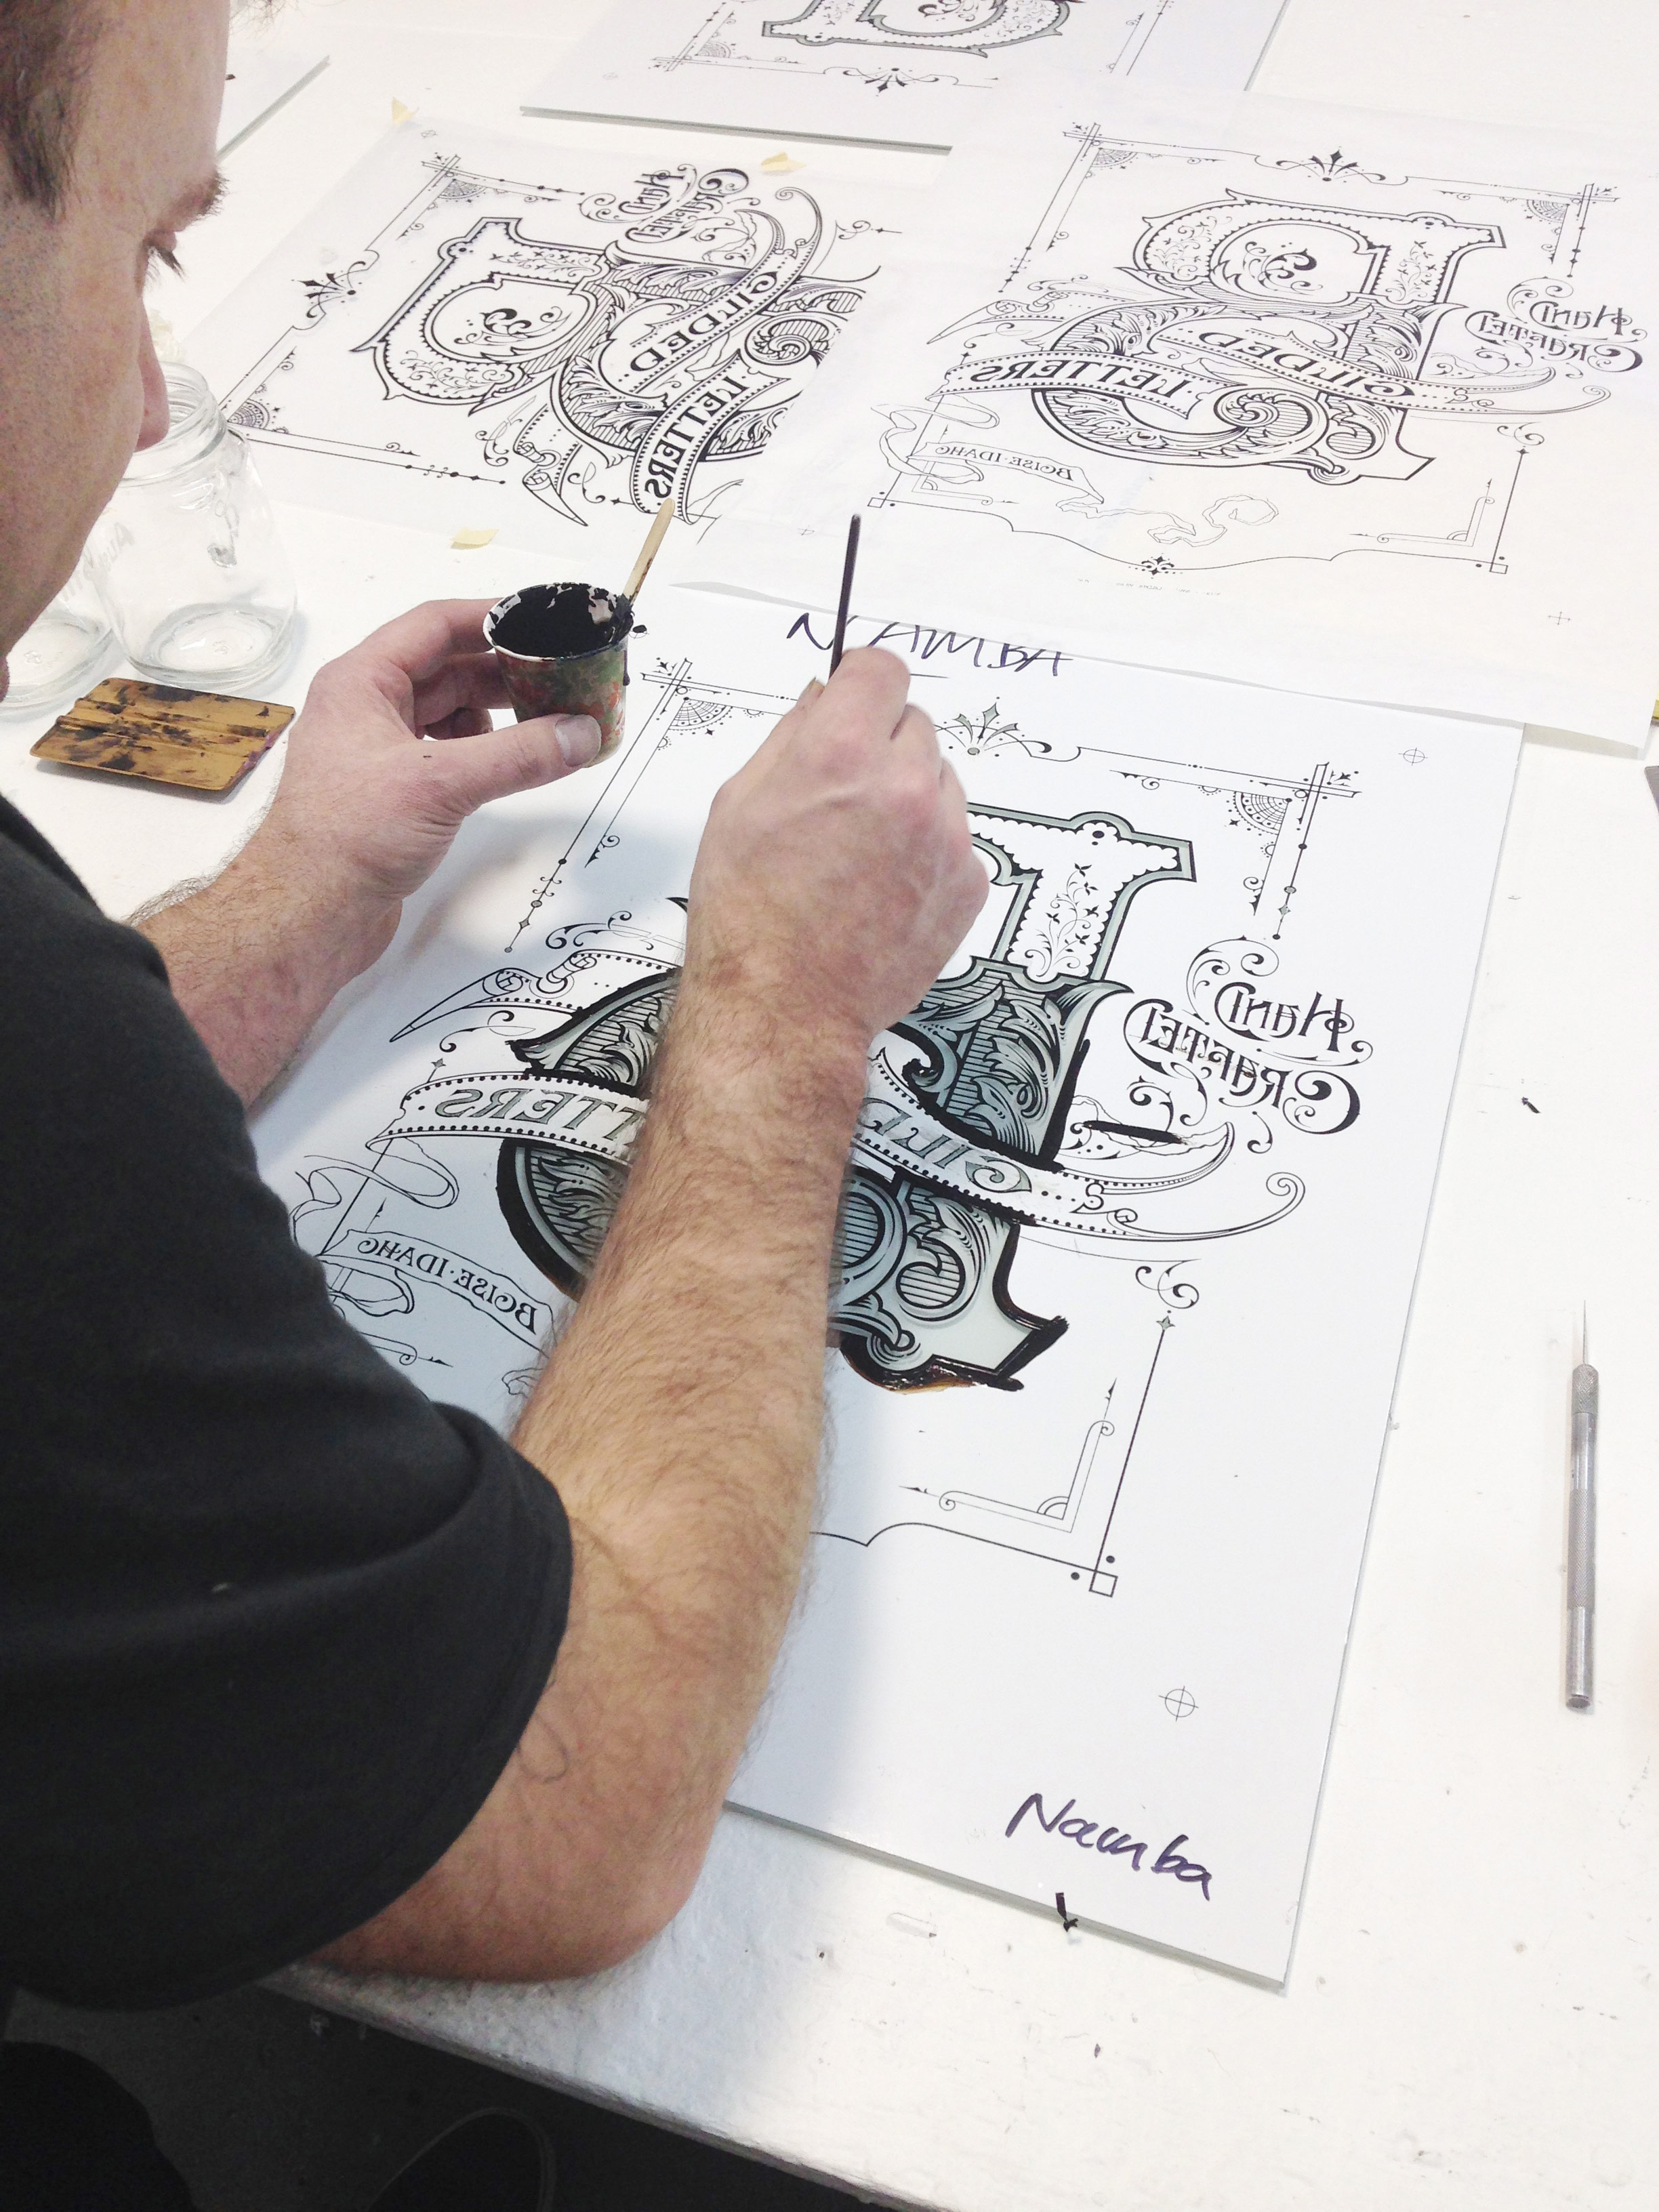
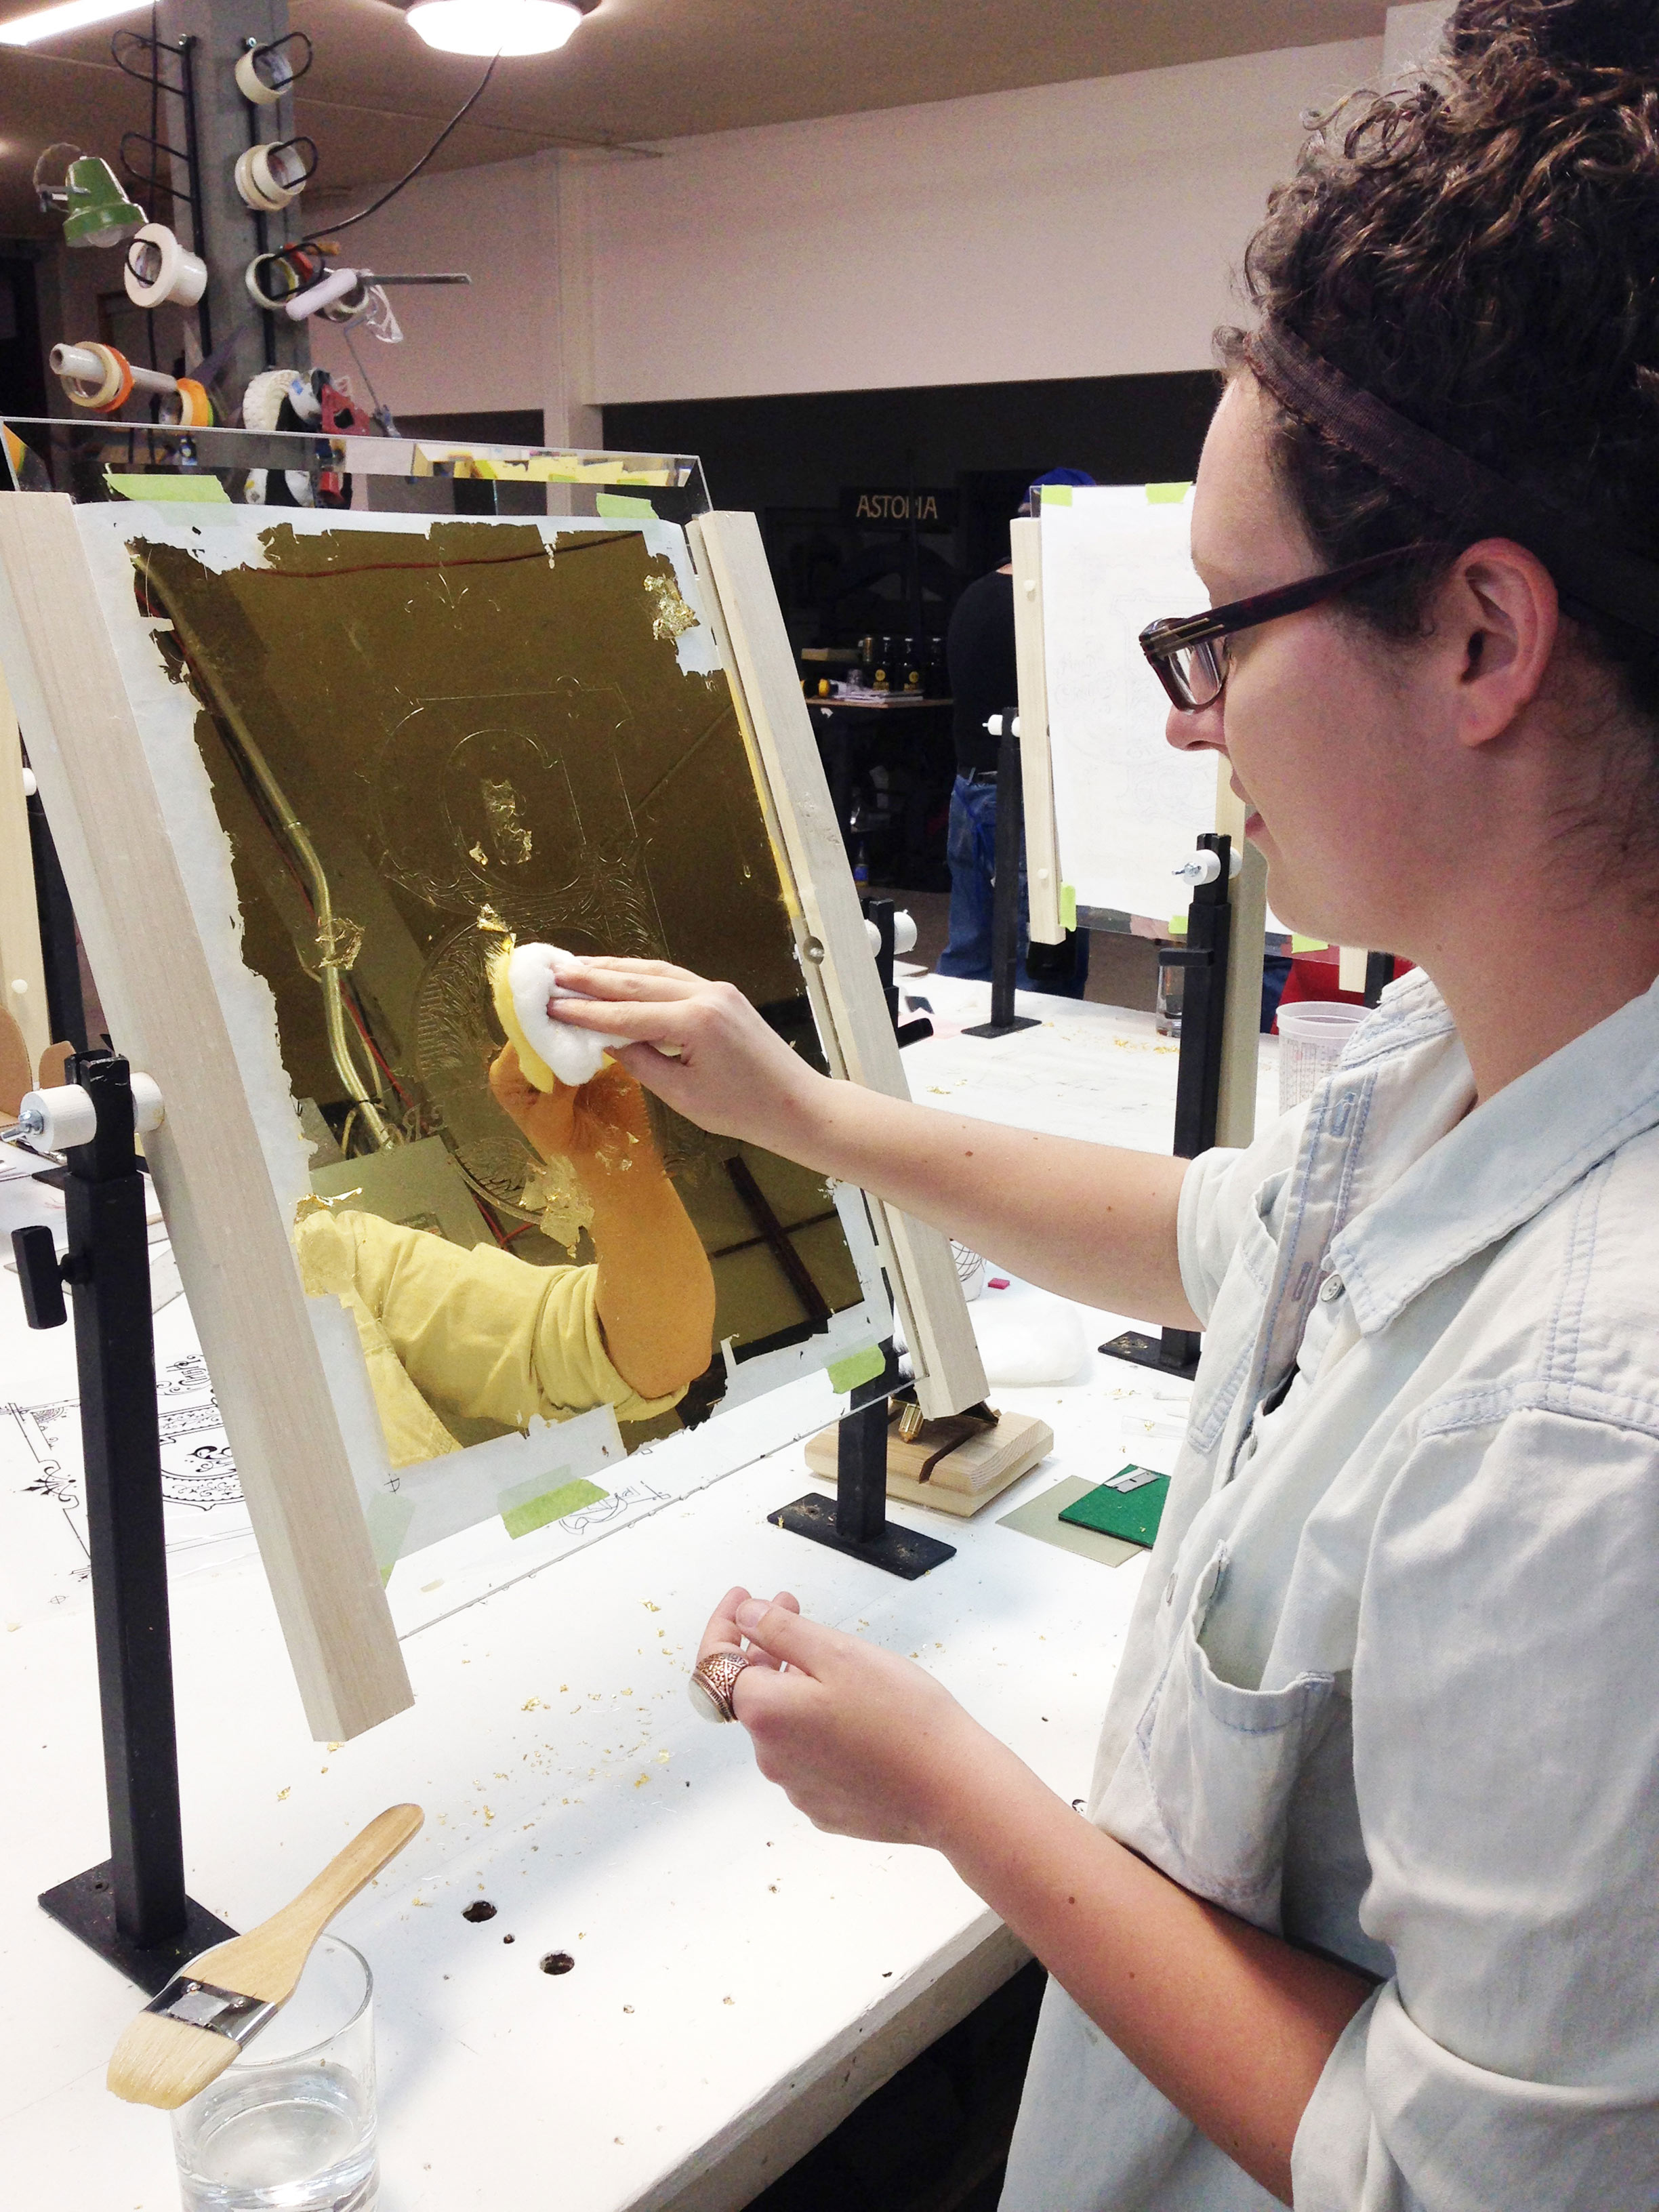
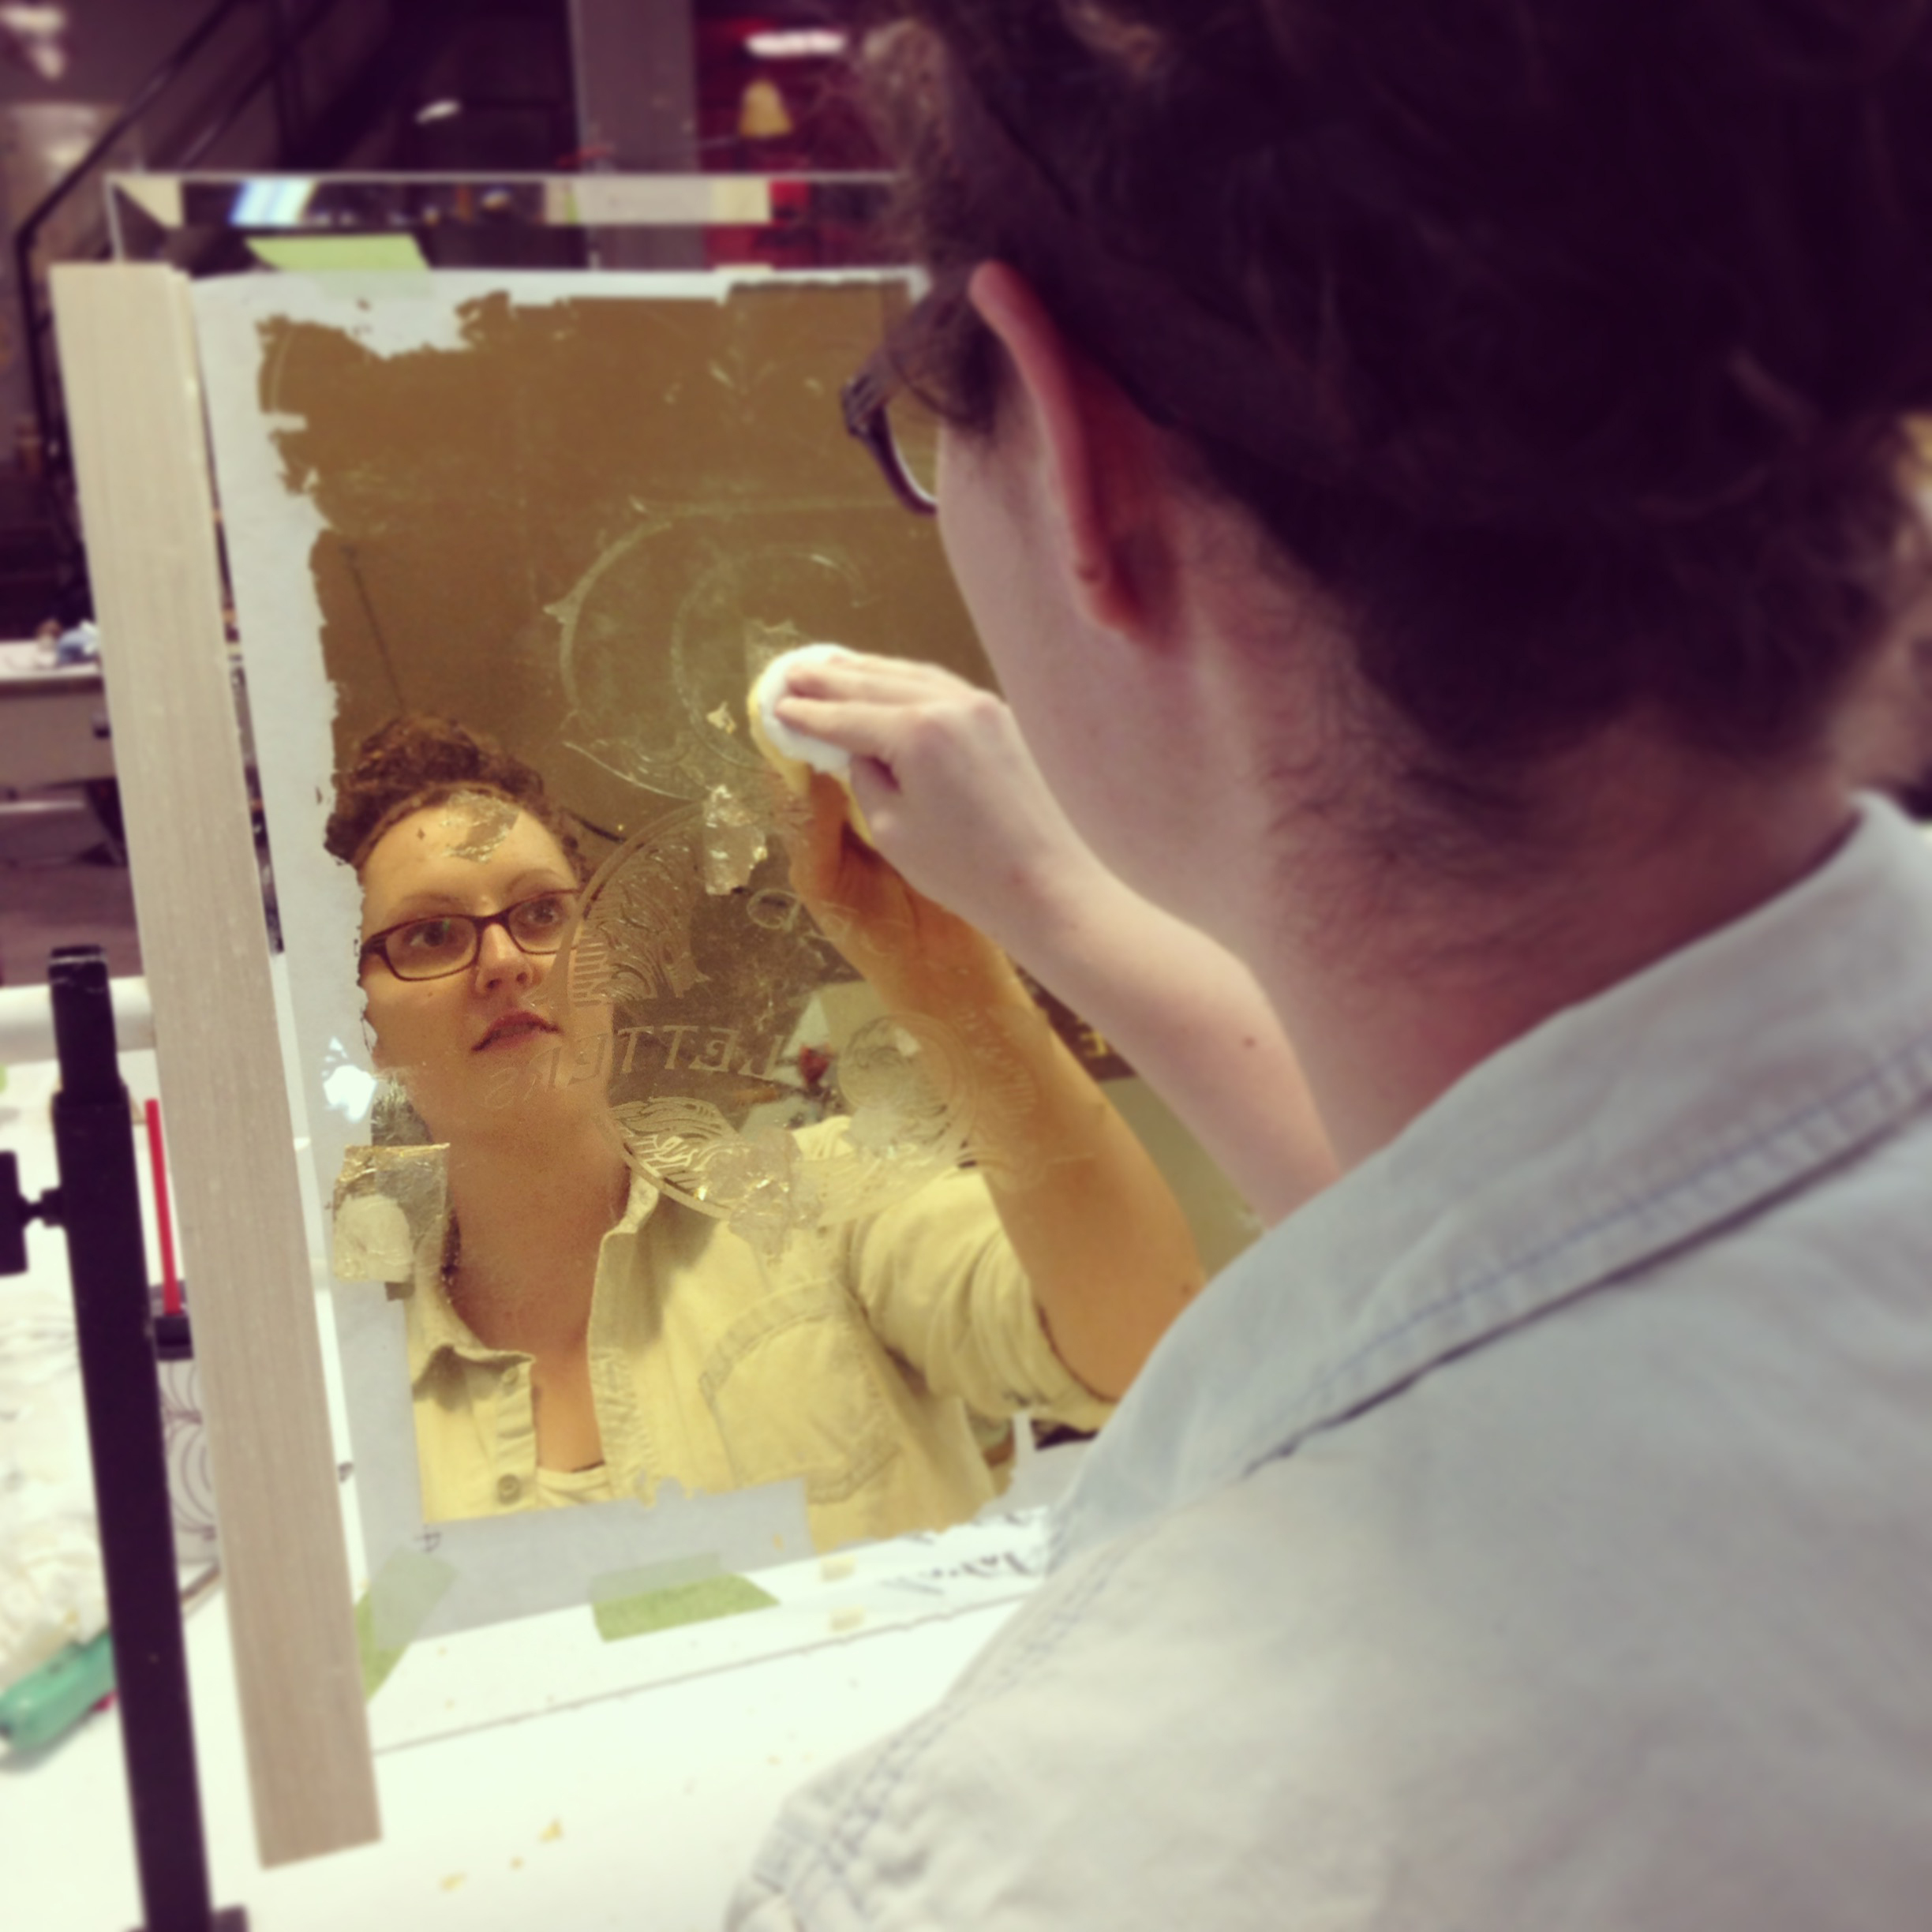
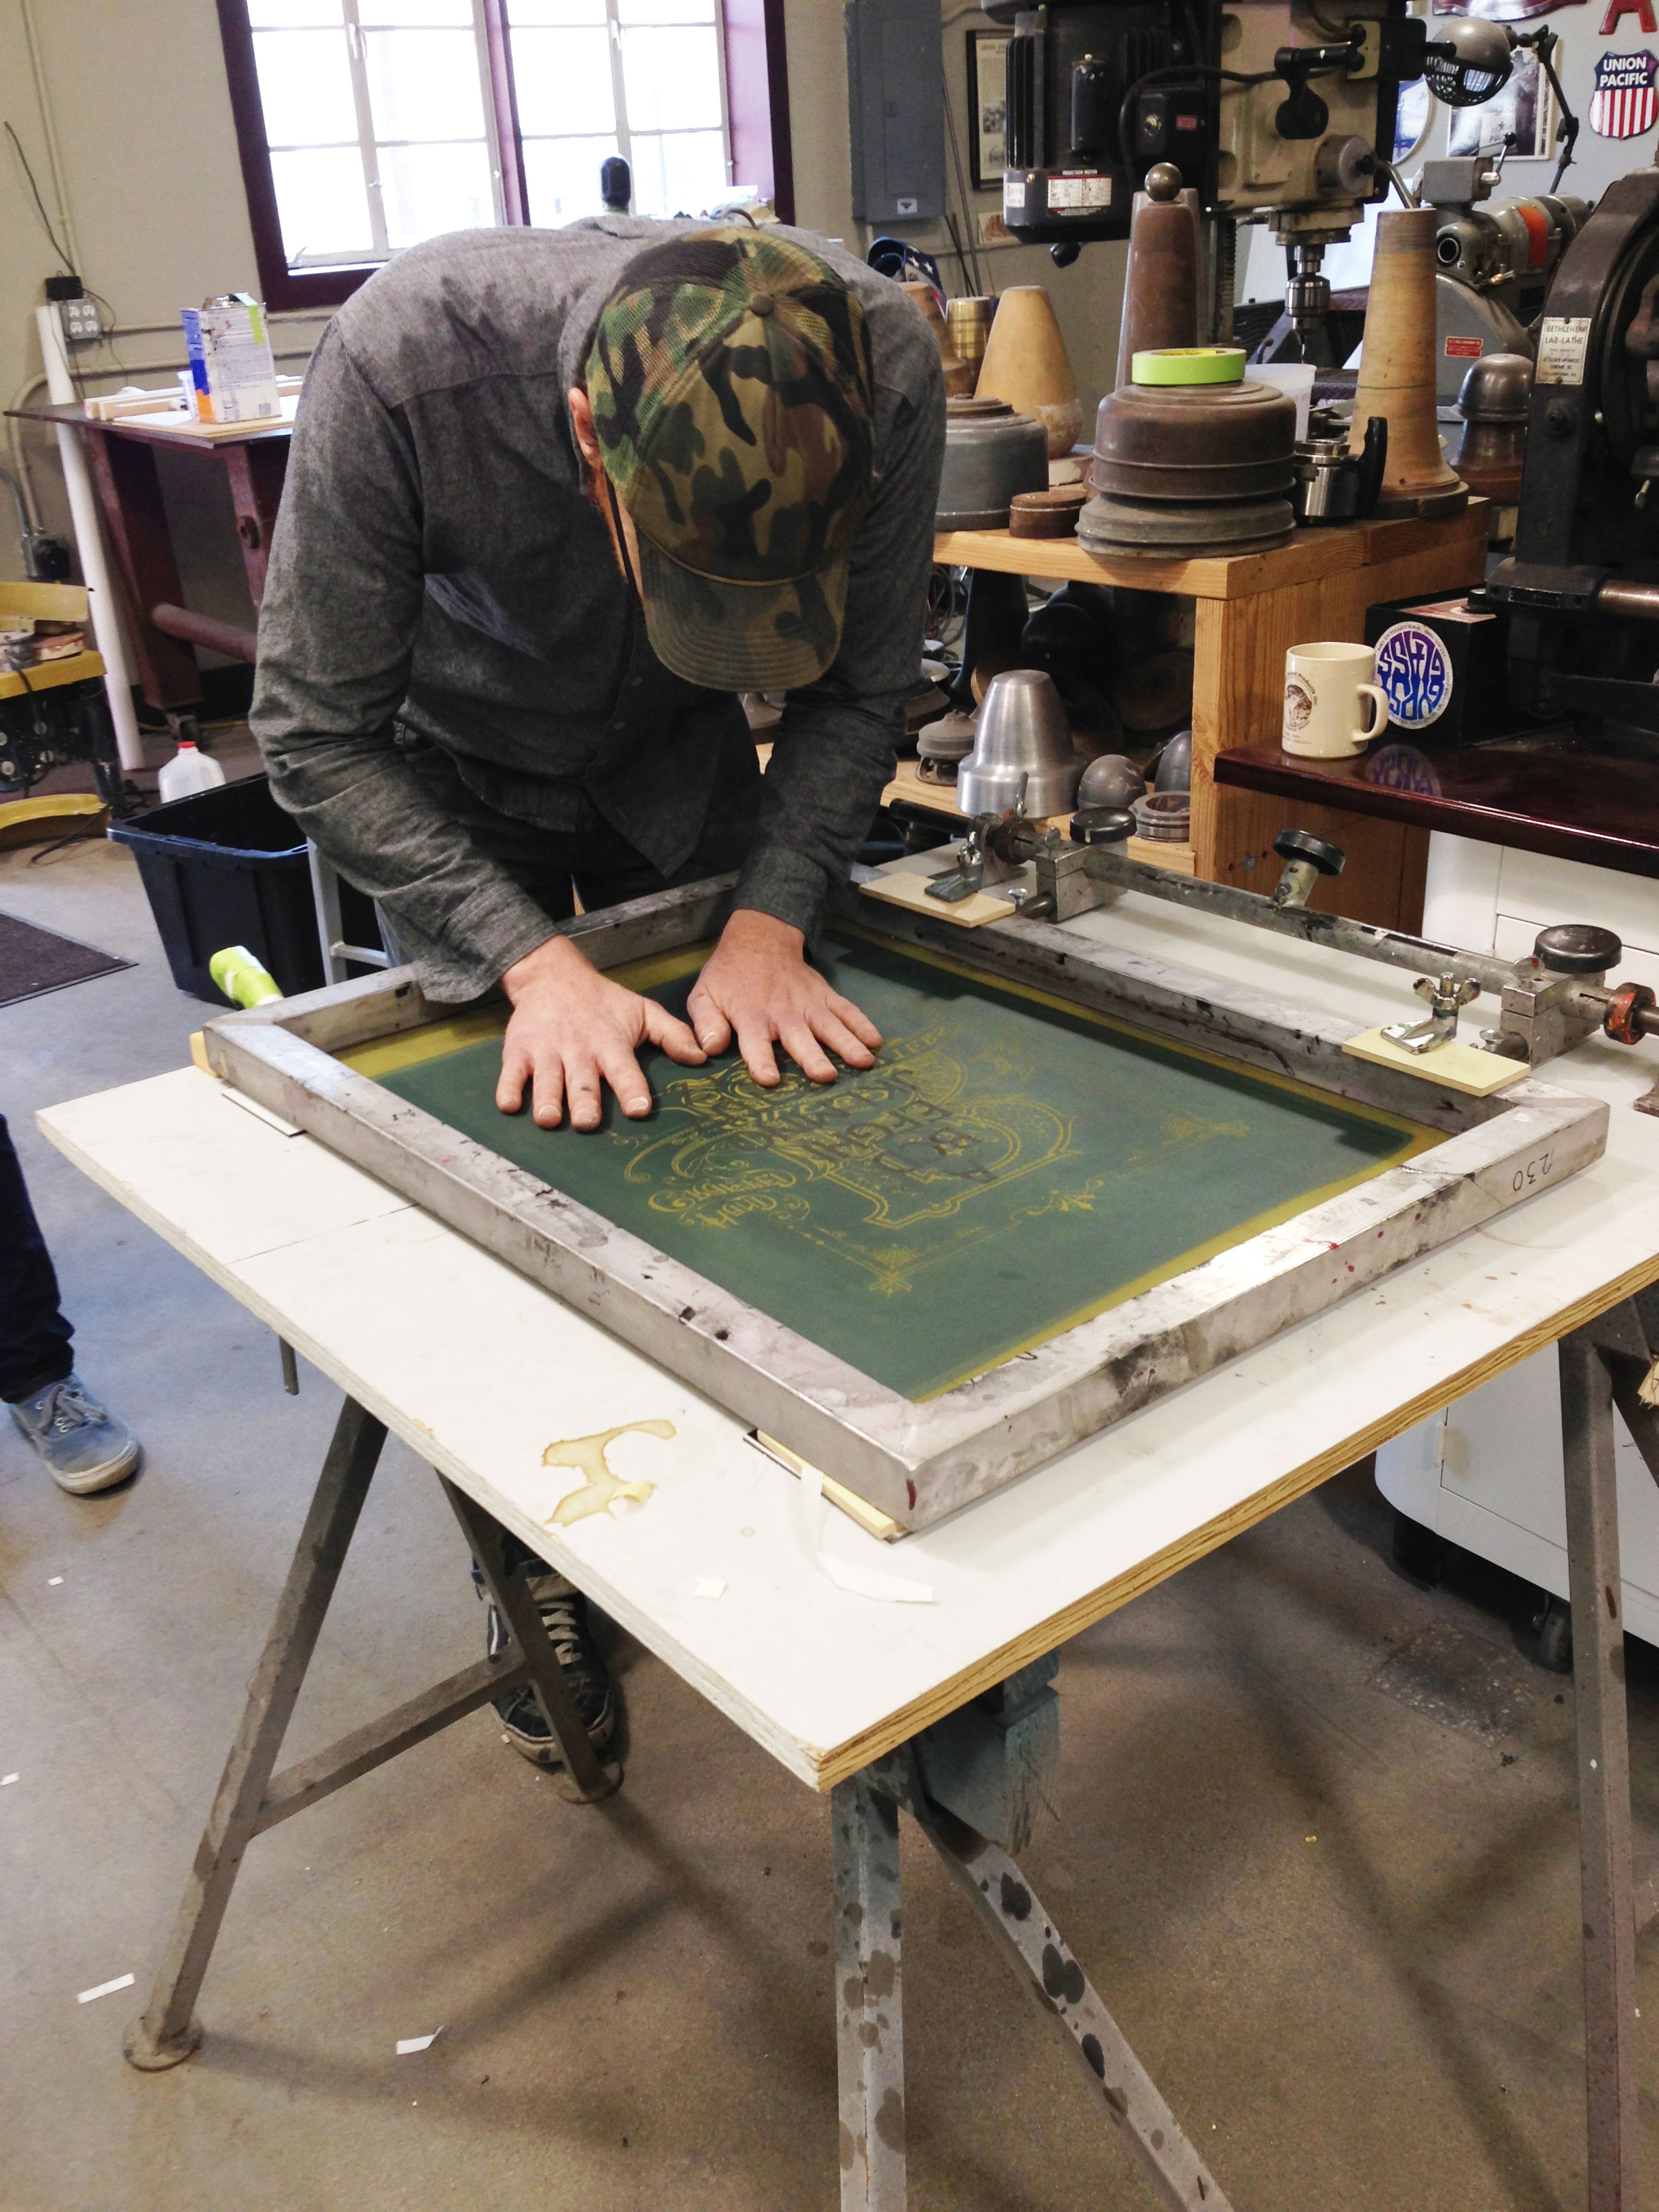
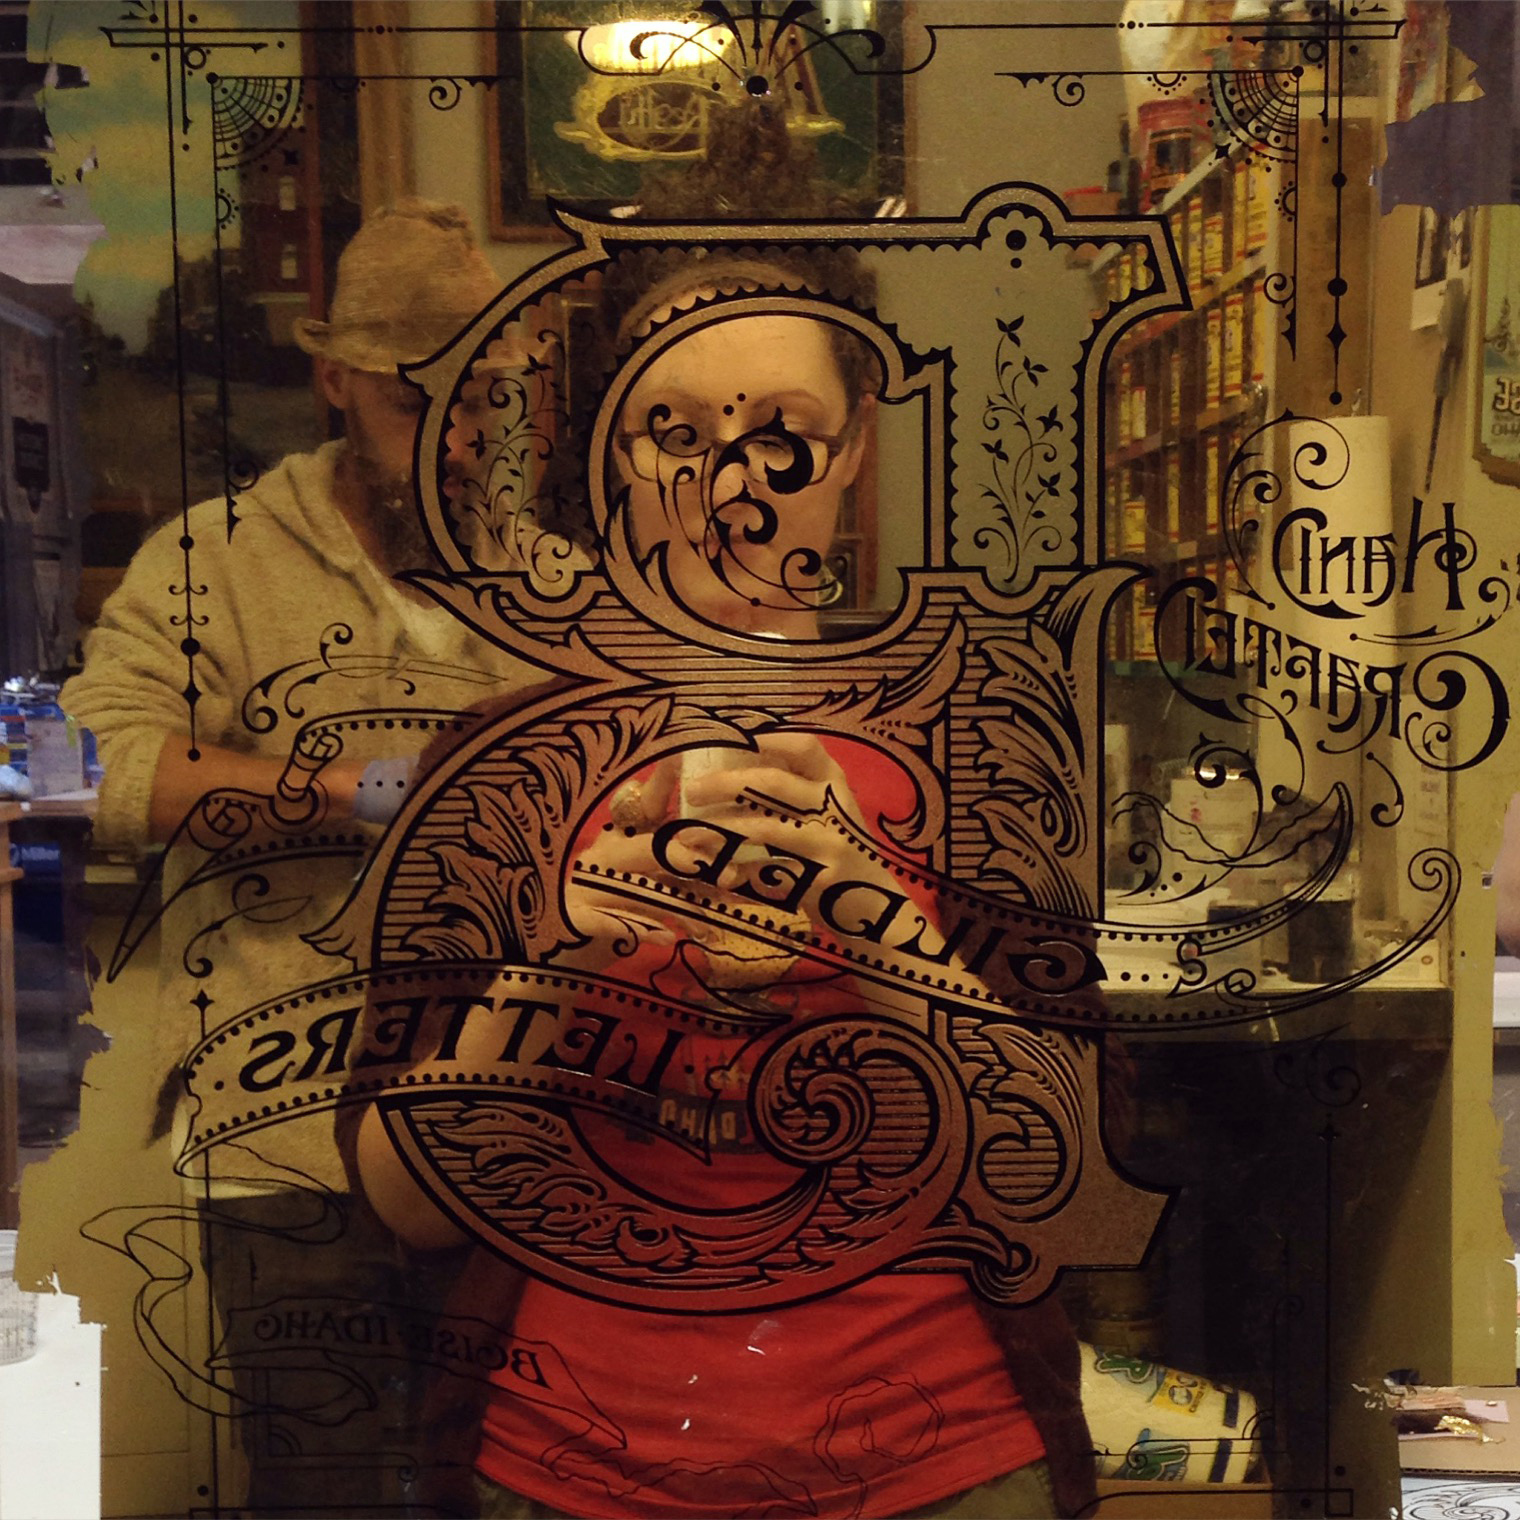
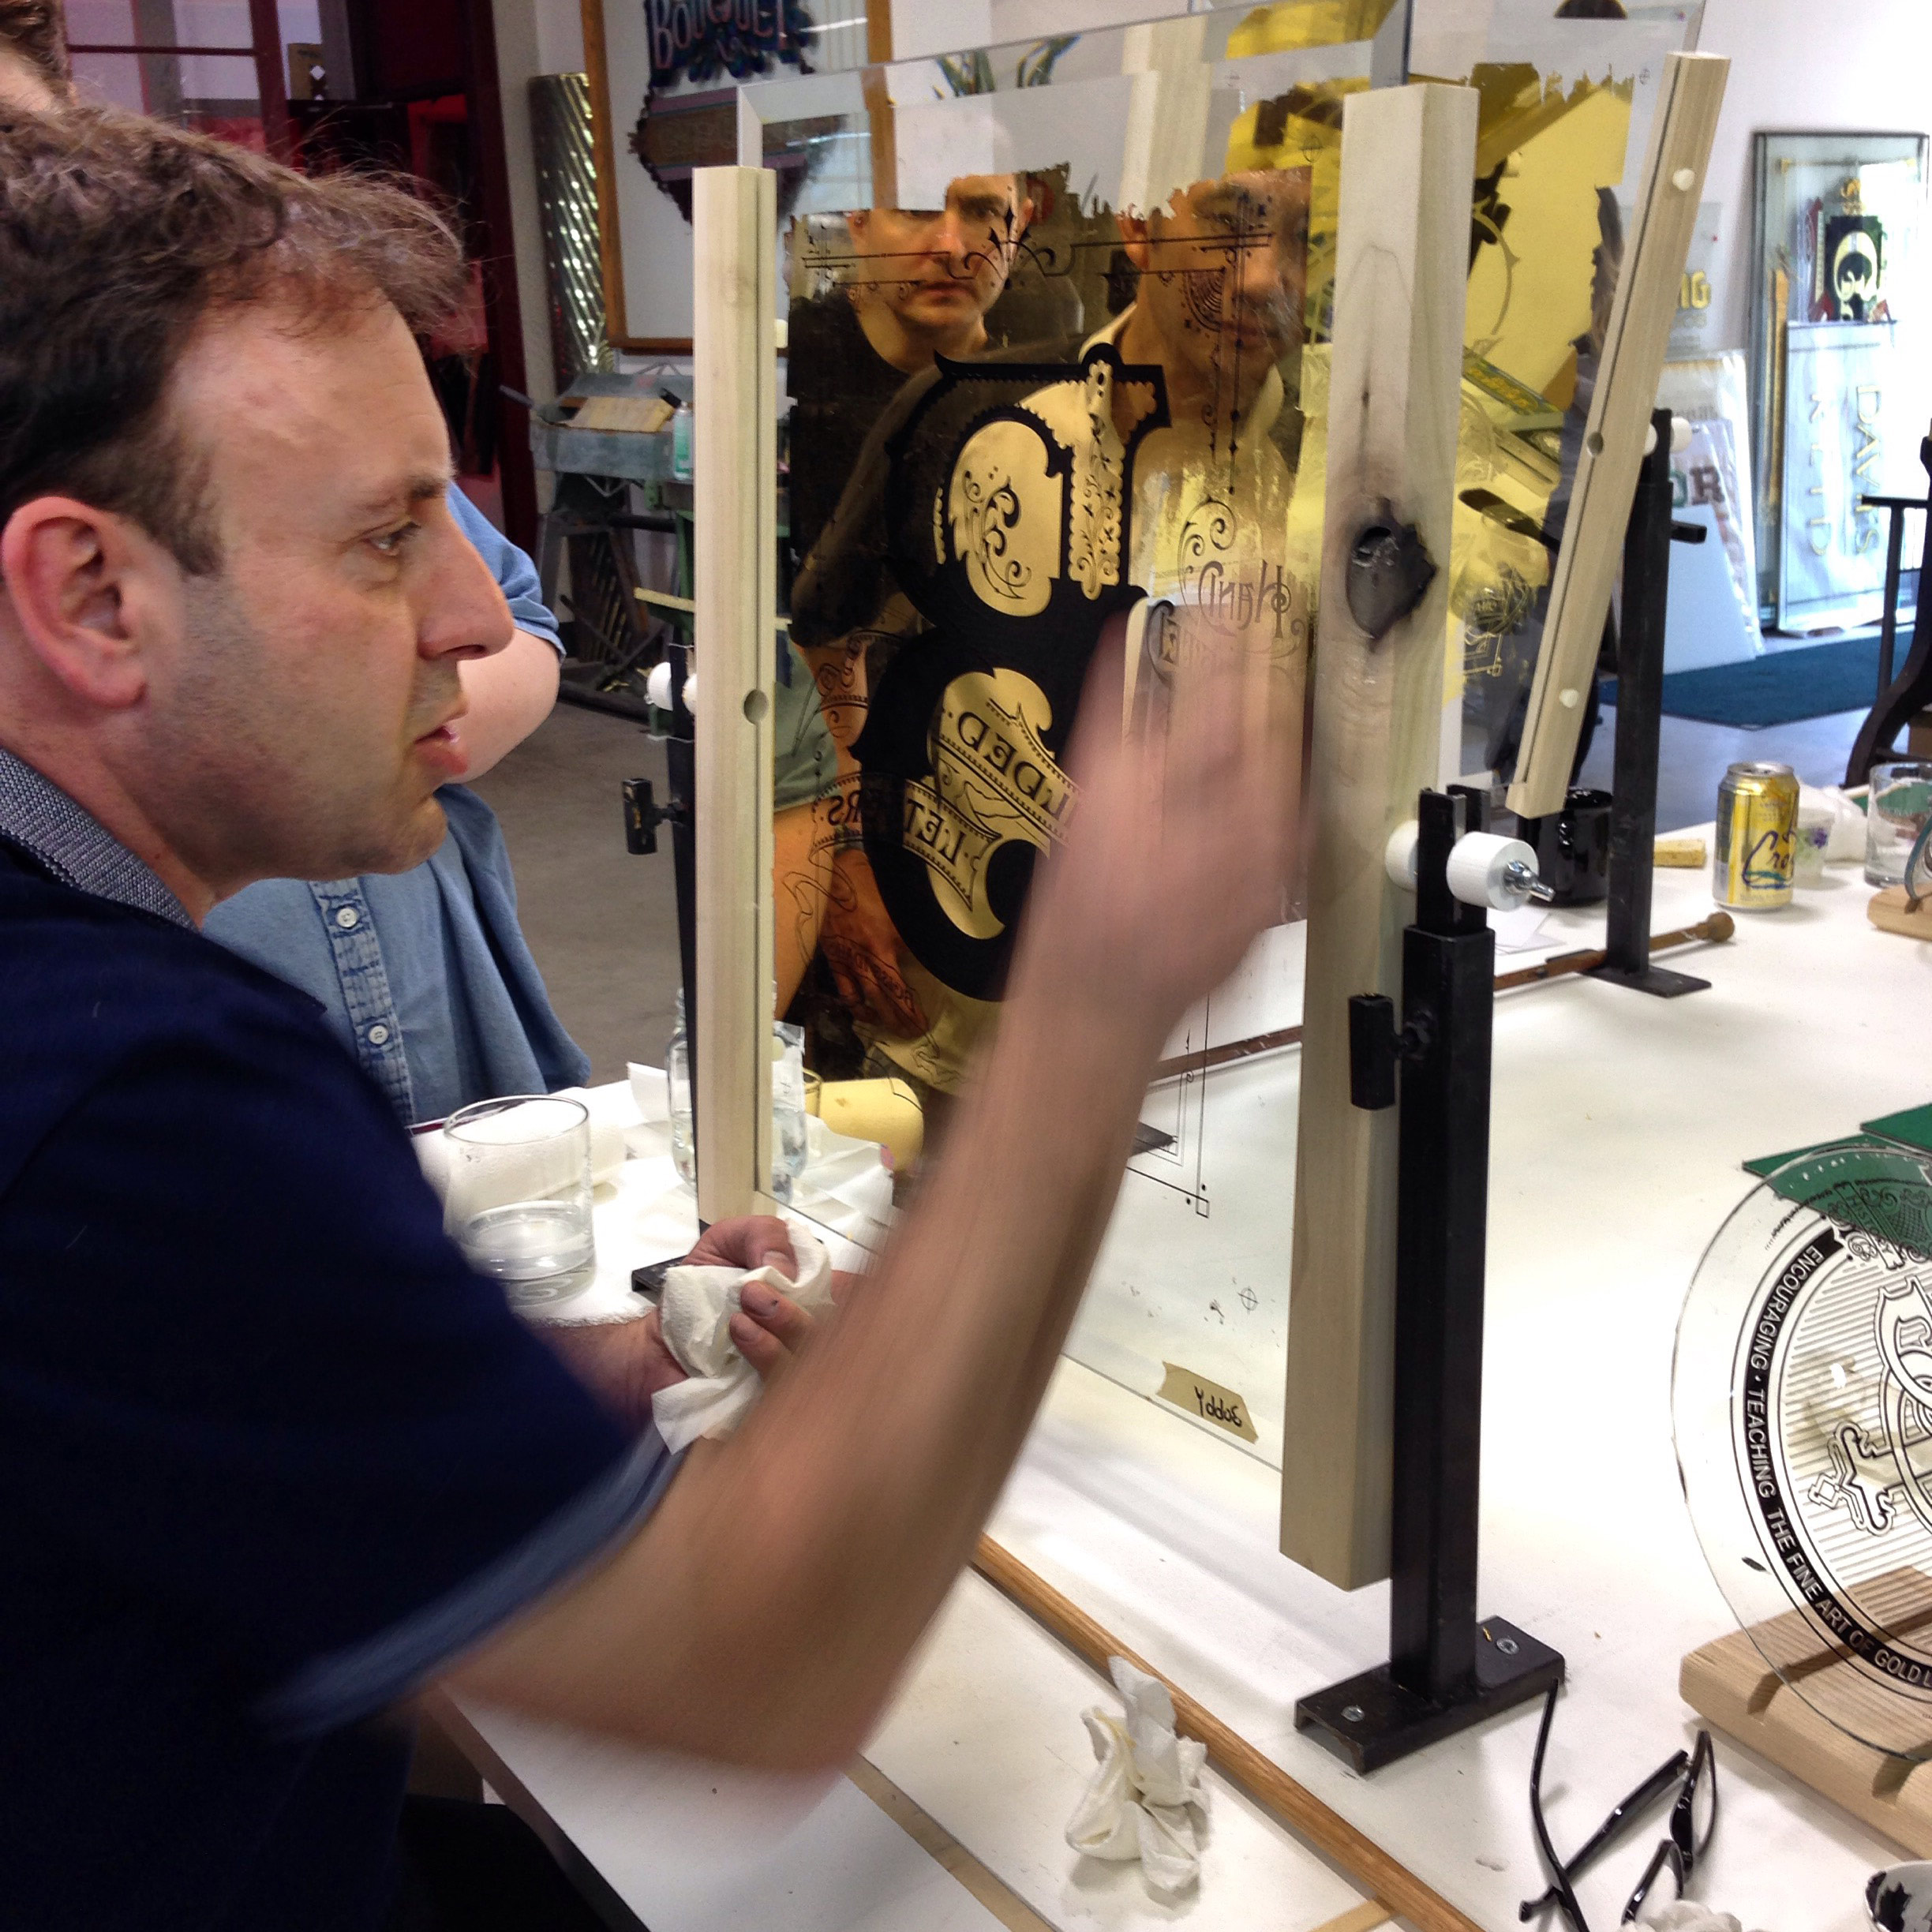
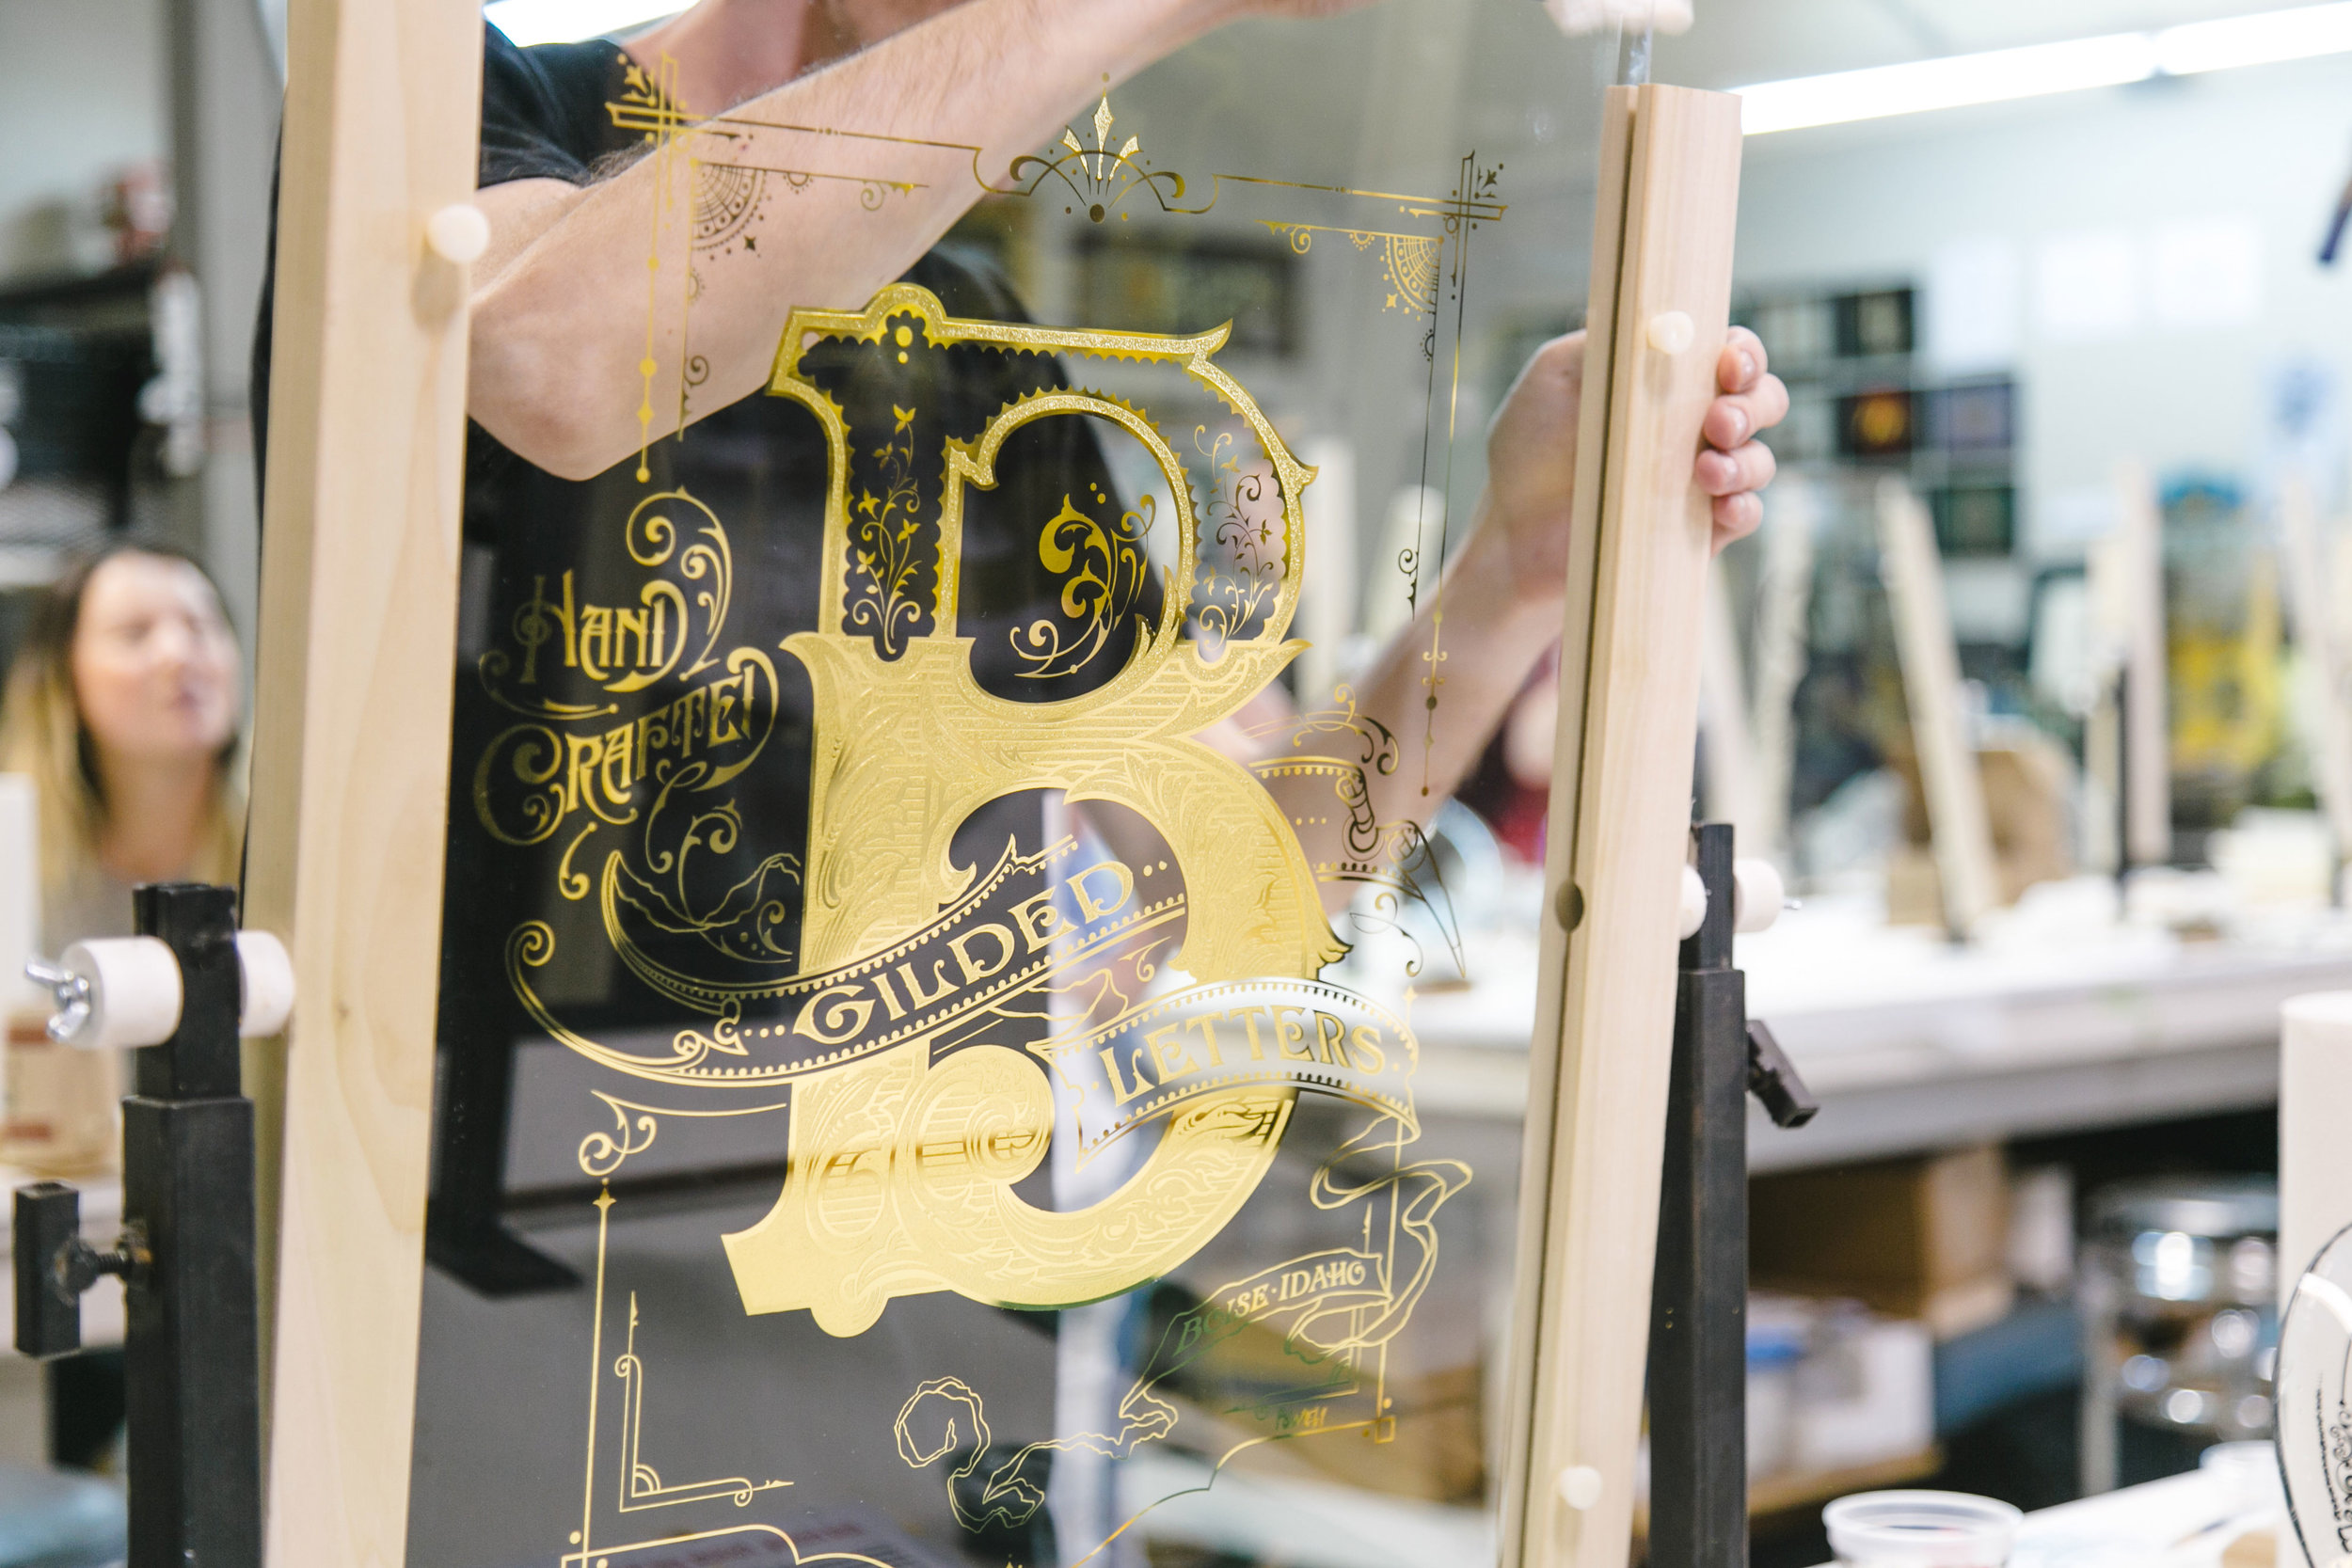
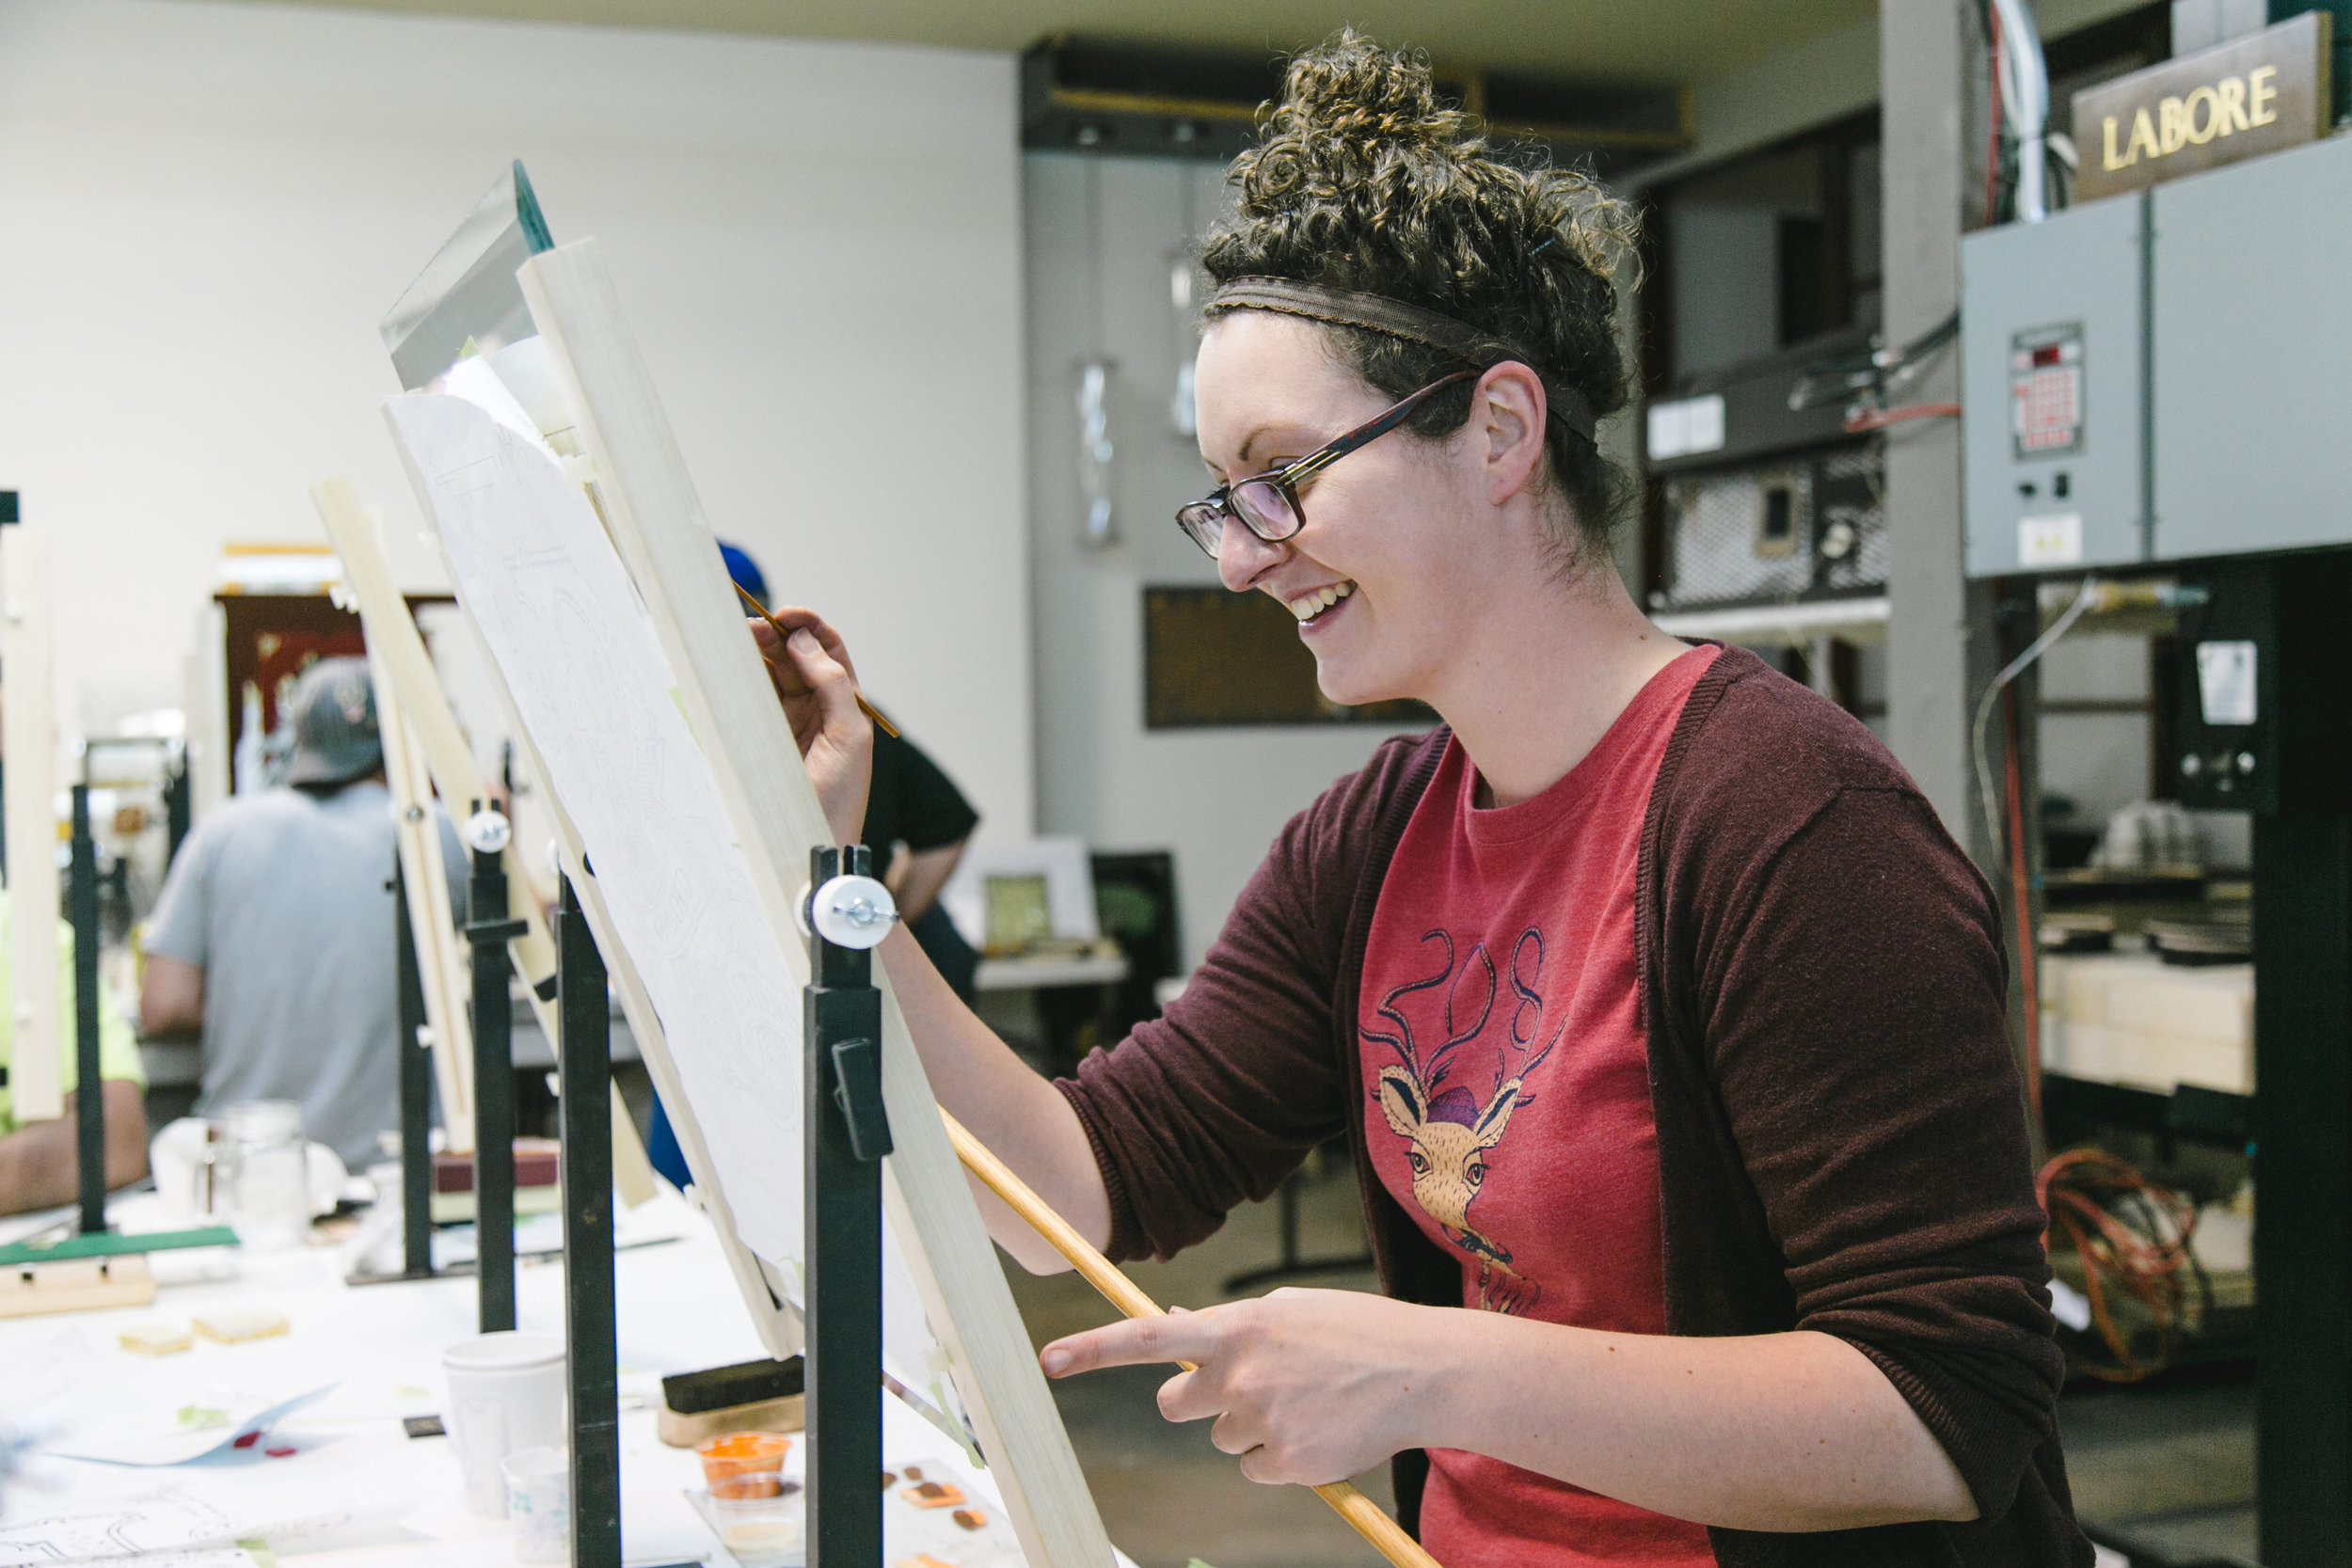
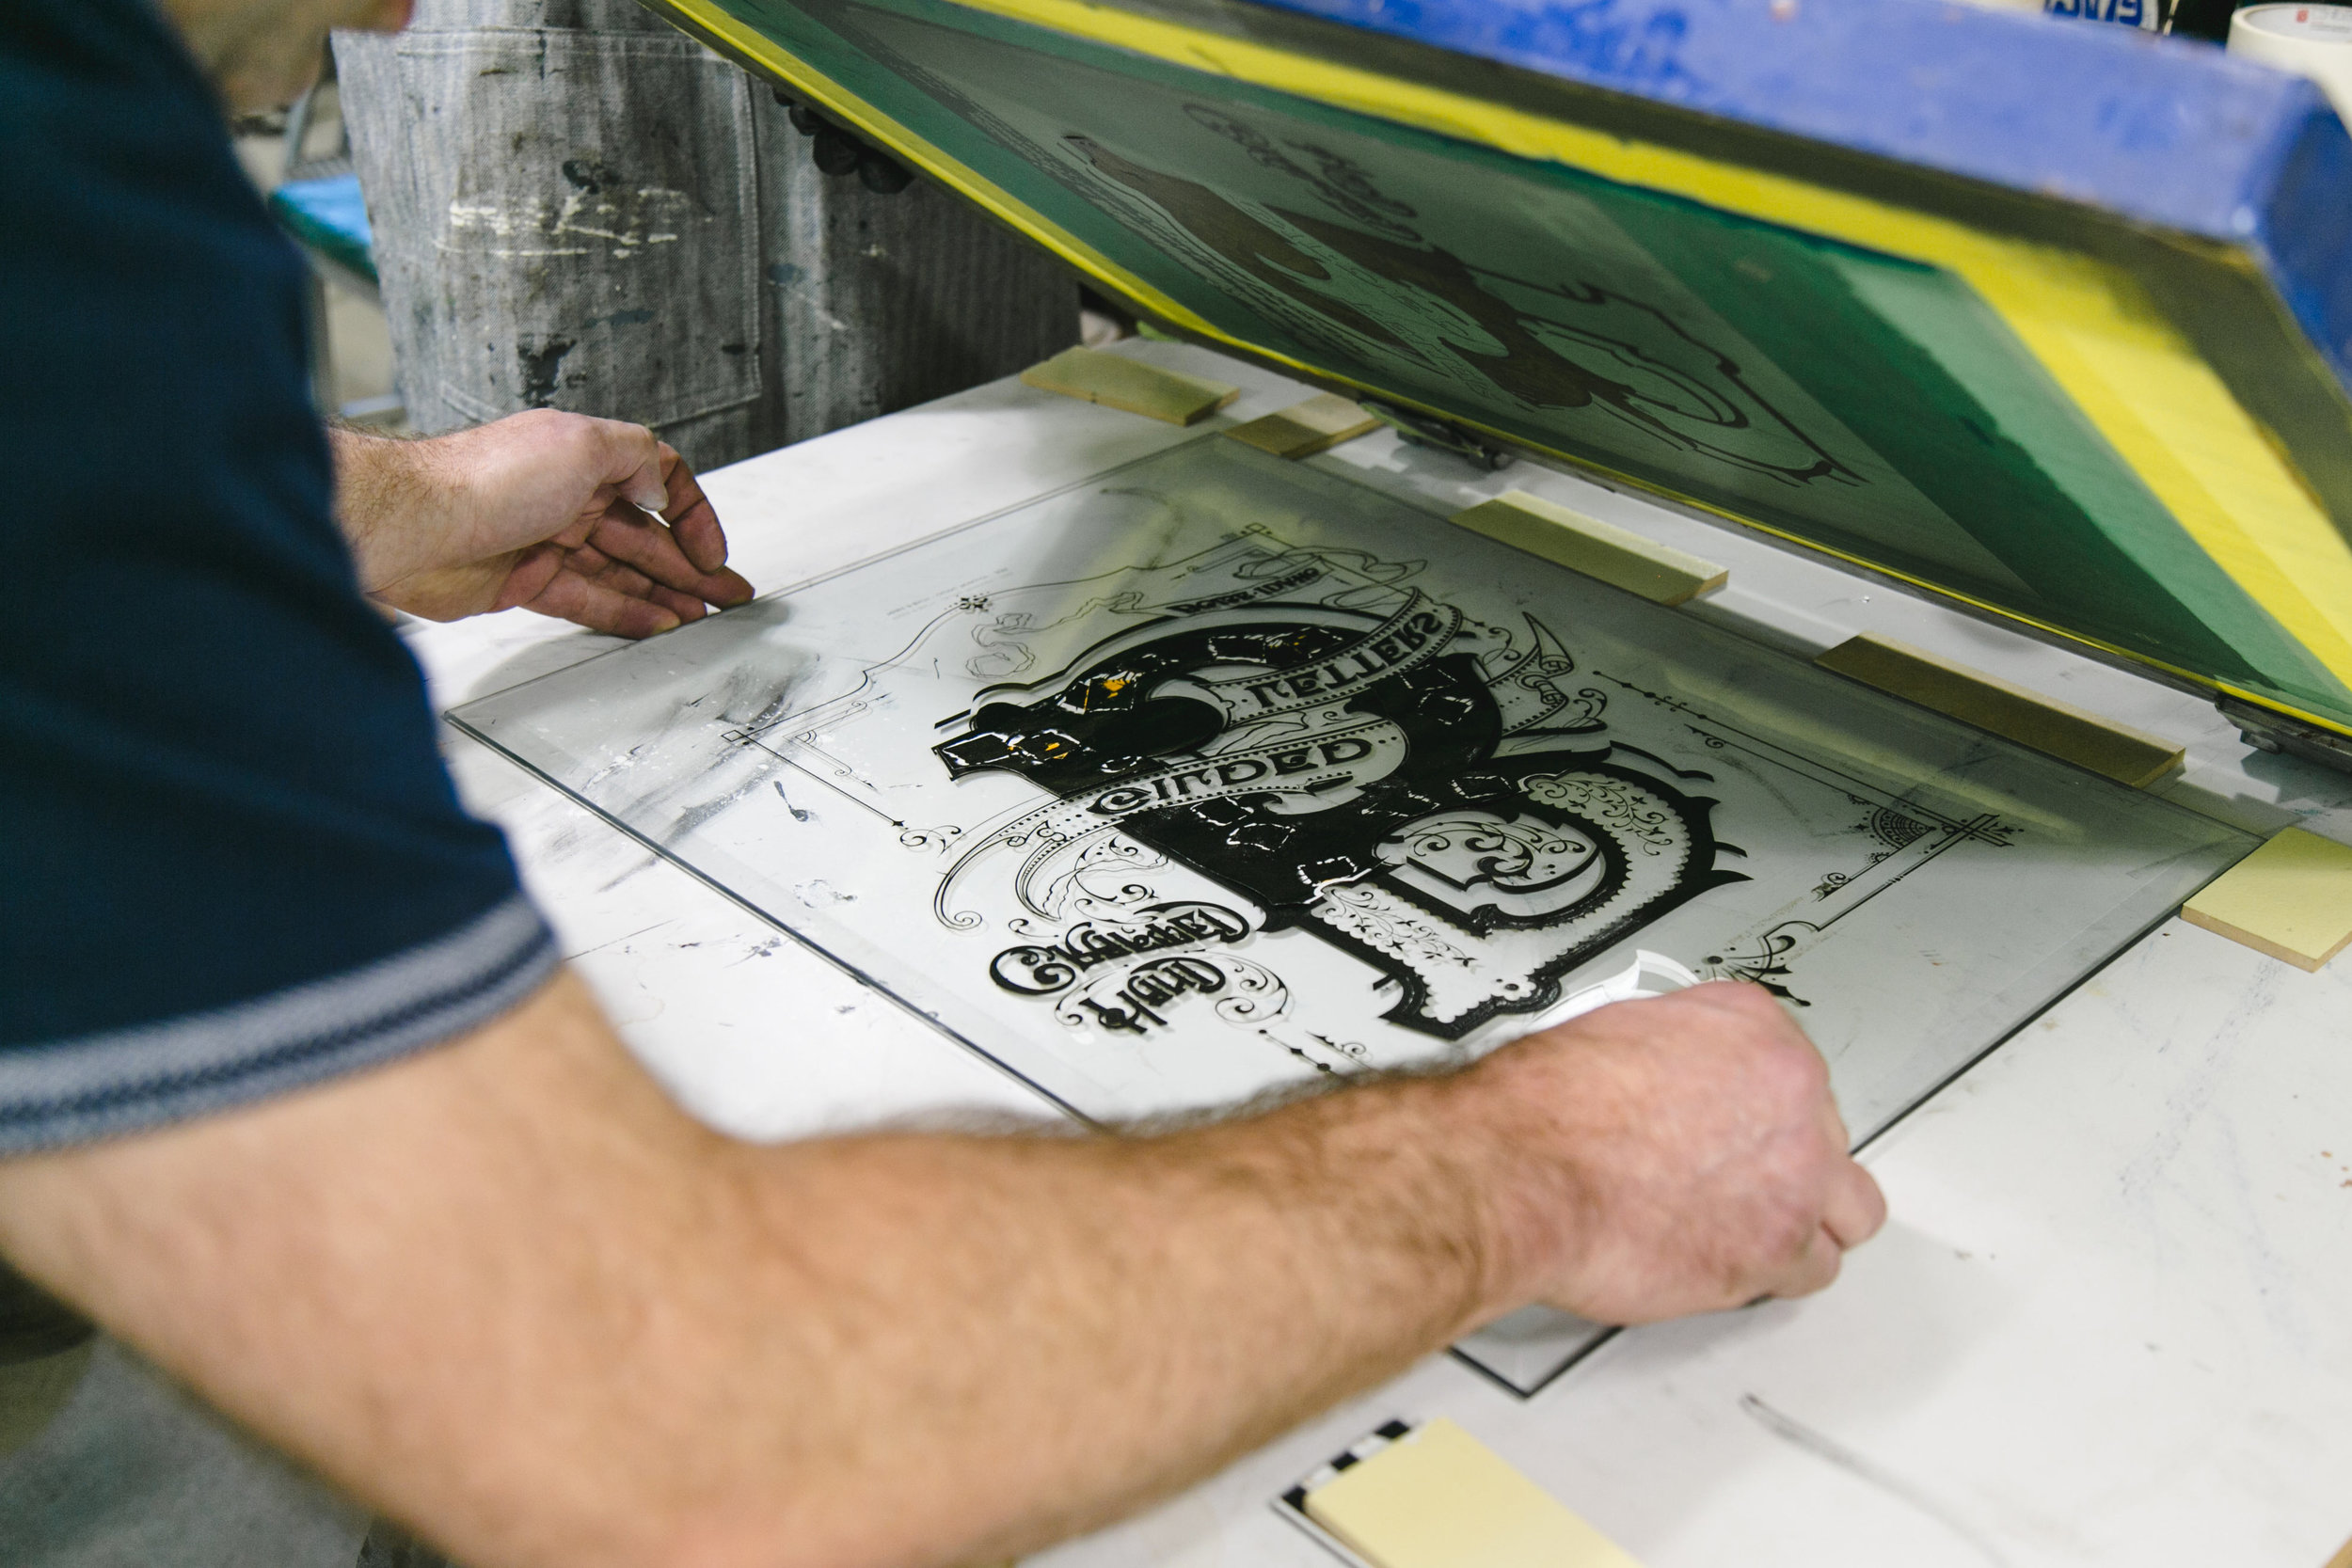
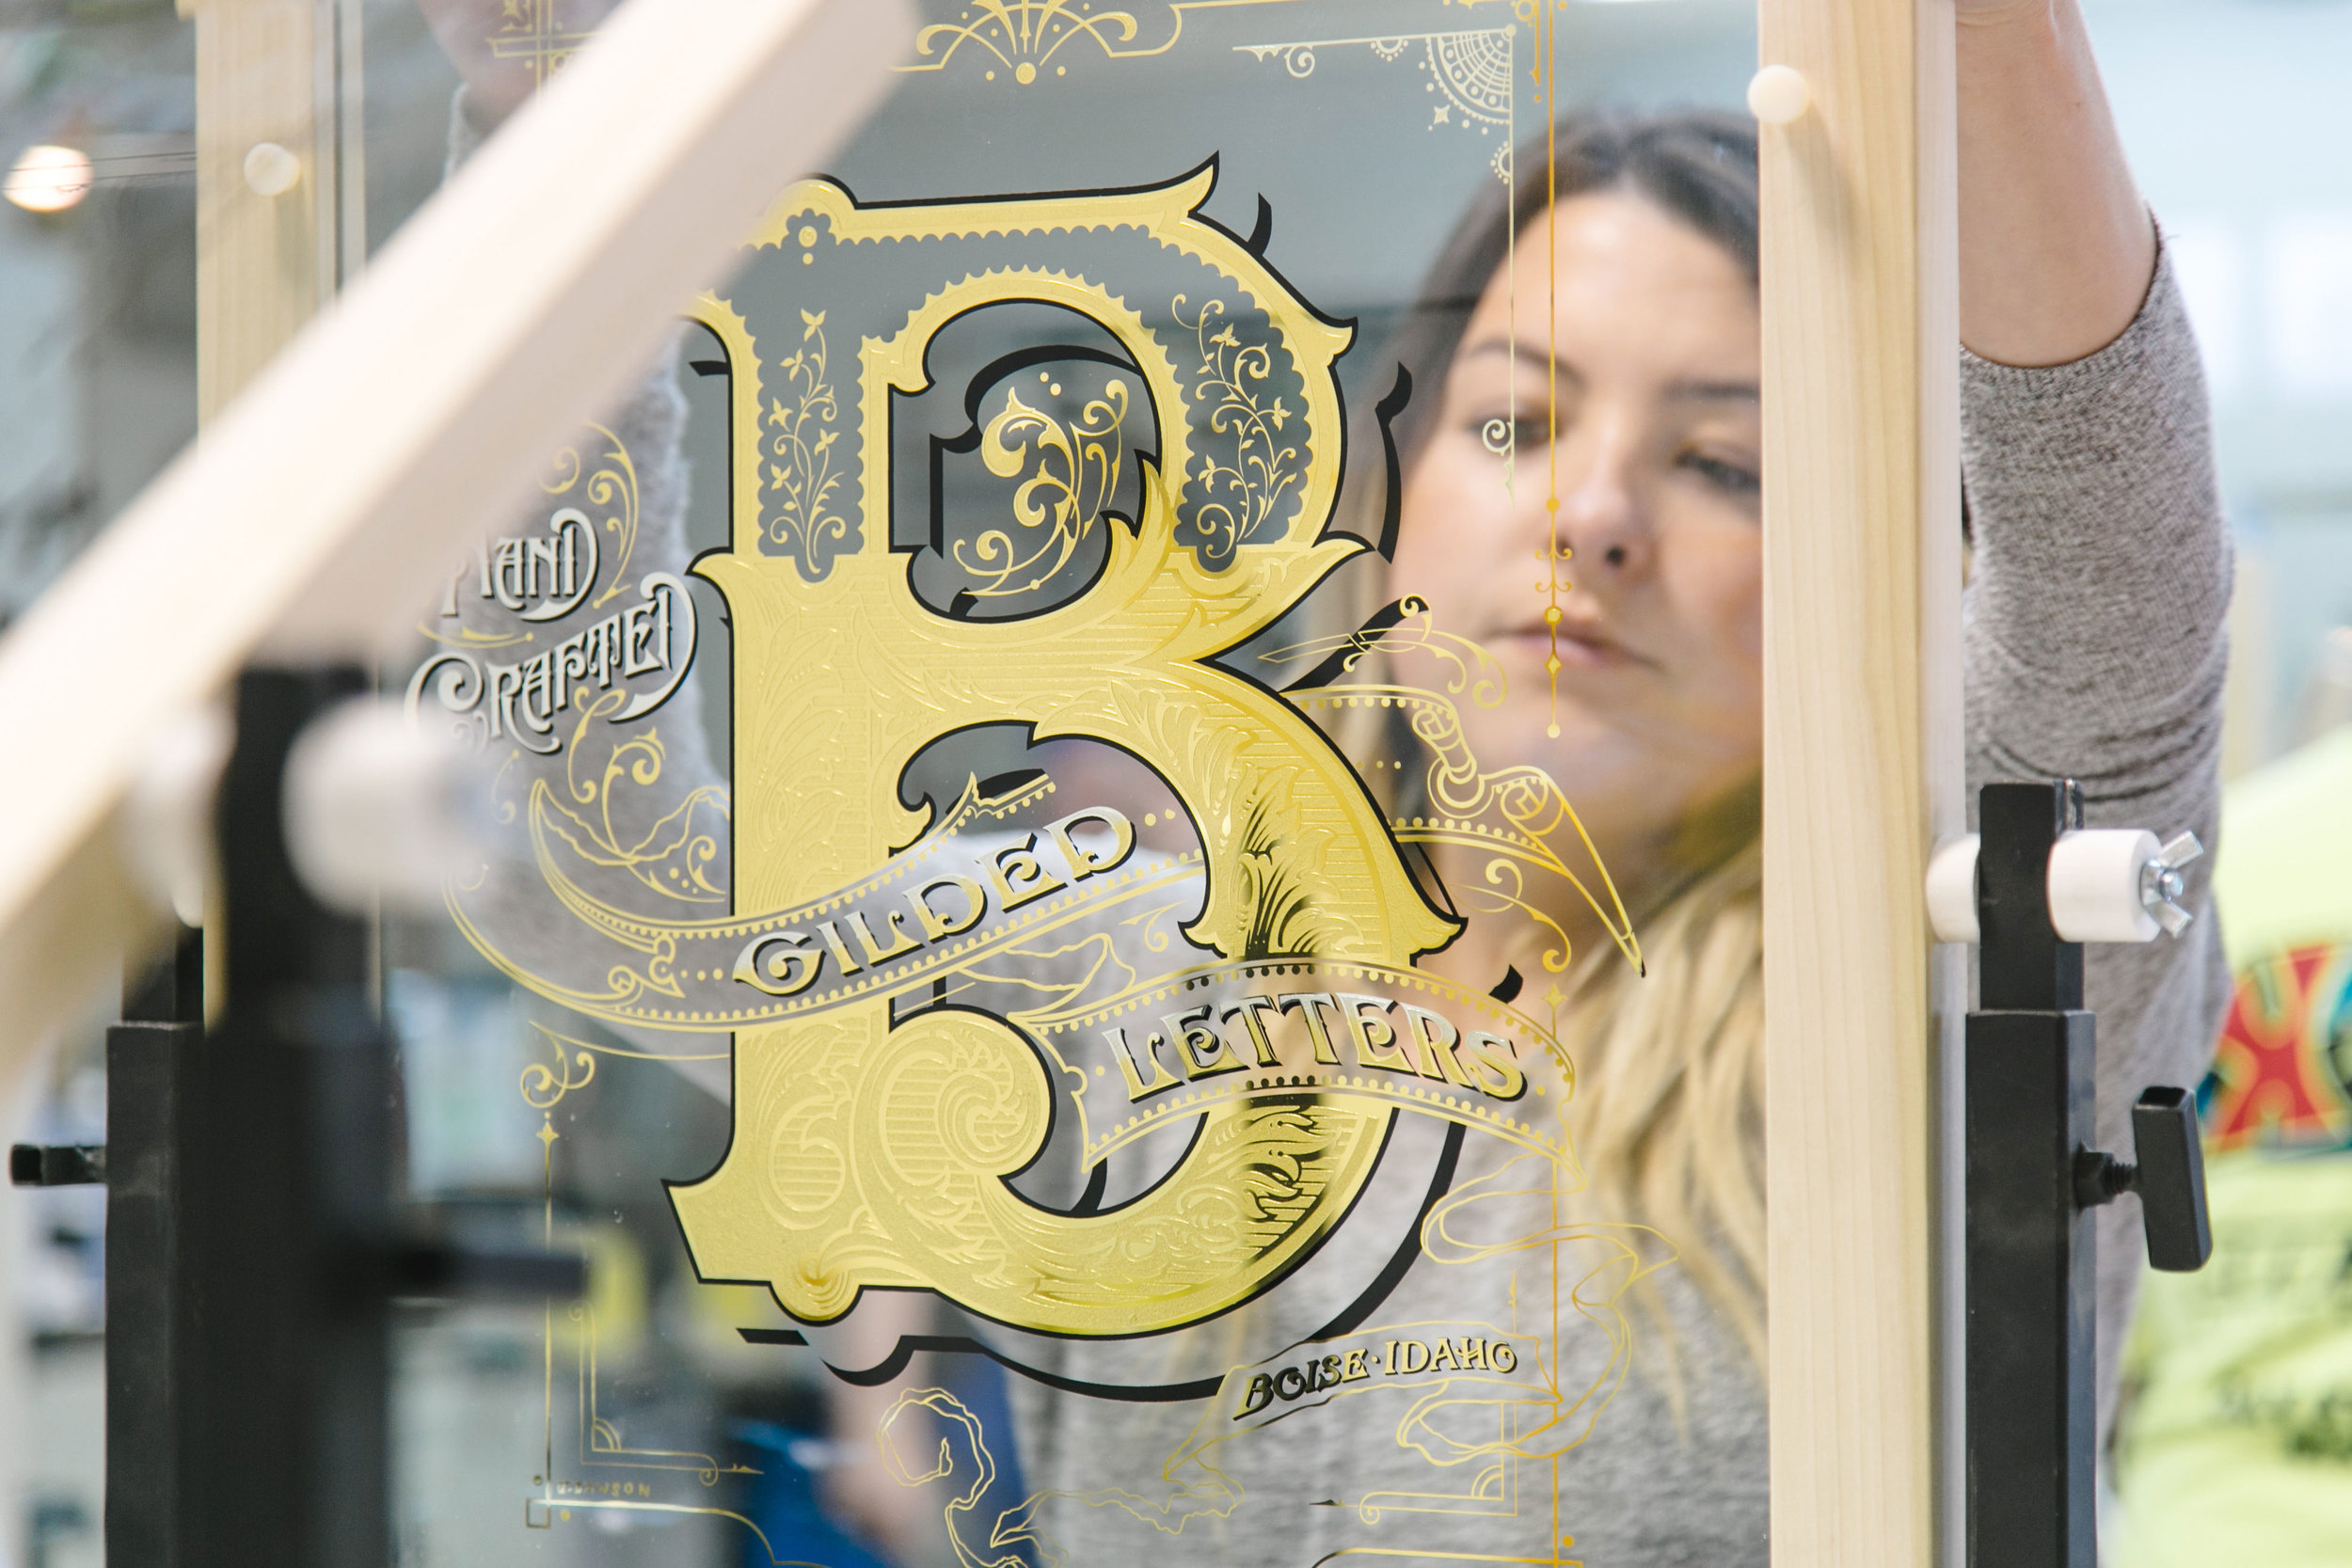
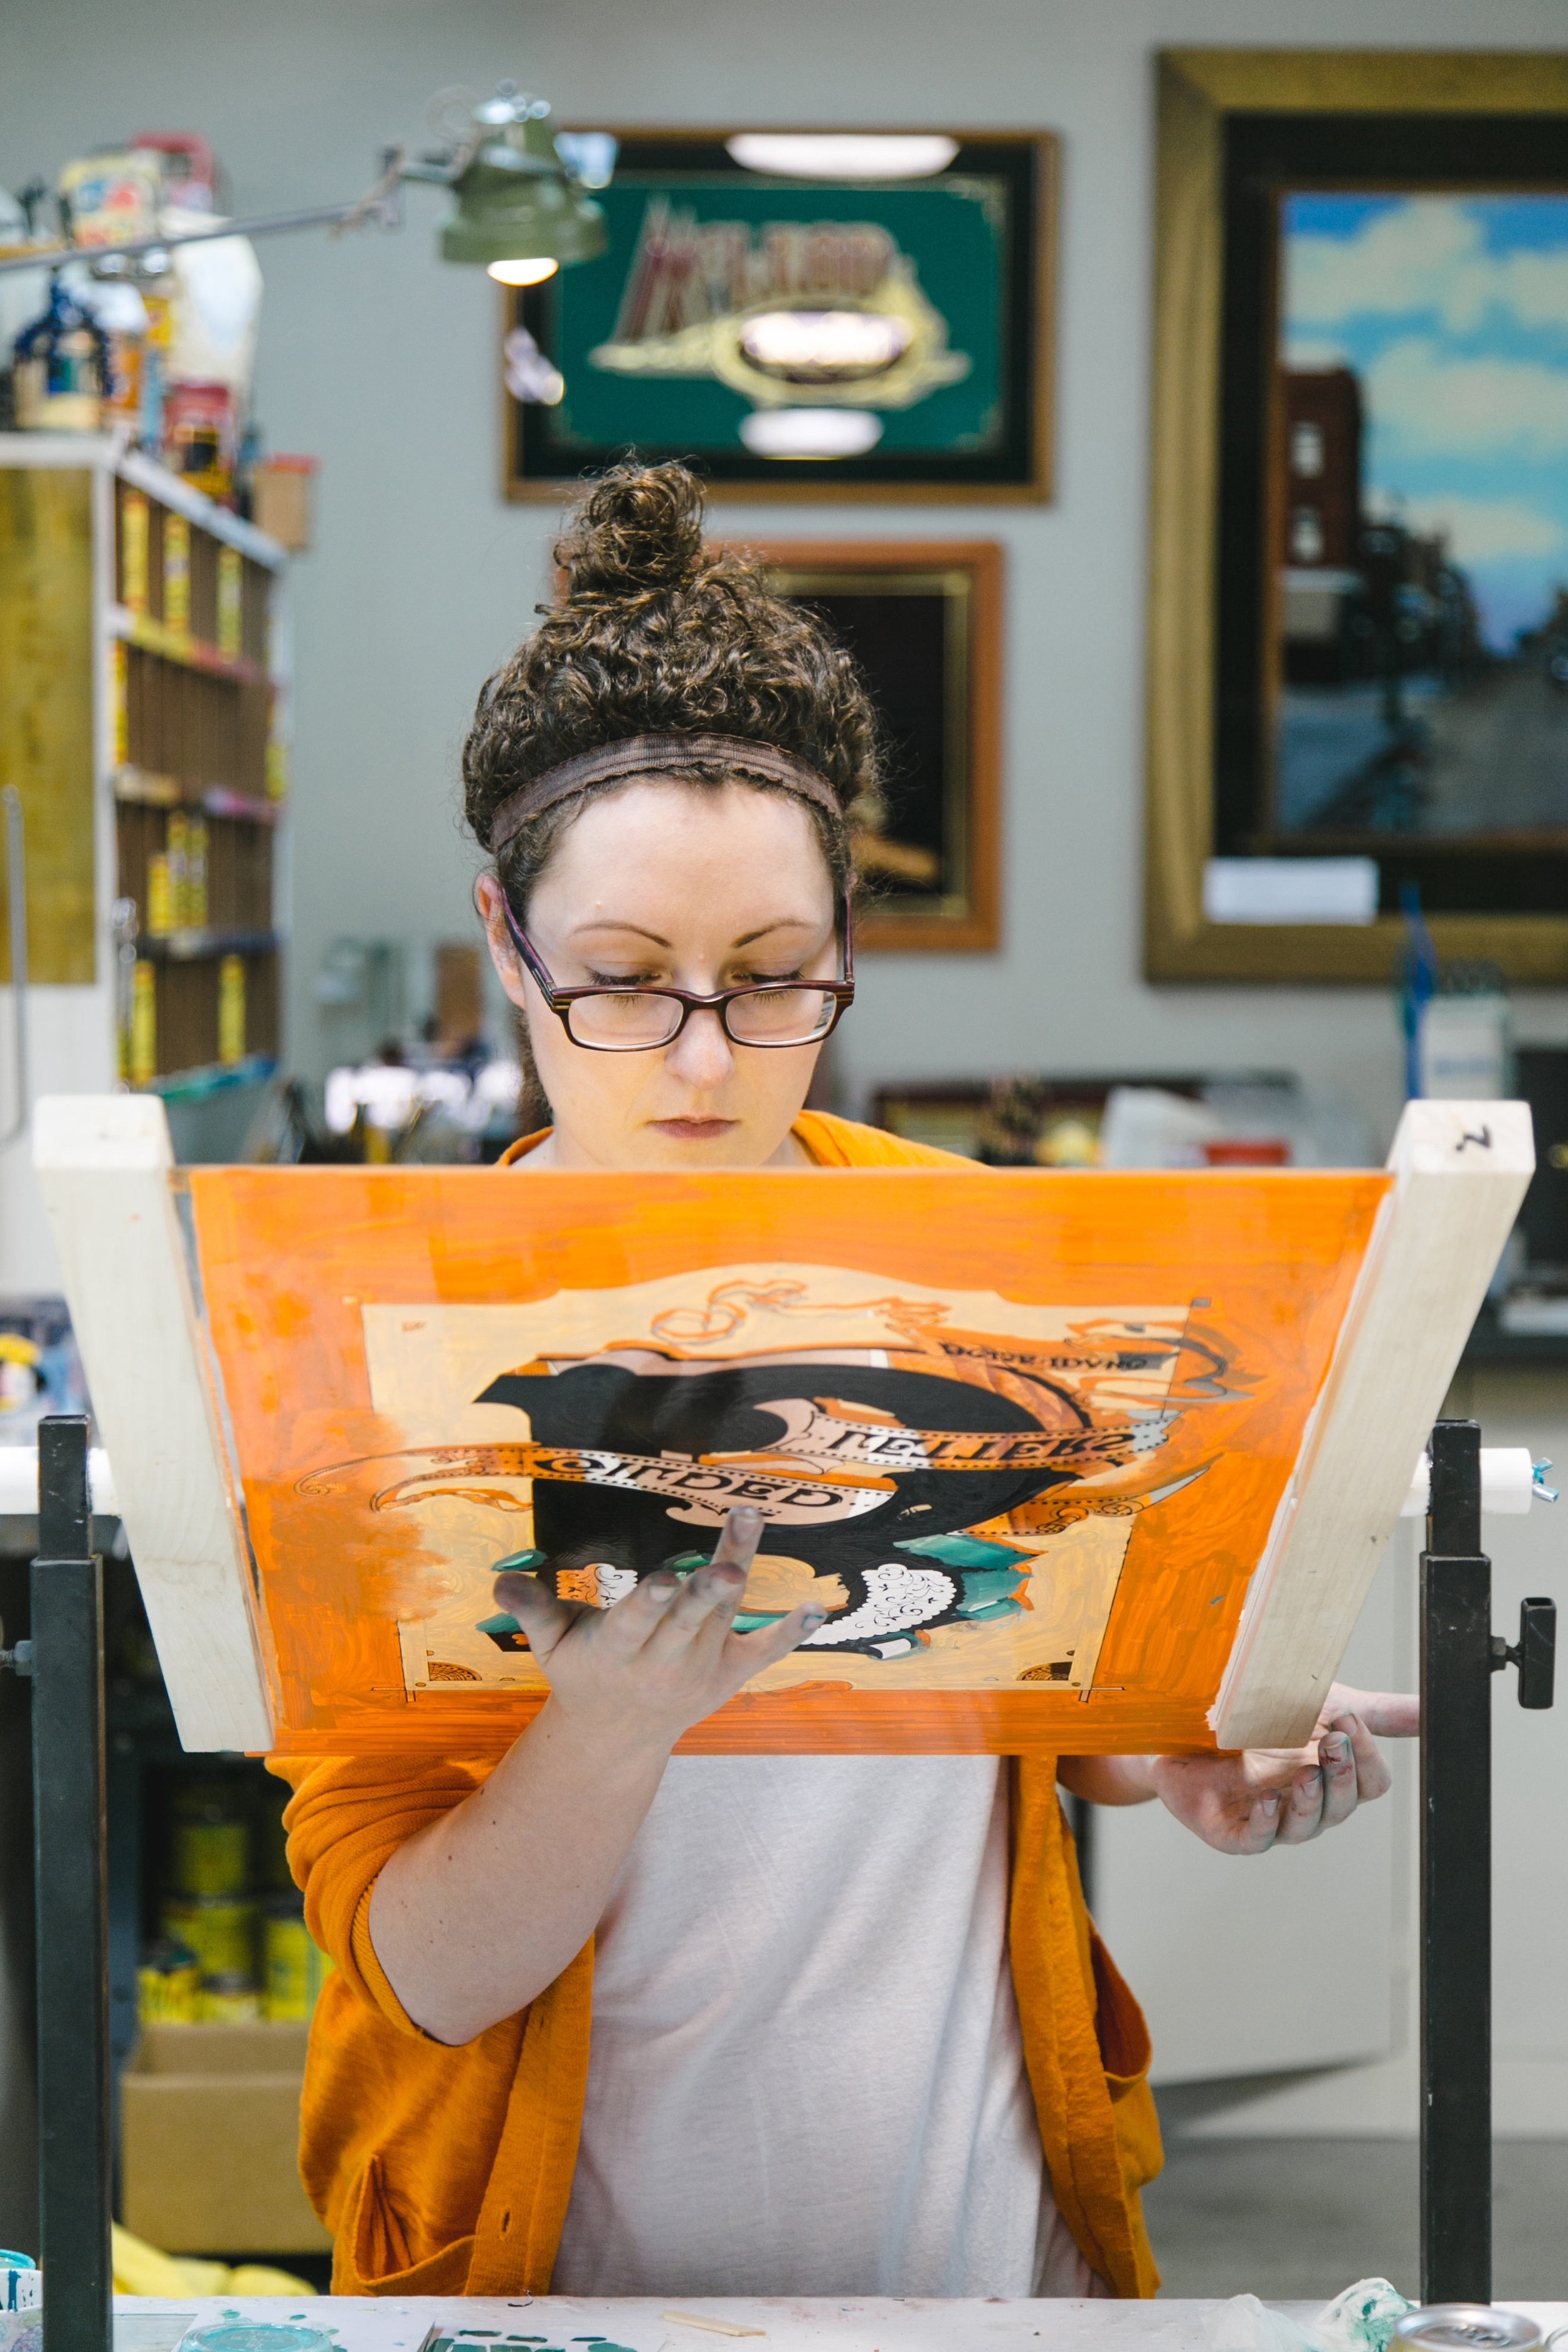
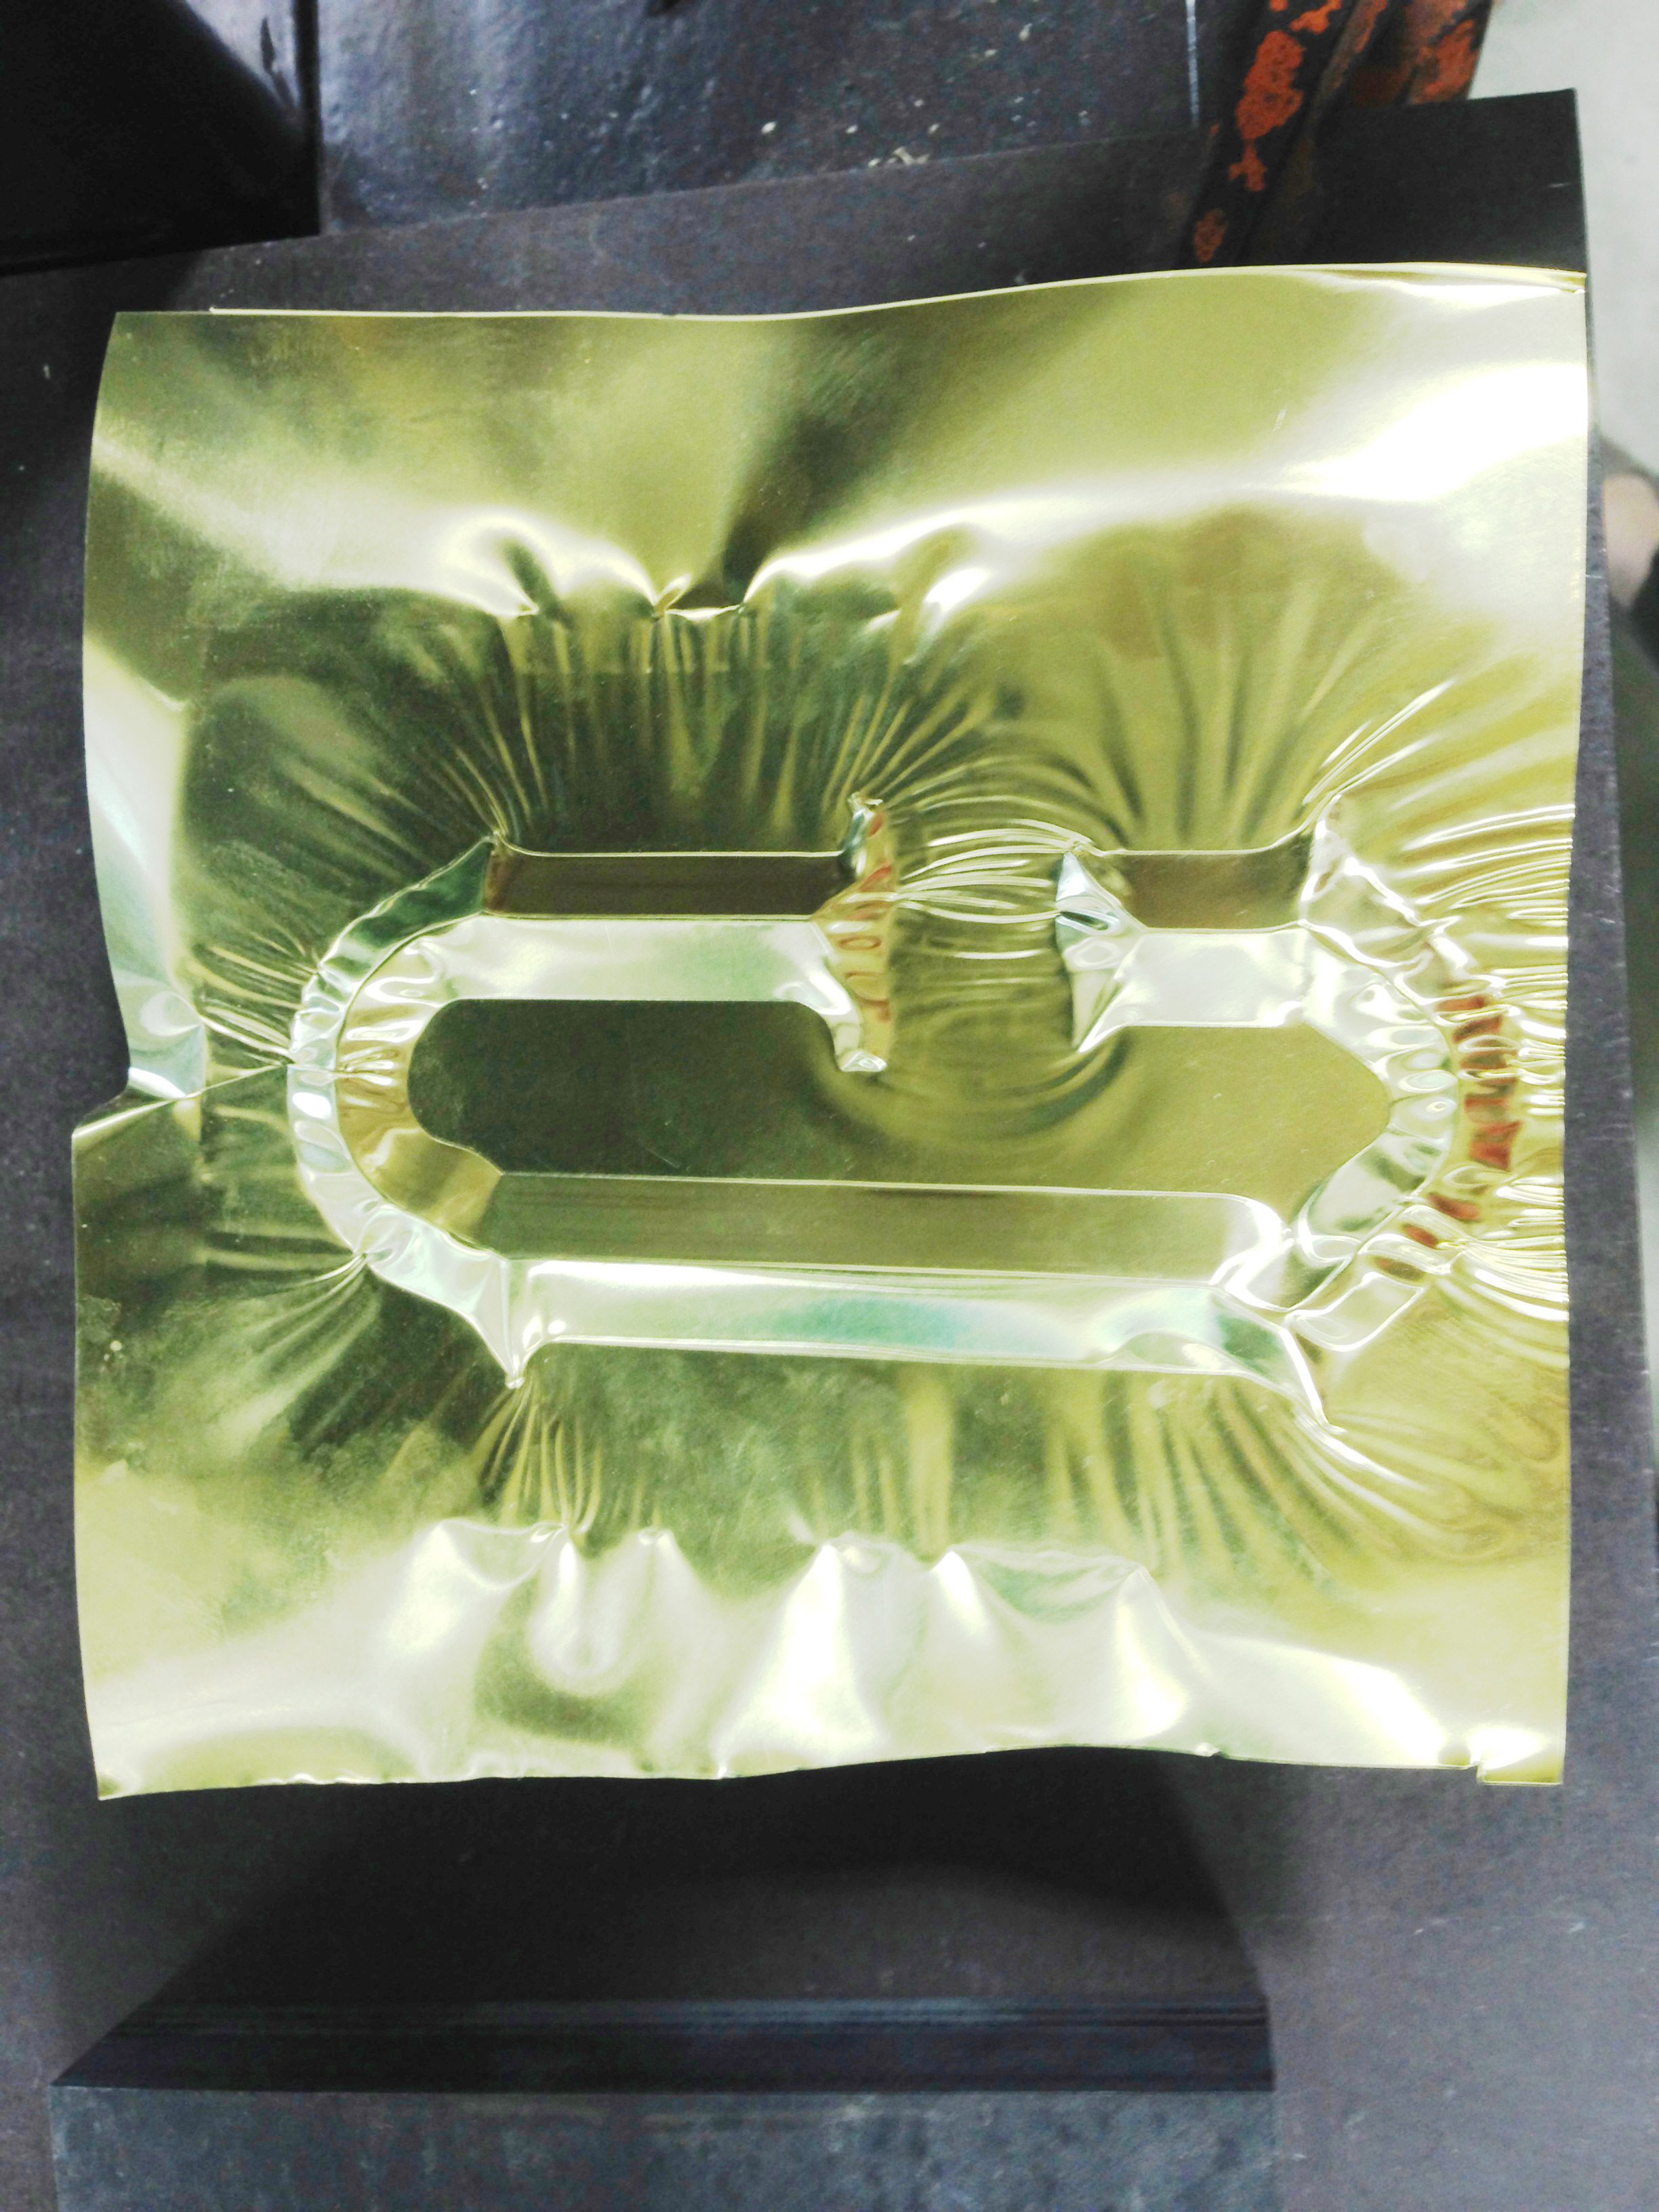
After our glass had the texture etched into it, we water gilded the entire surface from the back. The differences in texture on the glass resulted in subtle shifts in how the applied gold reflected the light. The smooth portions showed off a mirrored finish, while the slightly textured areas were reflective, but appear slightly mottled. After the gold dried, we screen printed the design back over the gold to hold down the gold in the areas we wanted it to stay. The rest is let to dry and brushed off with Bon Ami glass cleaner and water. We were then shown various back-painting and blending techniques to apply graduated colour to the glass from behind. The degree of blending achievable with just a brush was quite amazing - almost with an airbrushed appearance. It became very apparent at this point, that experience with moving the paint and gauging drying times were important. We blended with with the brush, but also got right in there with a stippling brush and even our fingers. I like to tell people I finger painted the whole piece...

Photo Credit - Matthew Wordell
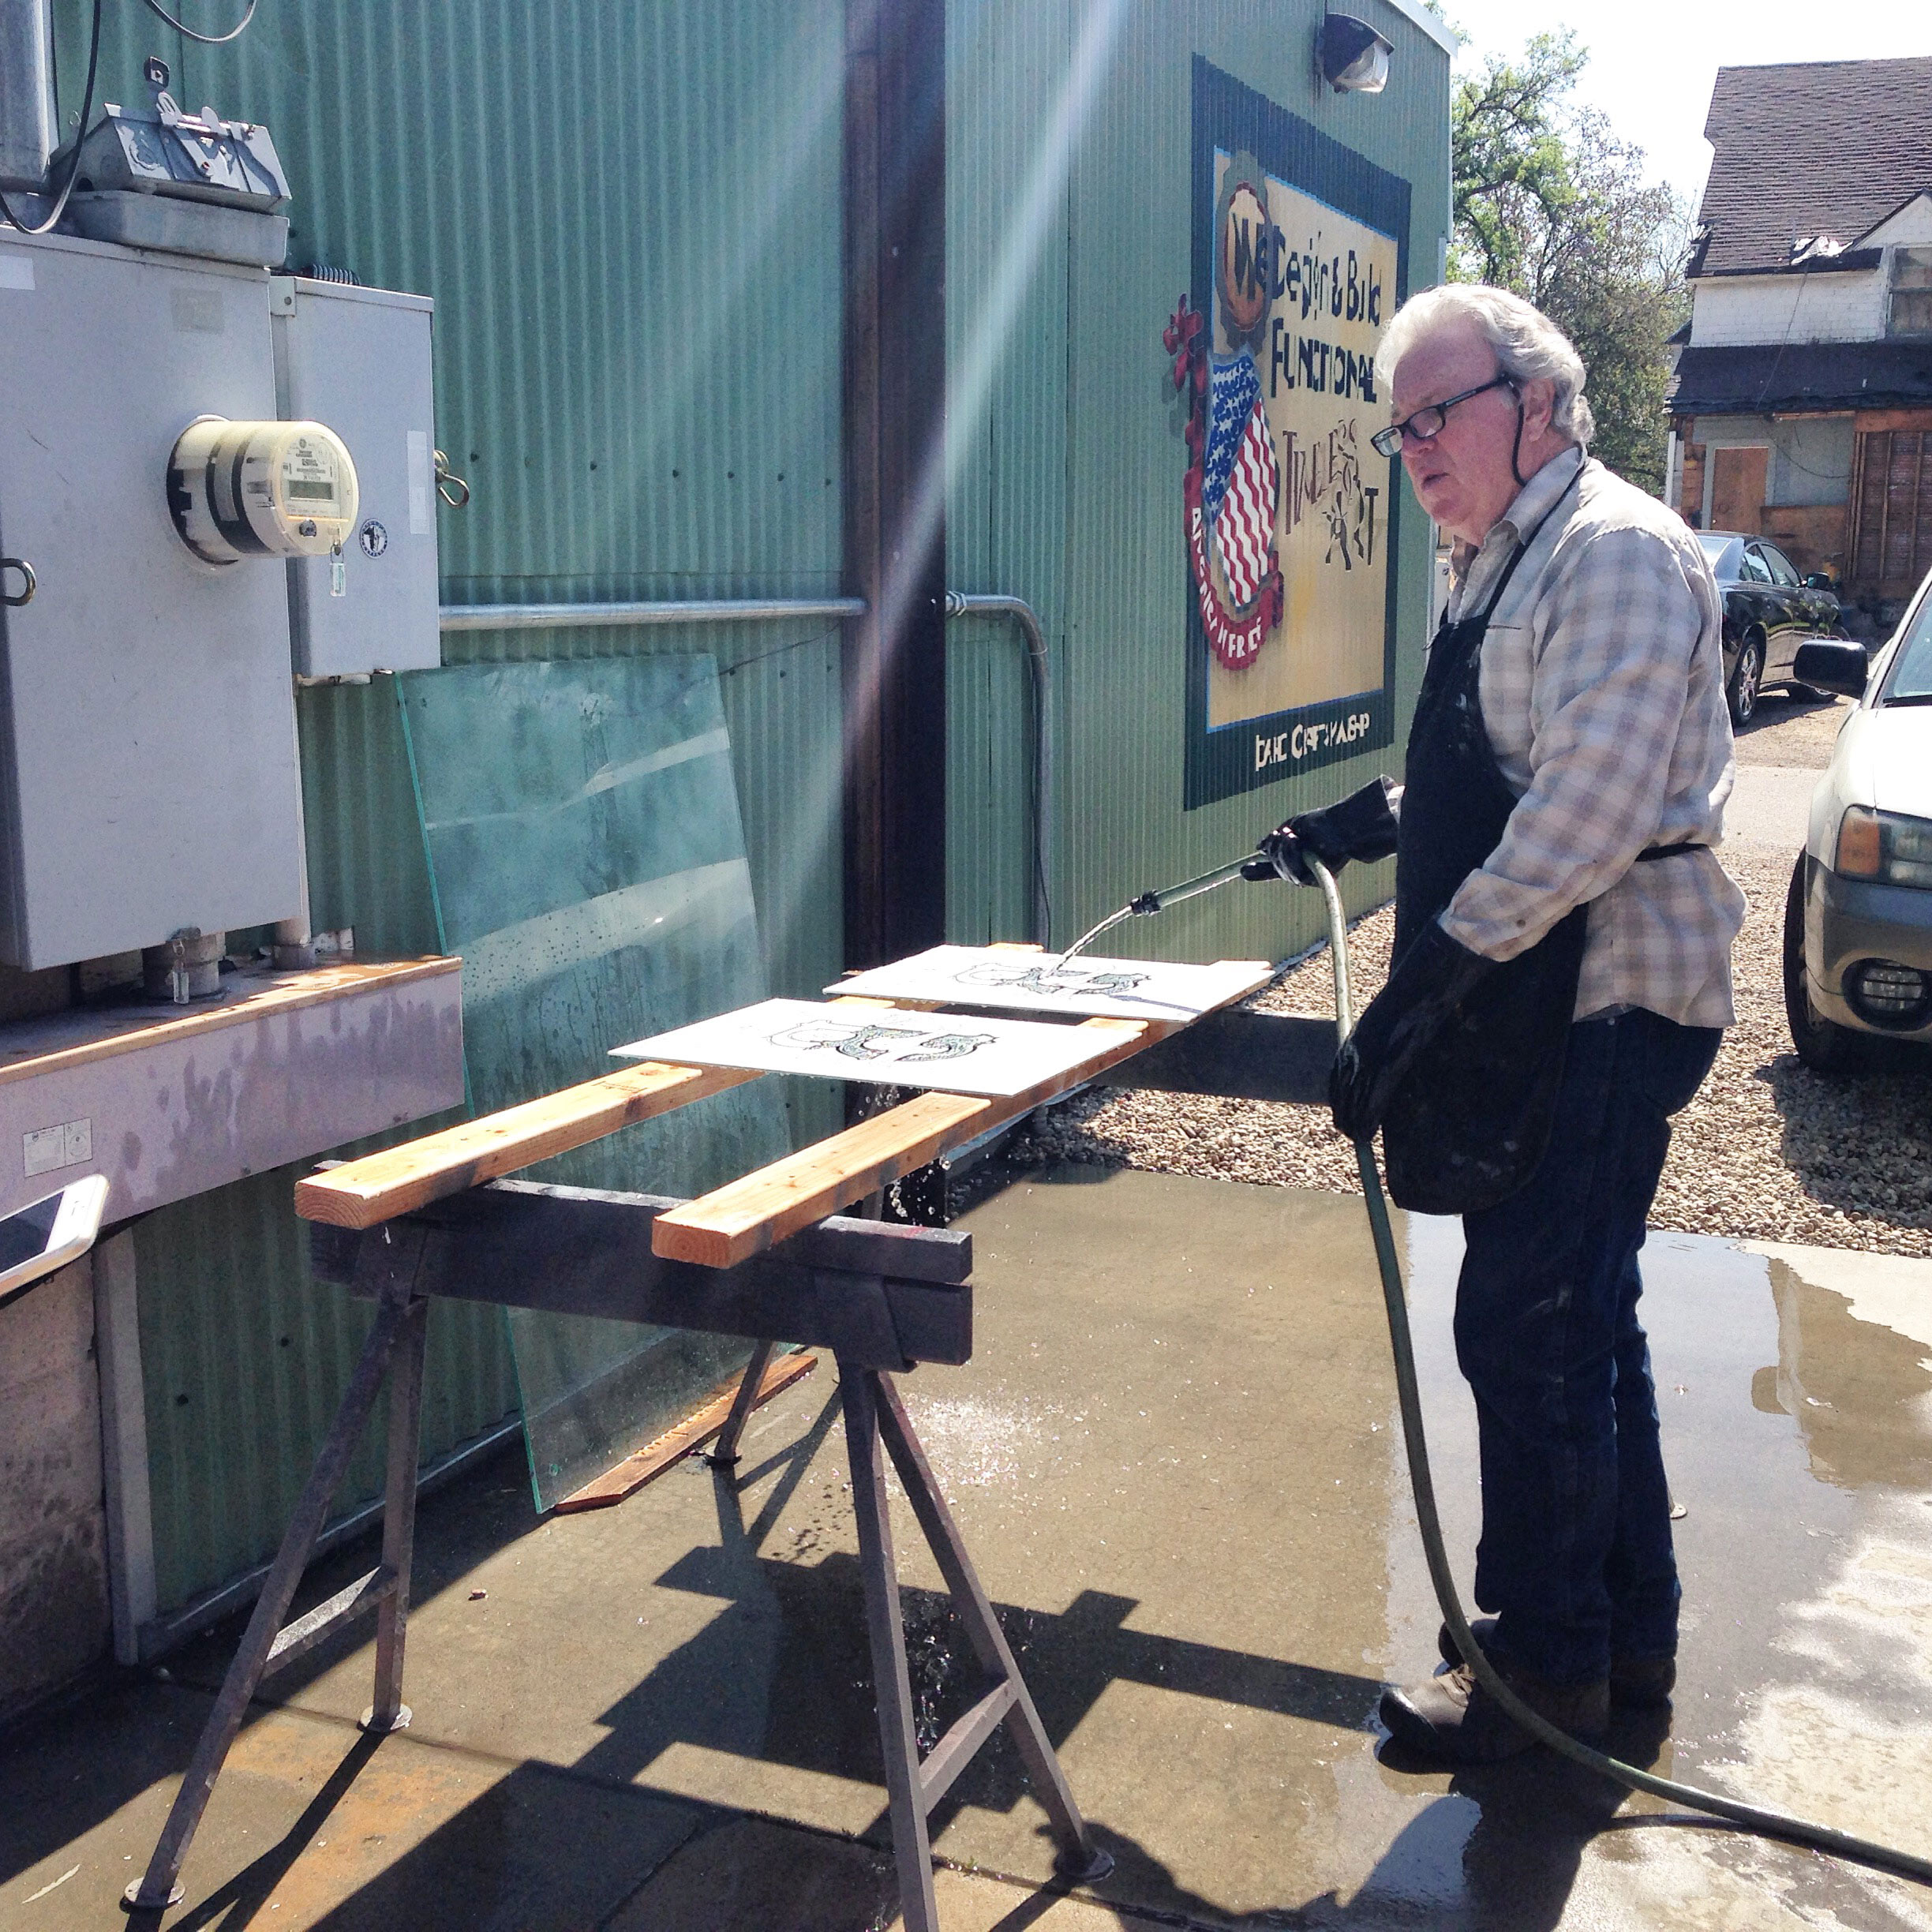
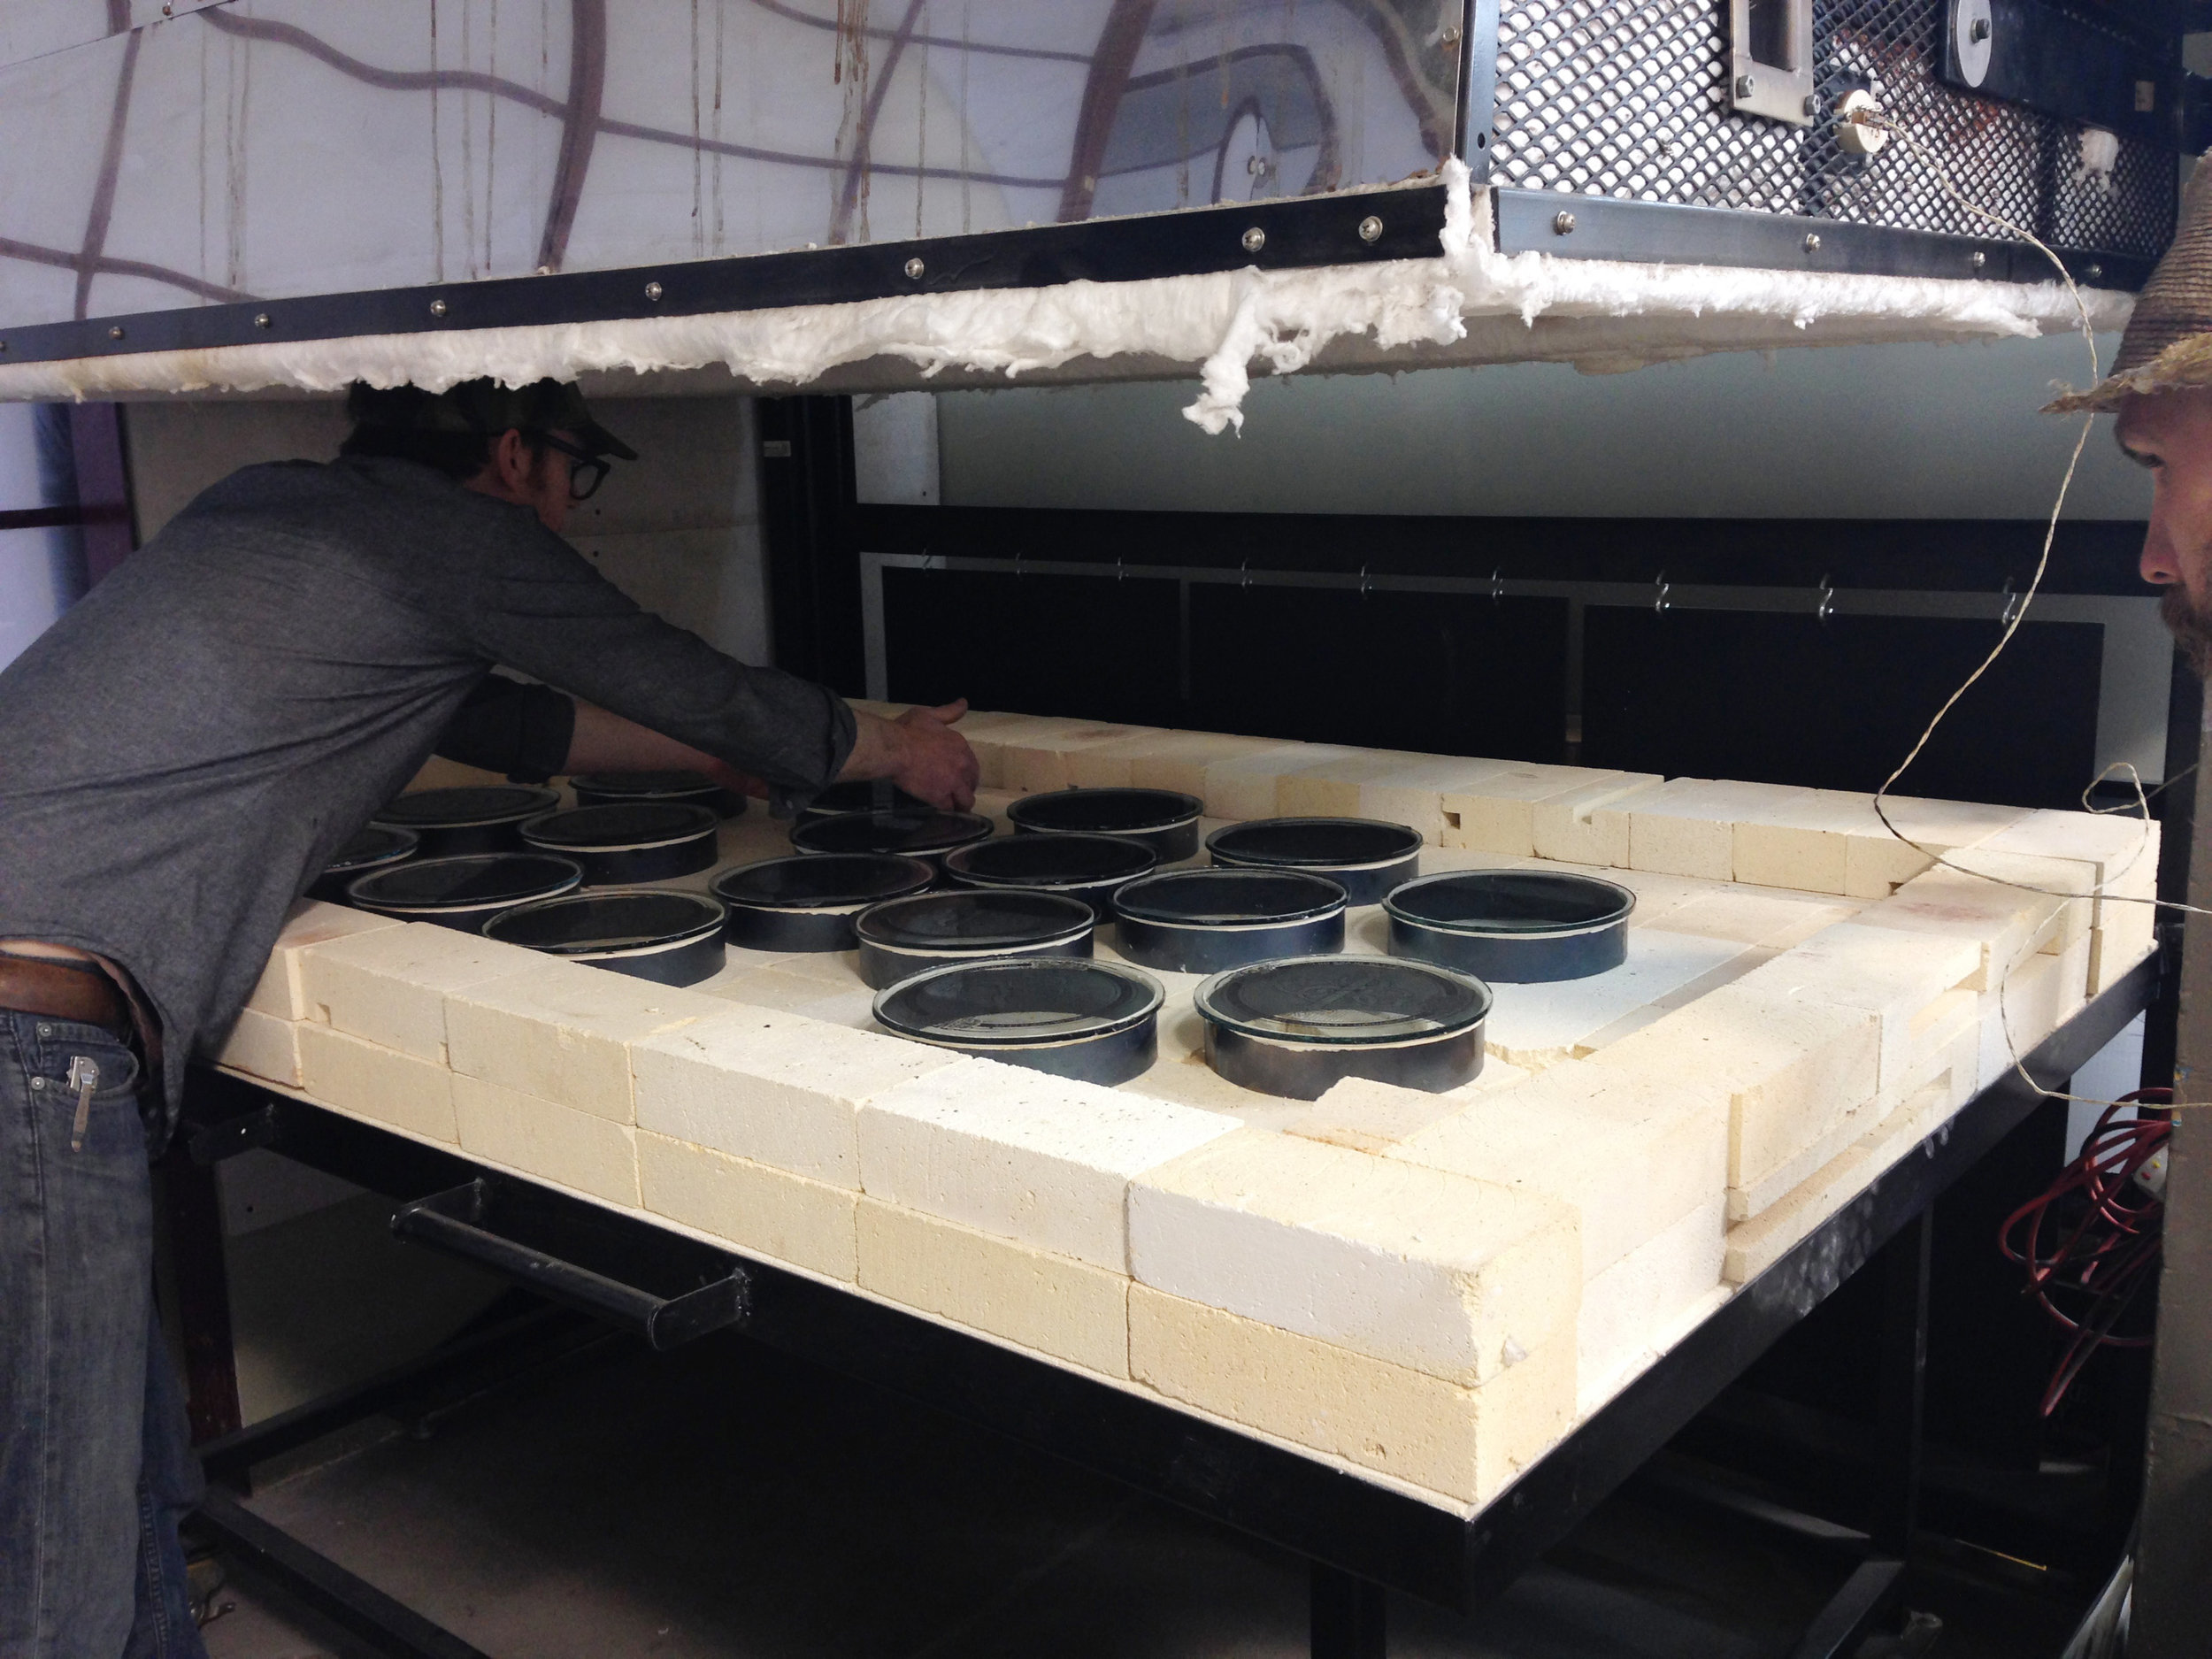
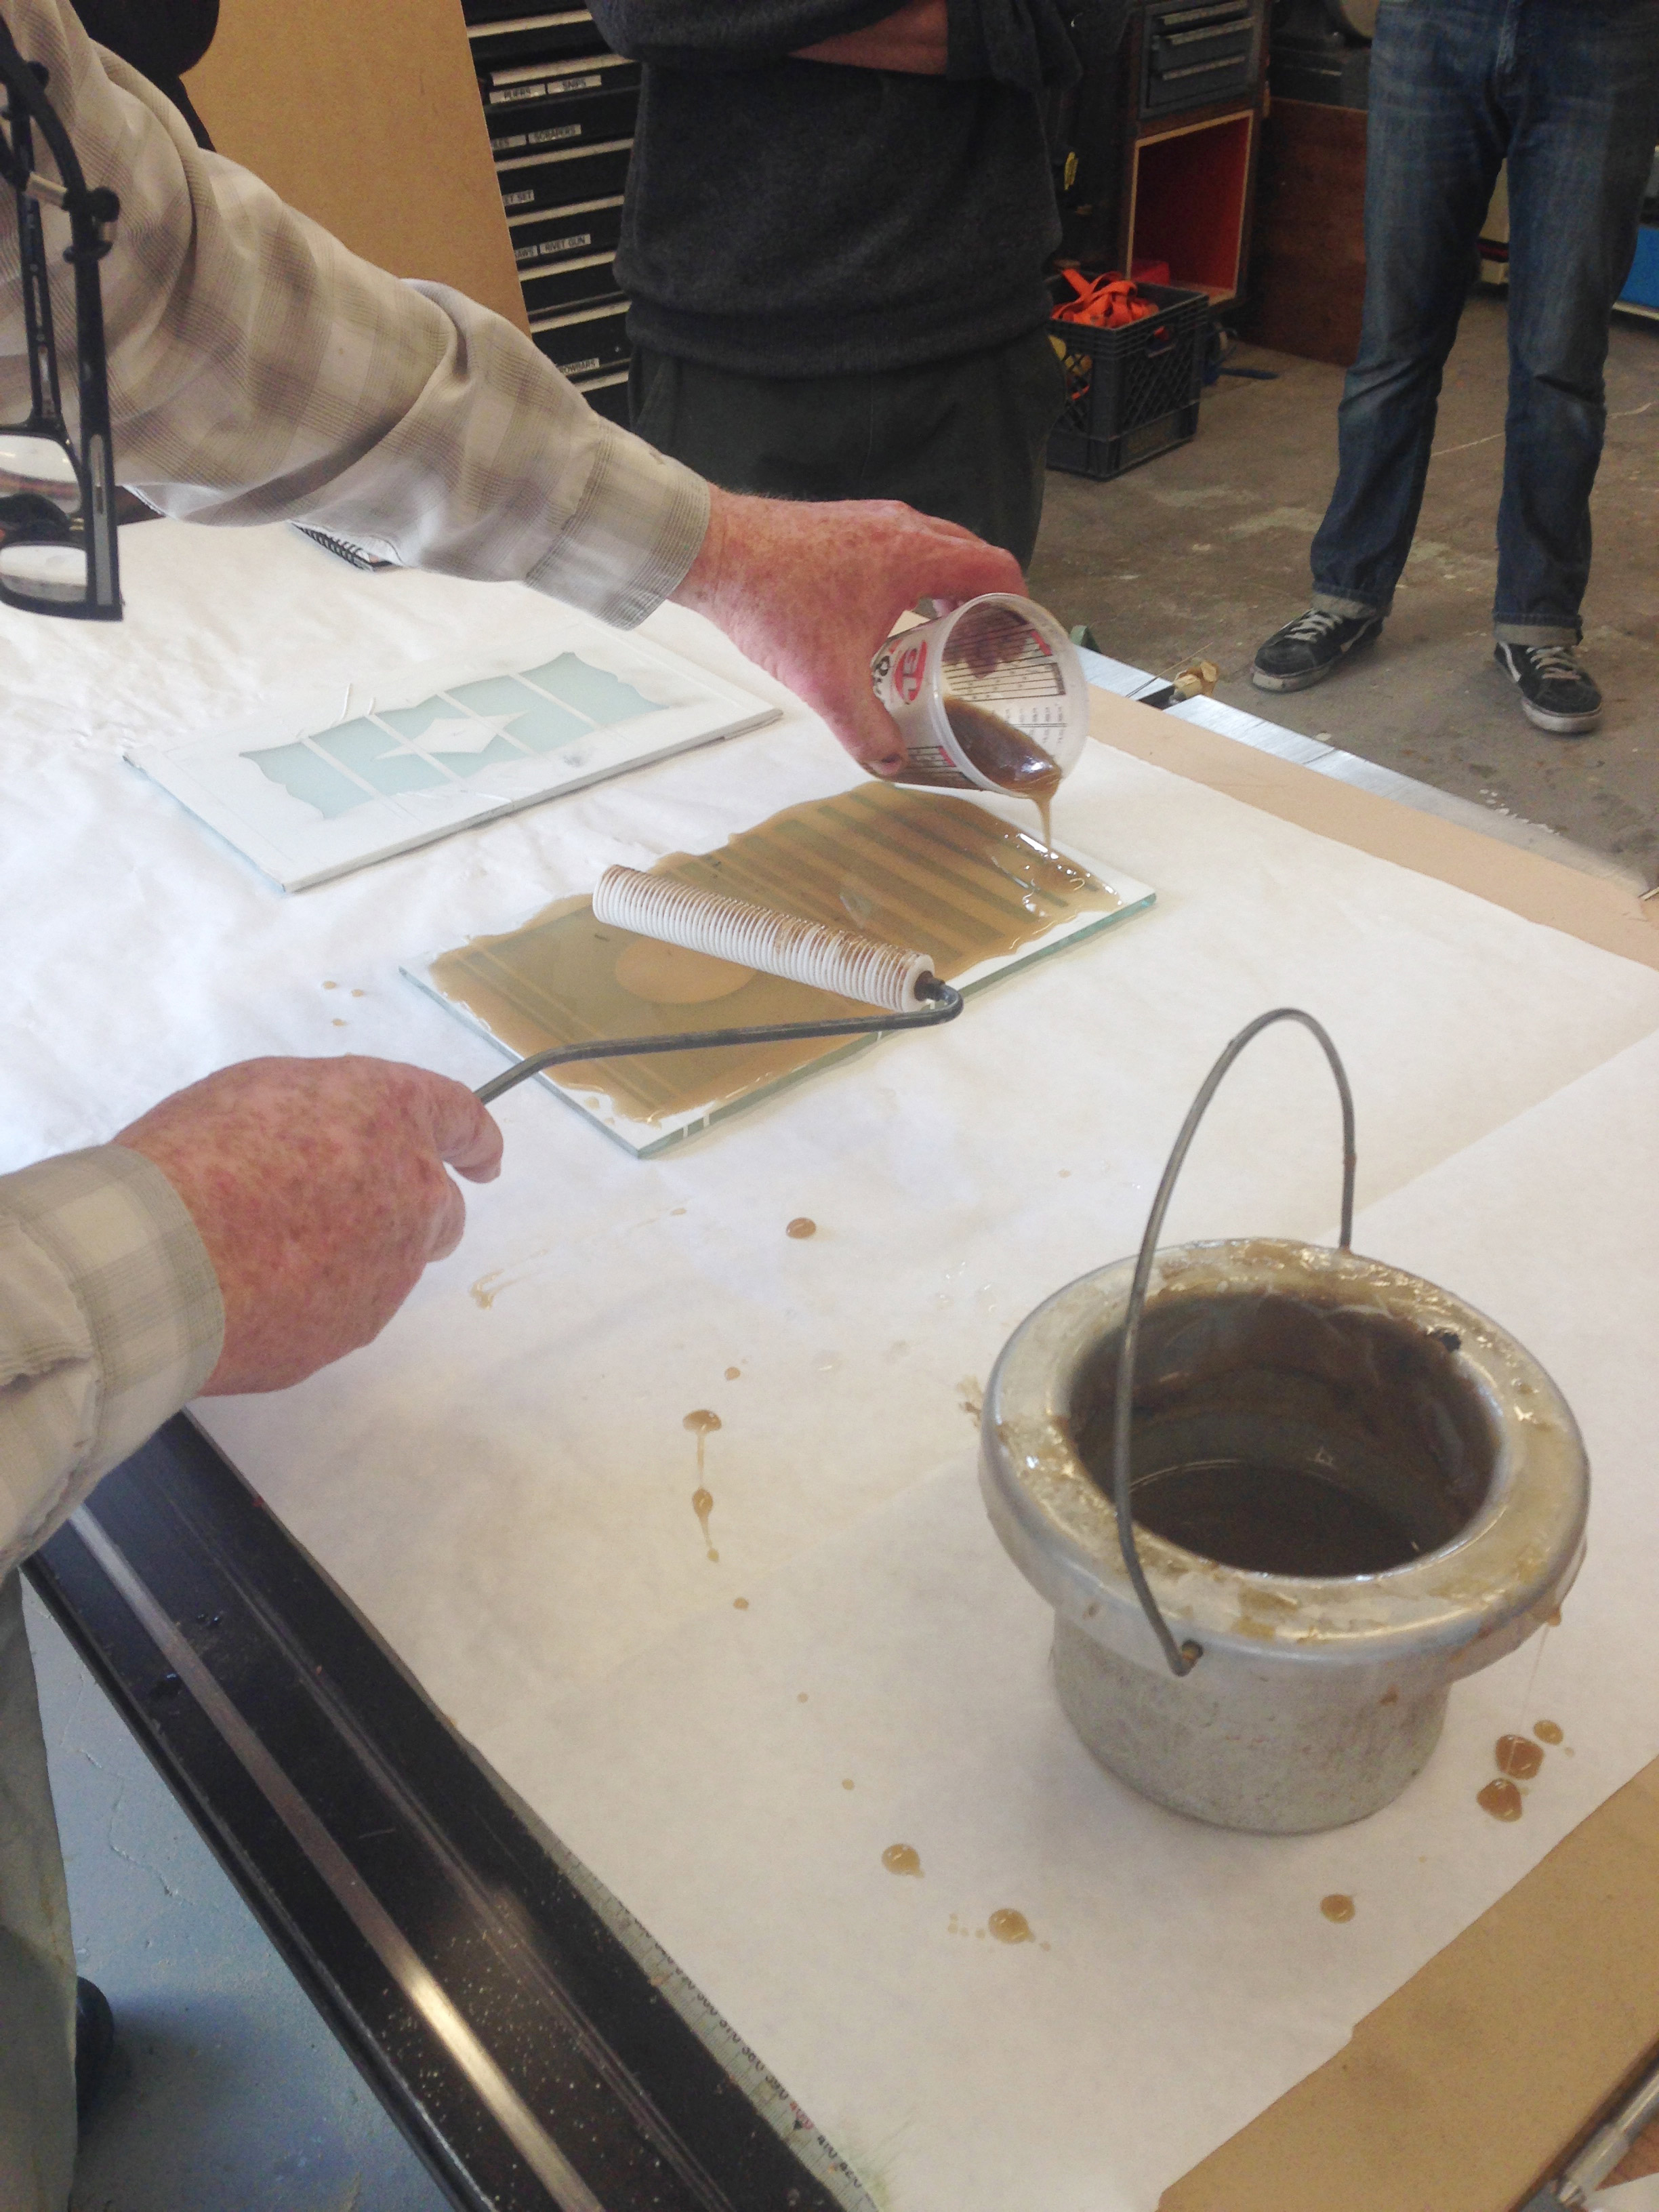
We also got the chance to learn a technique called glue chipping - which involves sandblasting areas of the glass and then applying a hide glue to the surface. As it dries, the glue yanks off a thin layer of glass and gives it these amazing deep patterns of chipping which can then be gilded (much like the acid-etched portion of the "B") Depending on how the glass chips off, you can end up with tiny little circles, or big swooping clam/feather looking chips. It's another technique to experiment with on projects! We also got to experiment with gilding on a slumped glass piece. After screen printing the image on each circle, the glass pieces were placed on metal rings inside the kiln and at controlled temperatures, heated, causing the glass to slump into a globe-like shape. The pieces can then be gilded with different types of gold, as shown in the last image in the following series of photos.
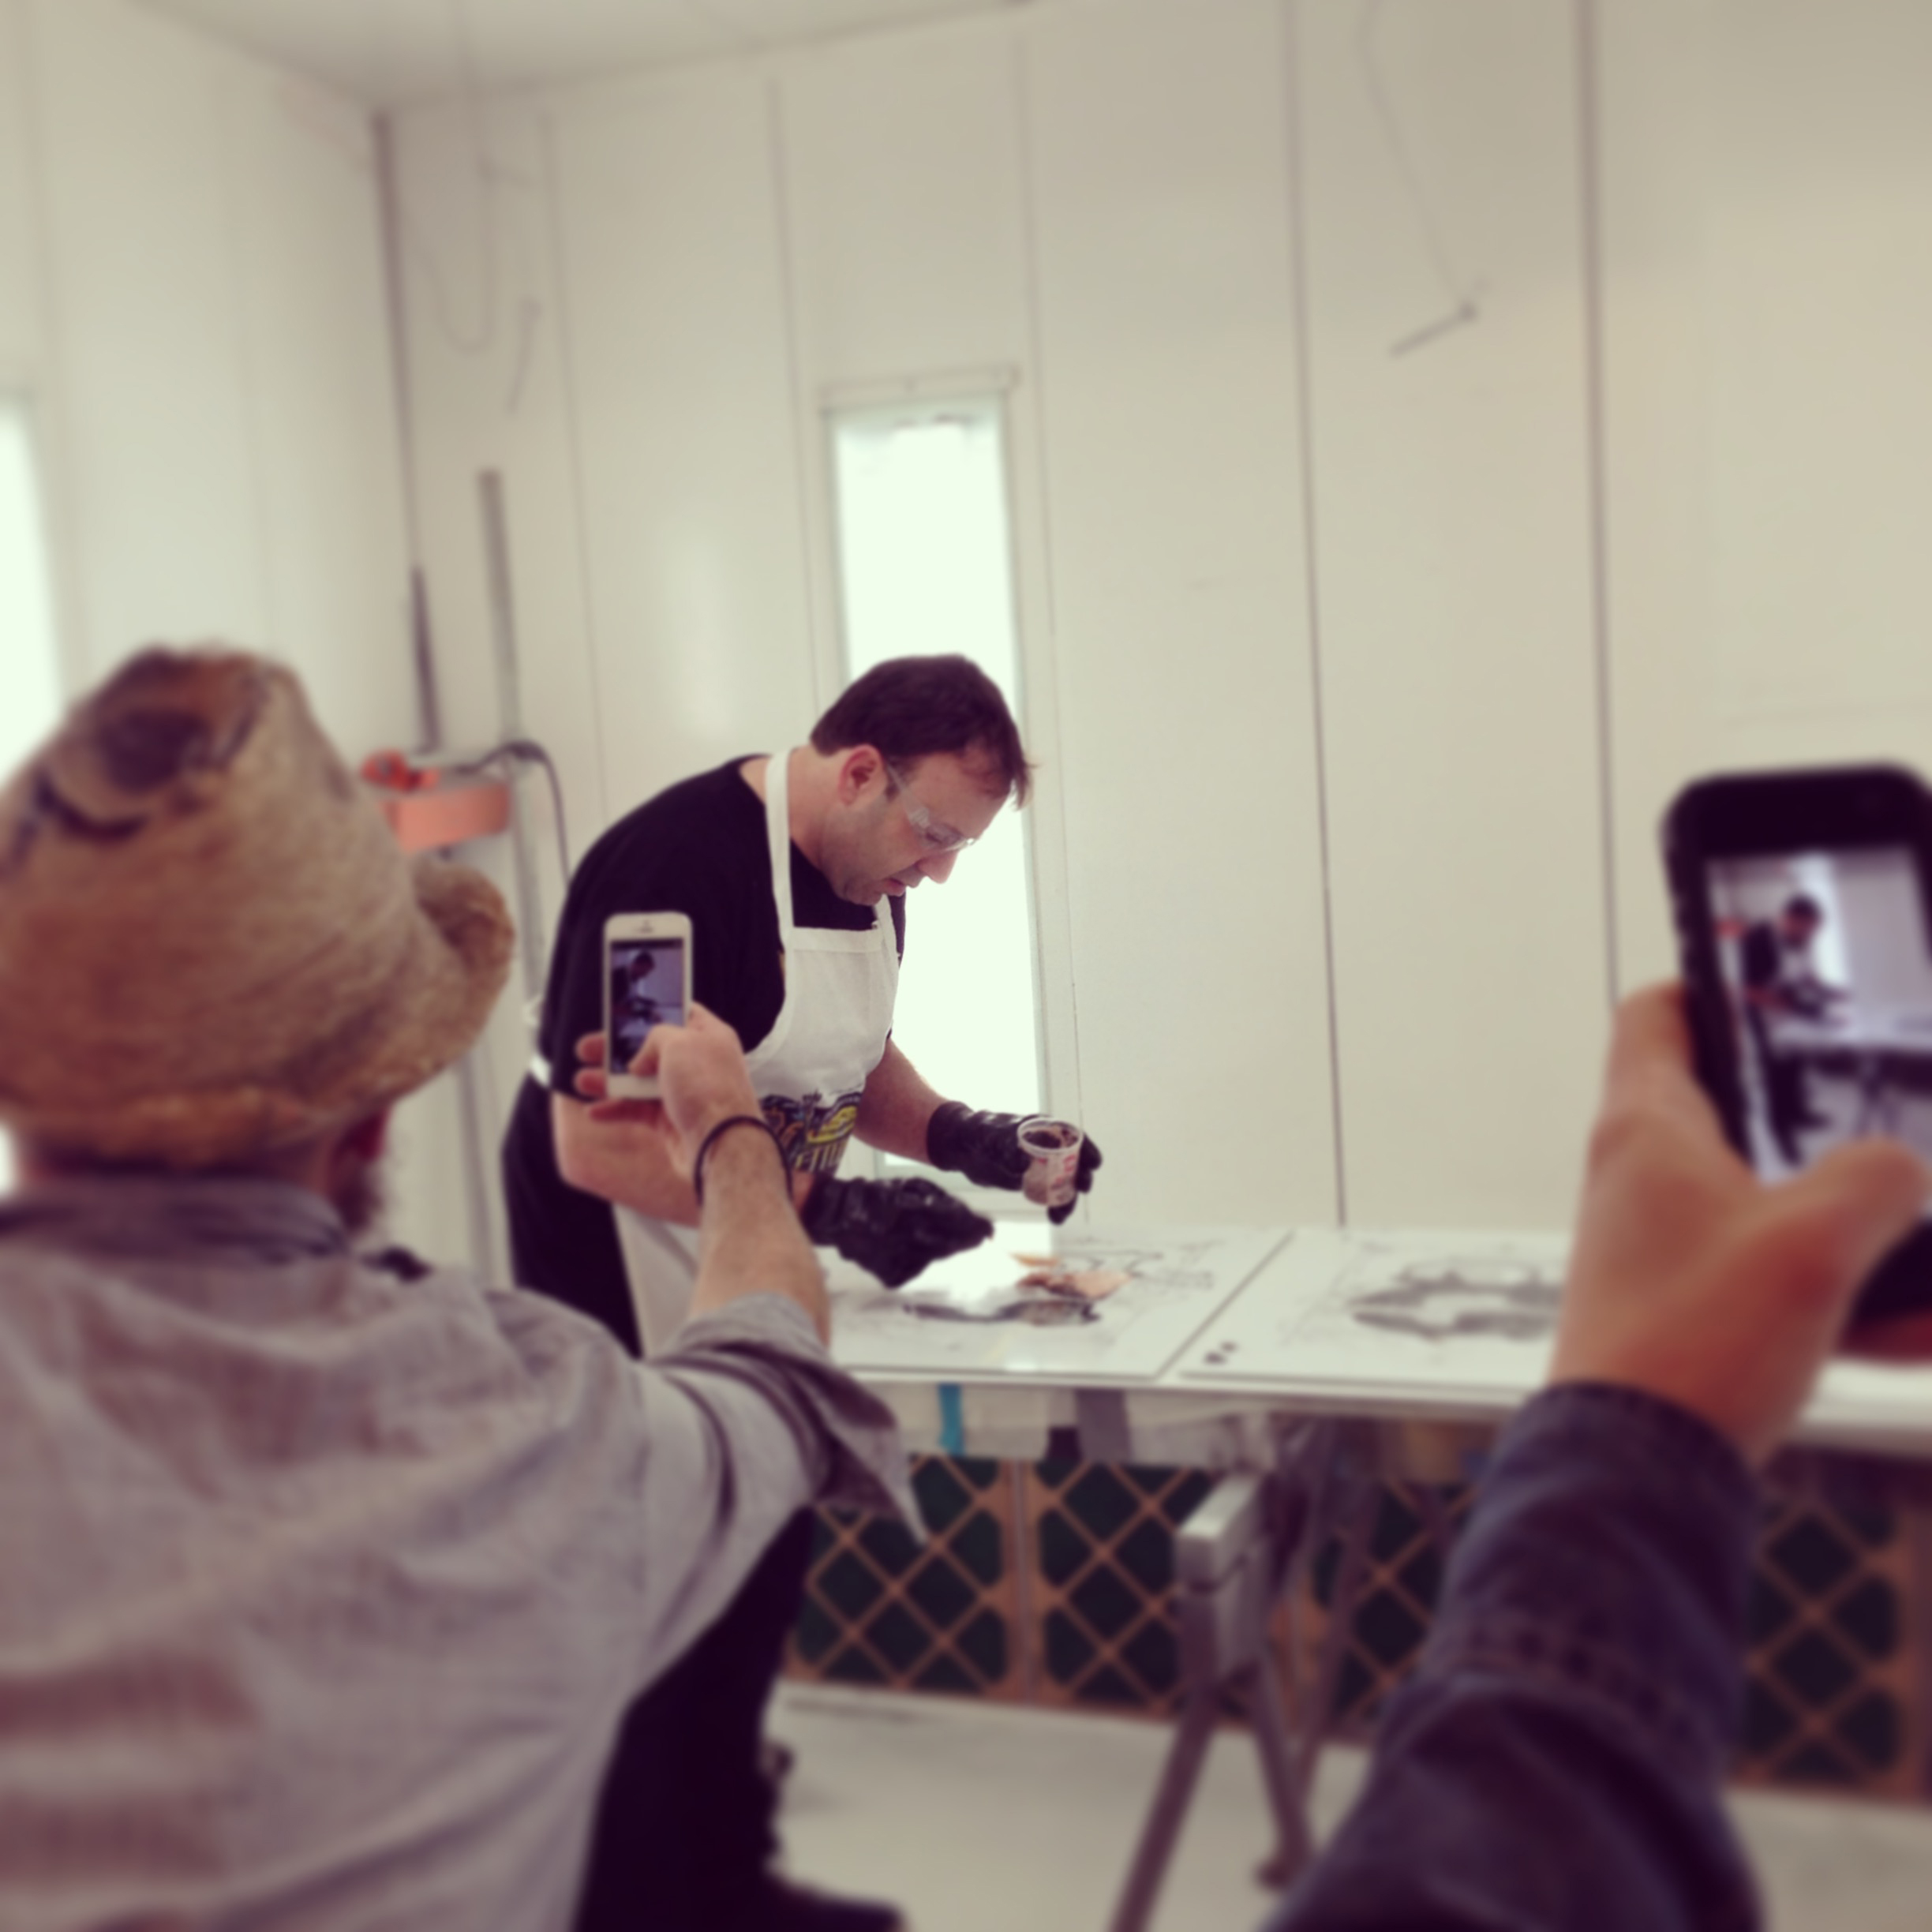
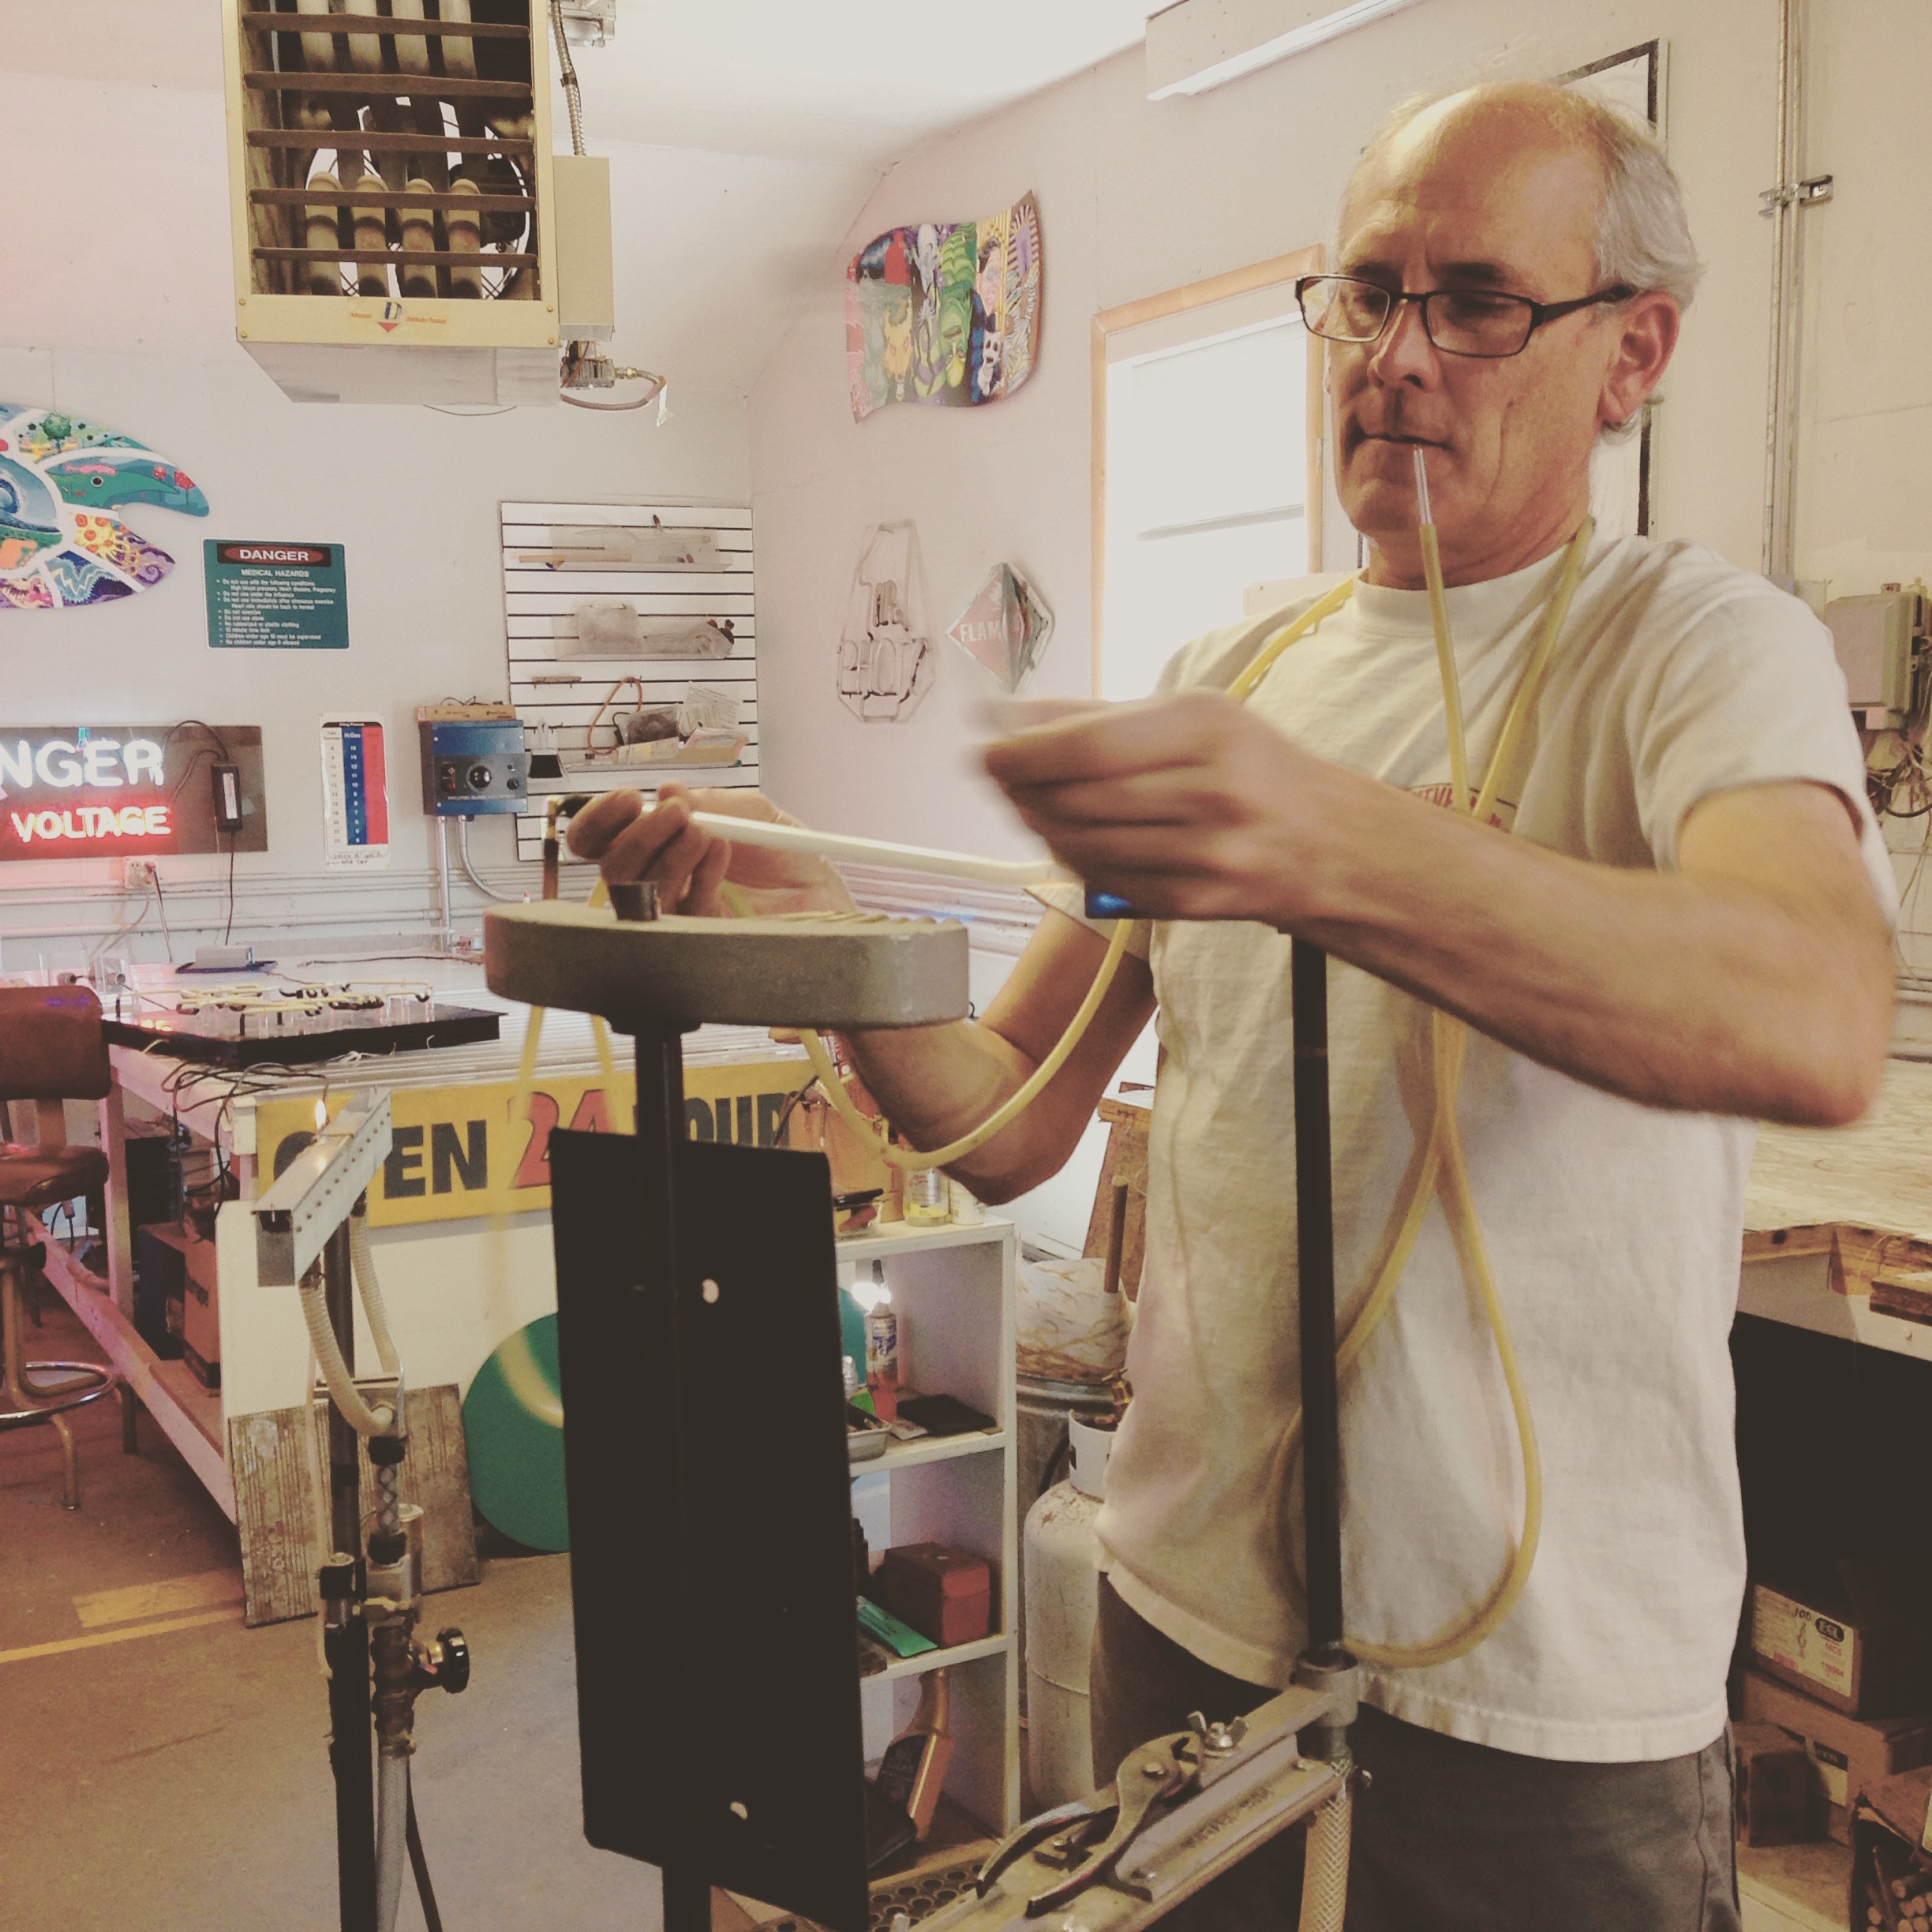
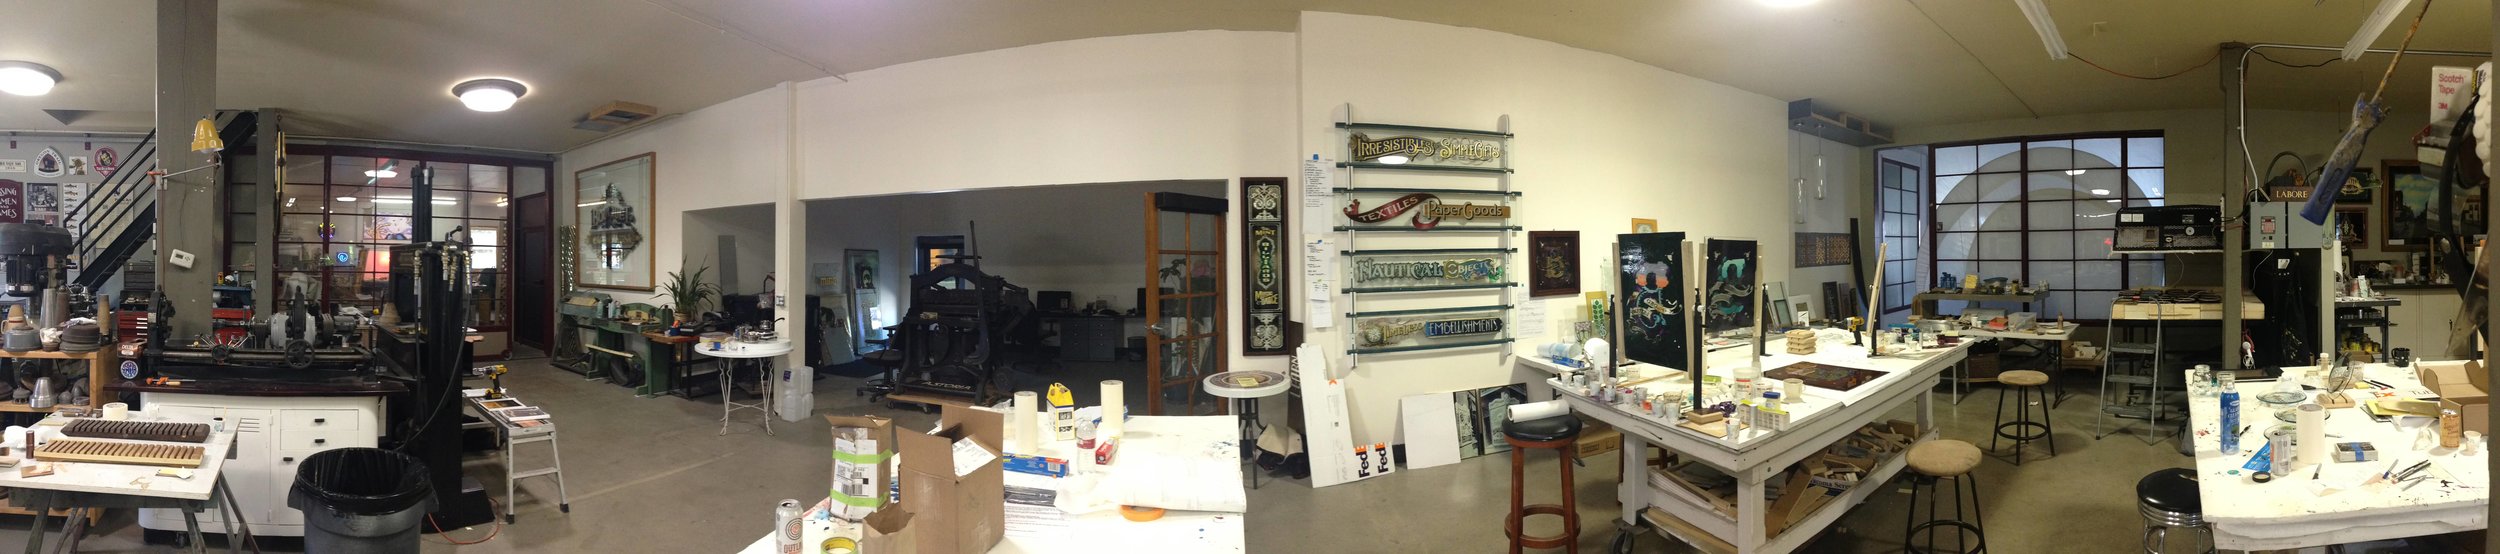
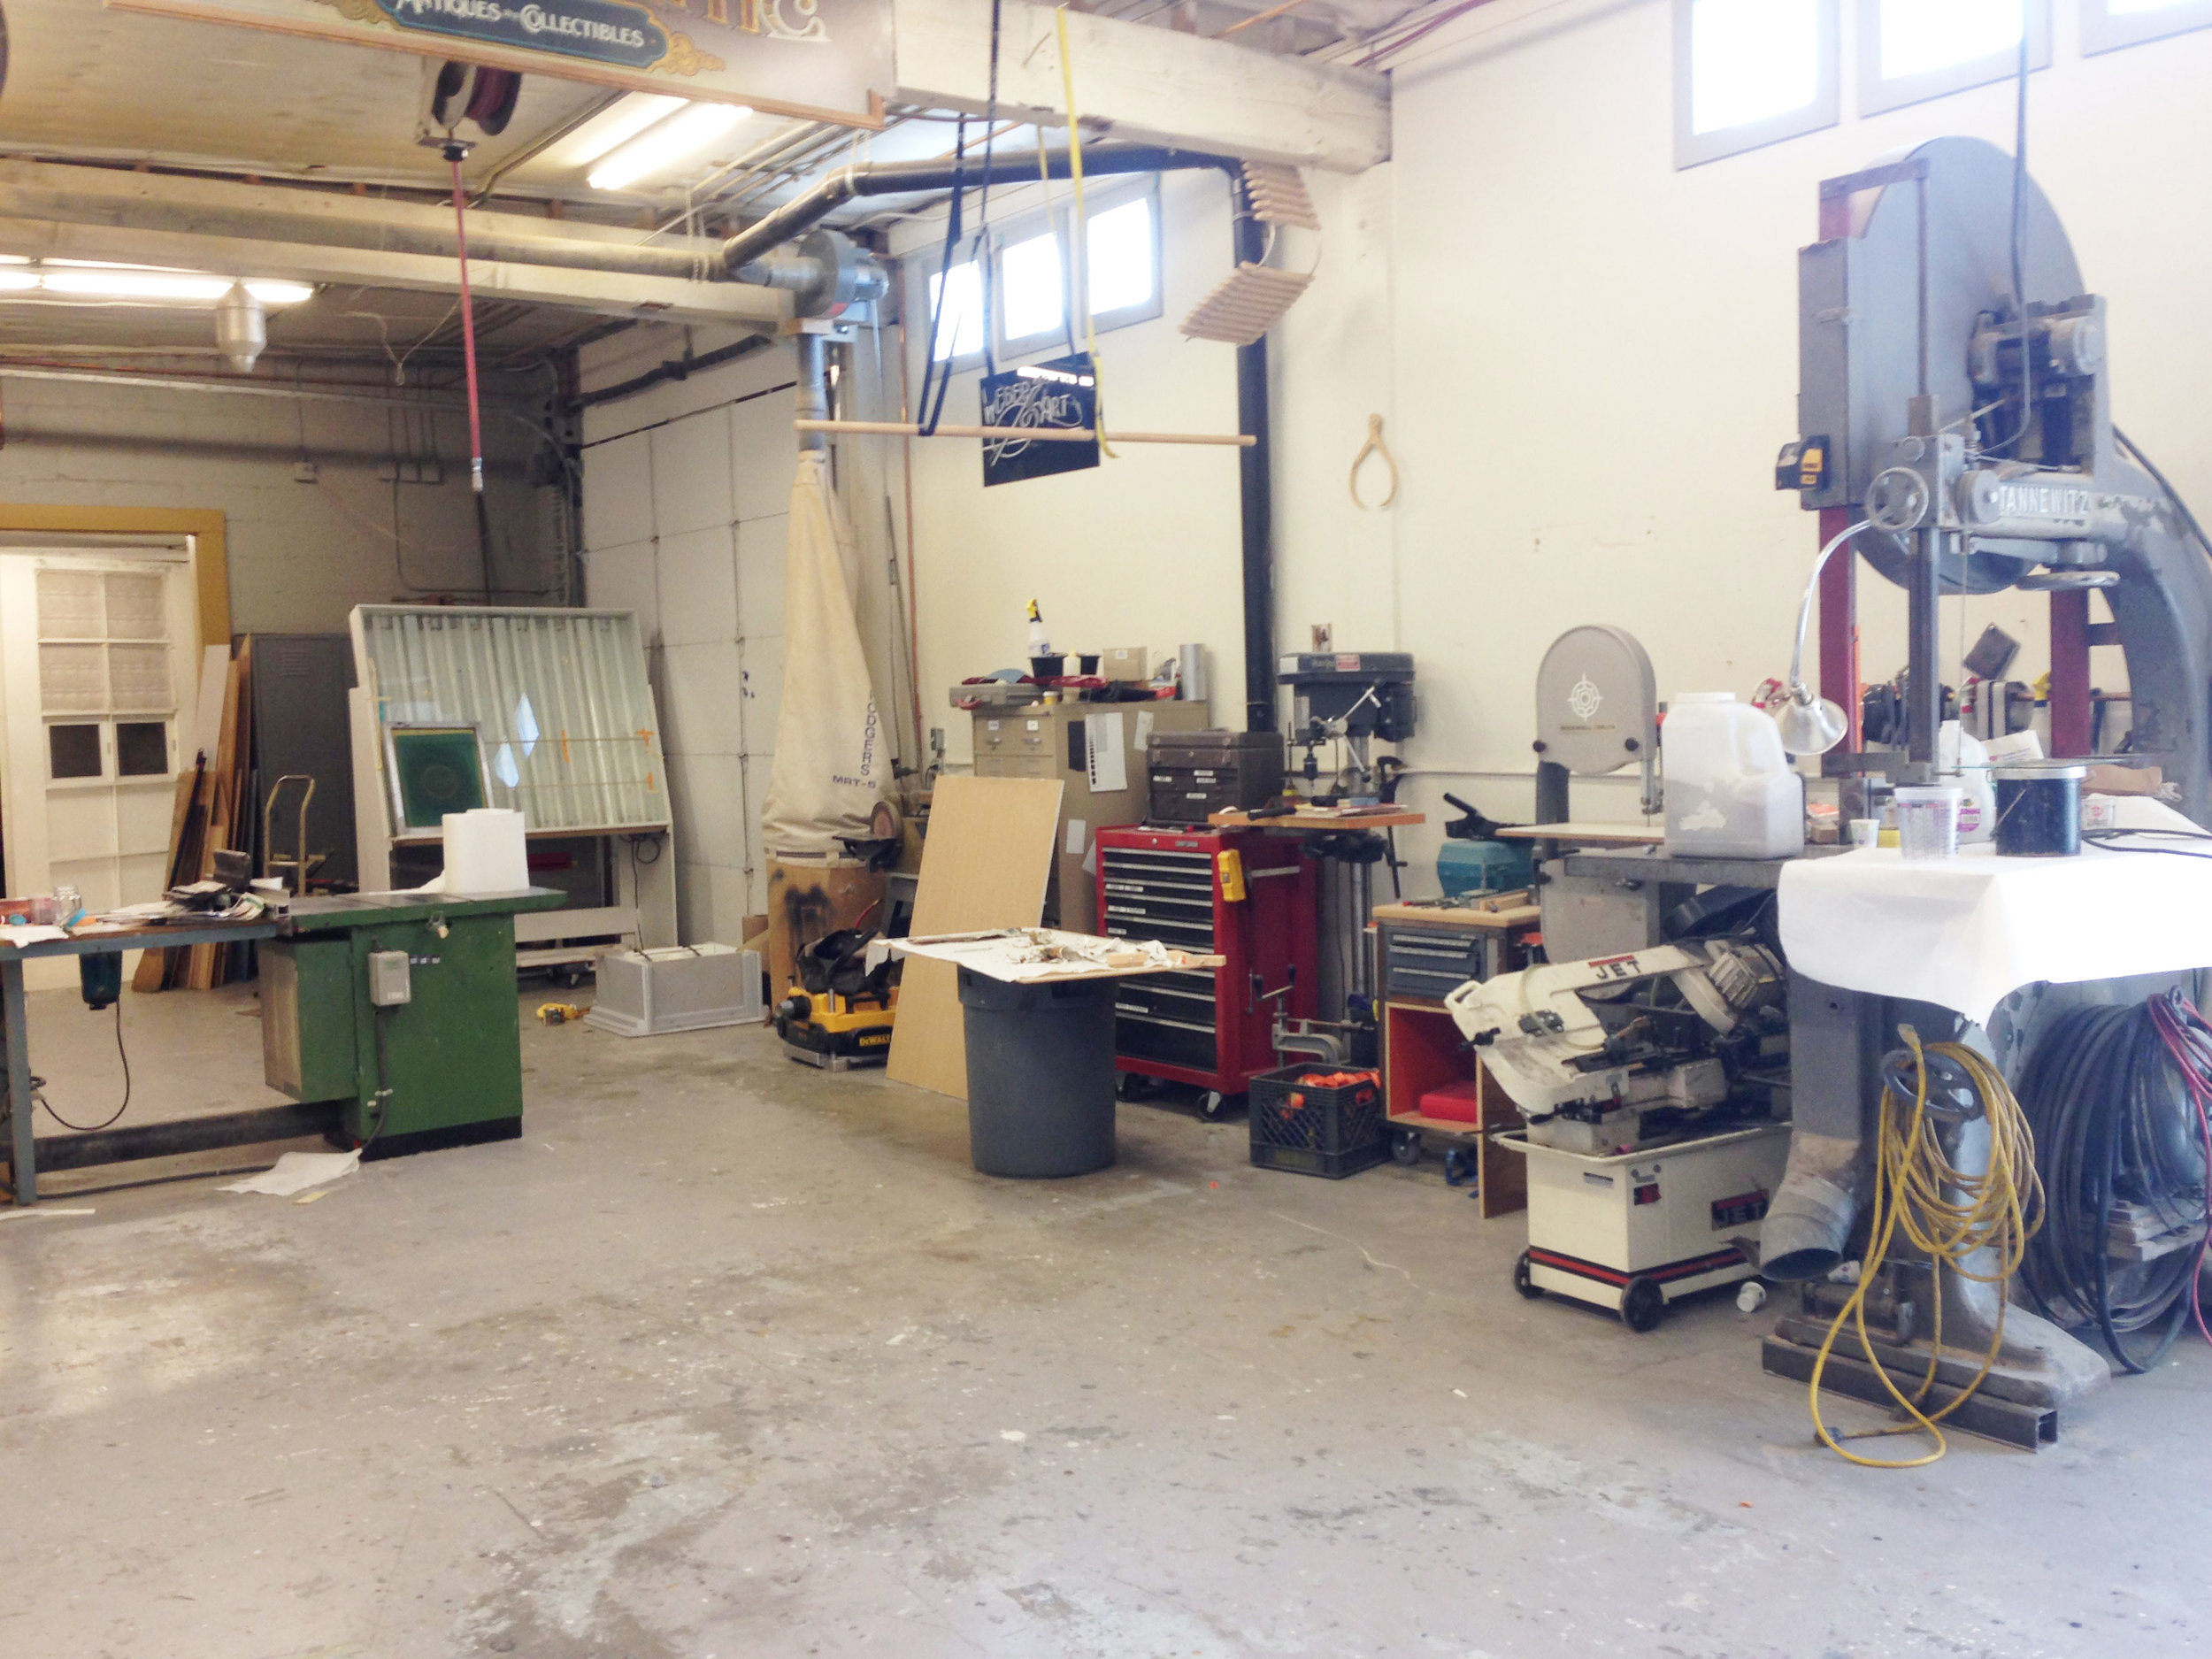
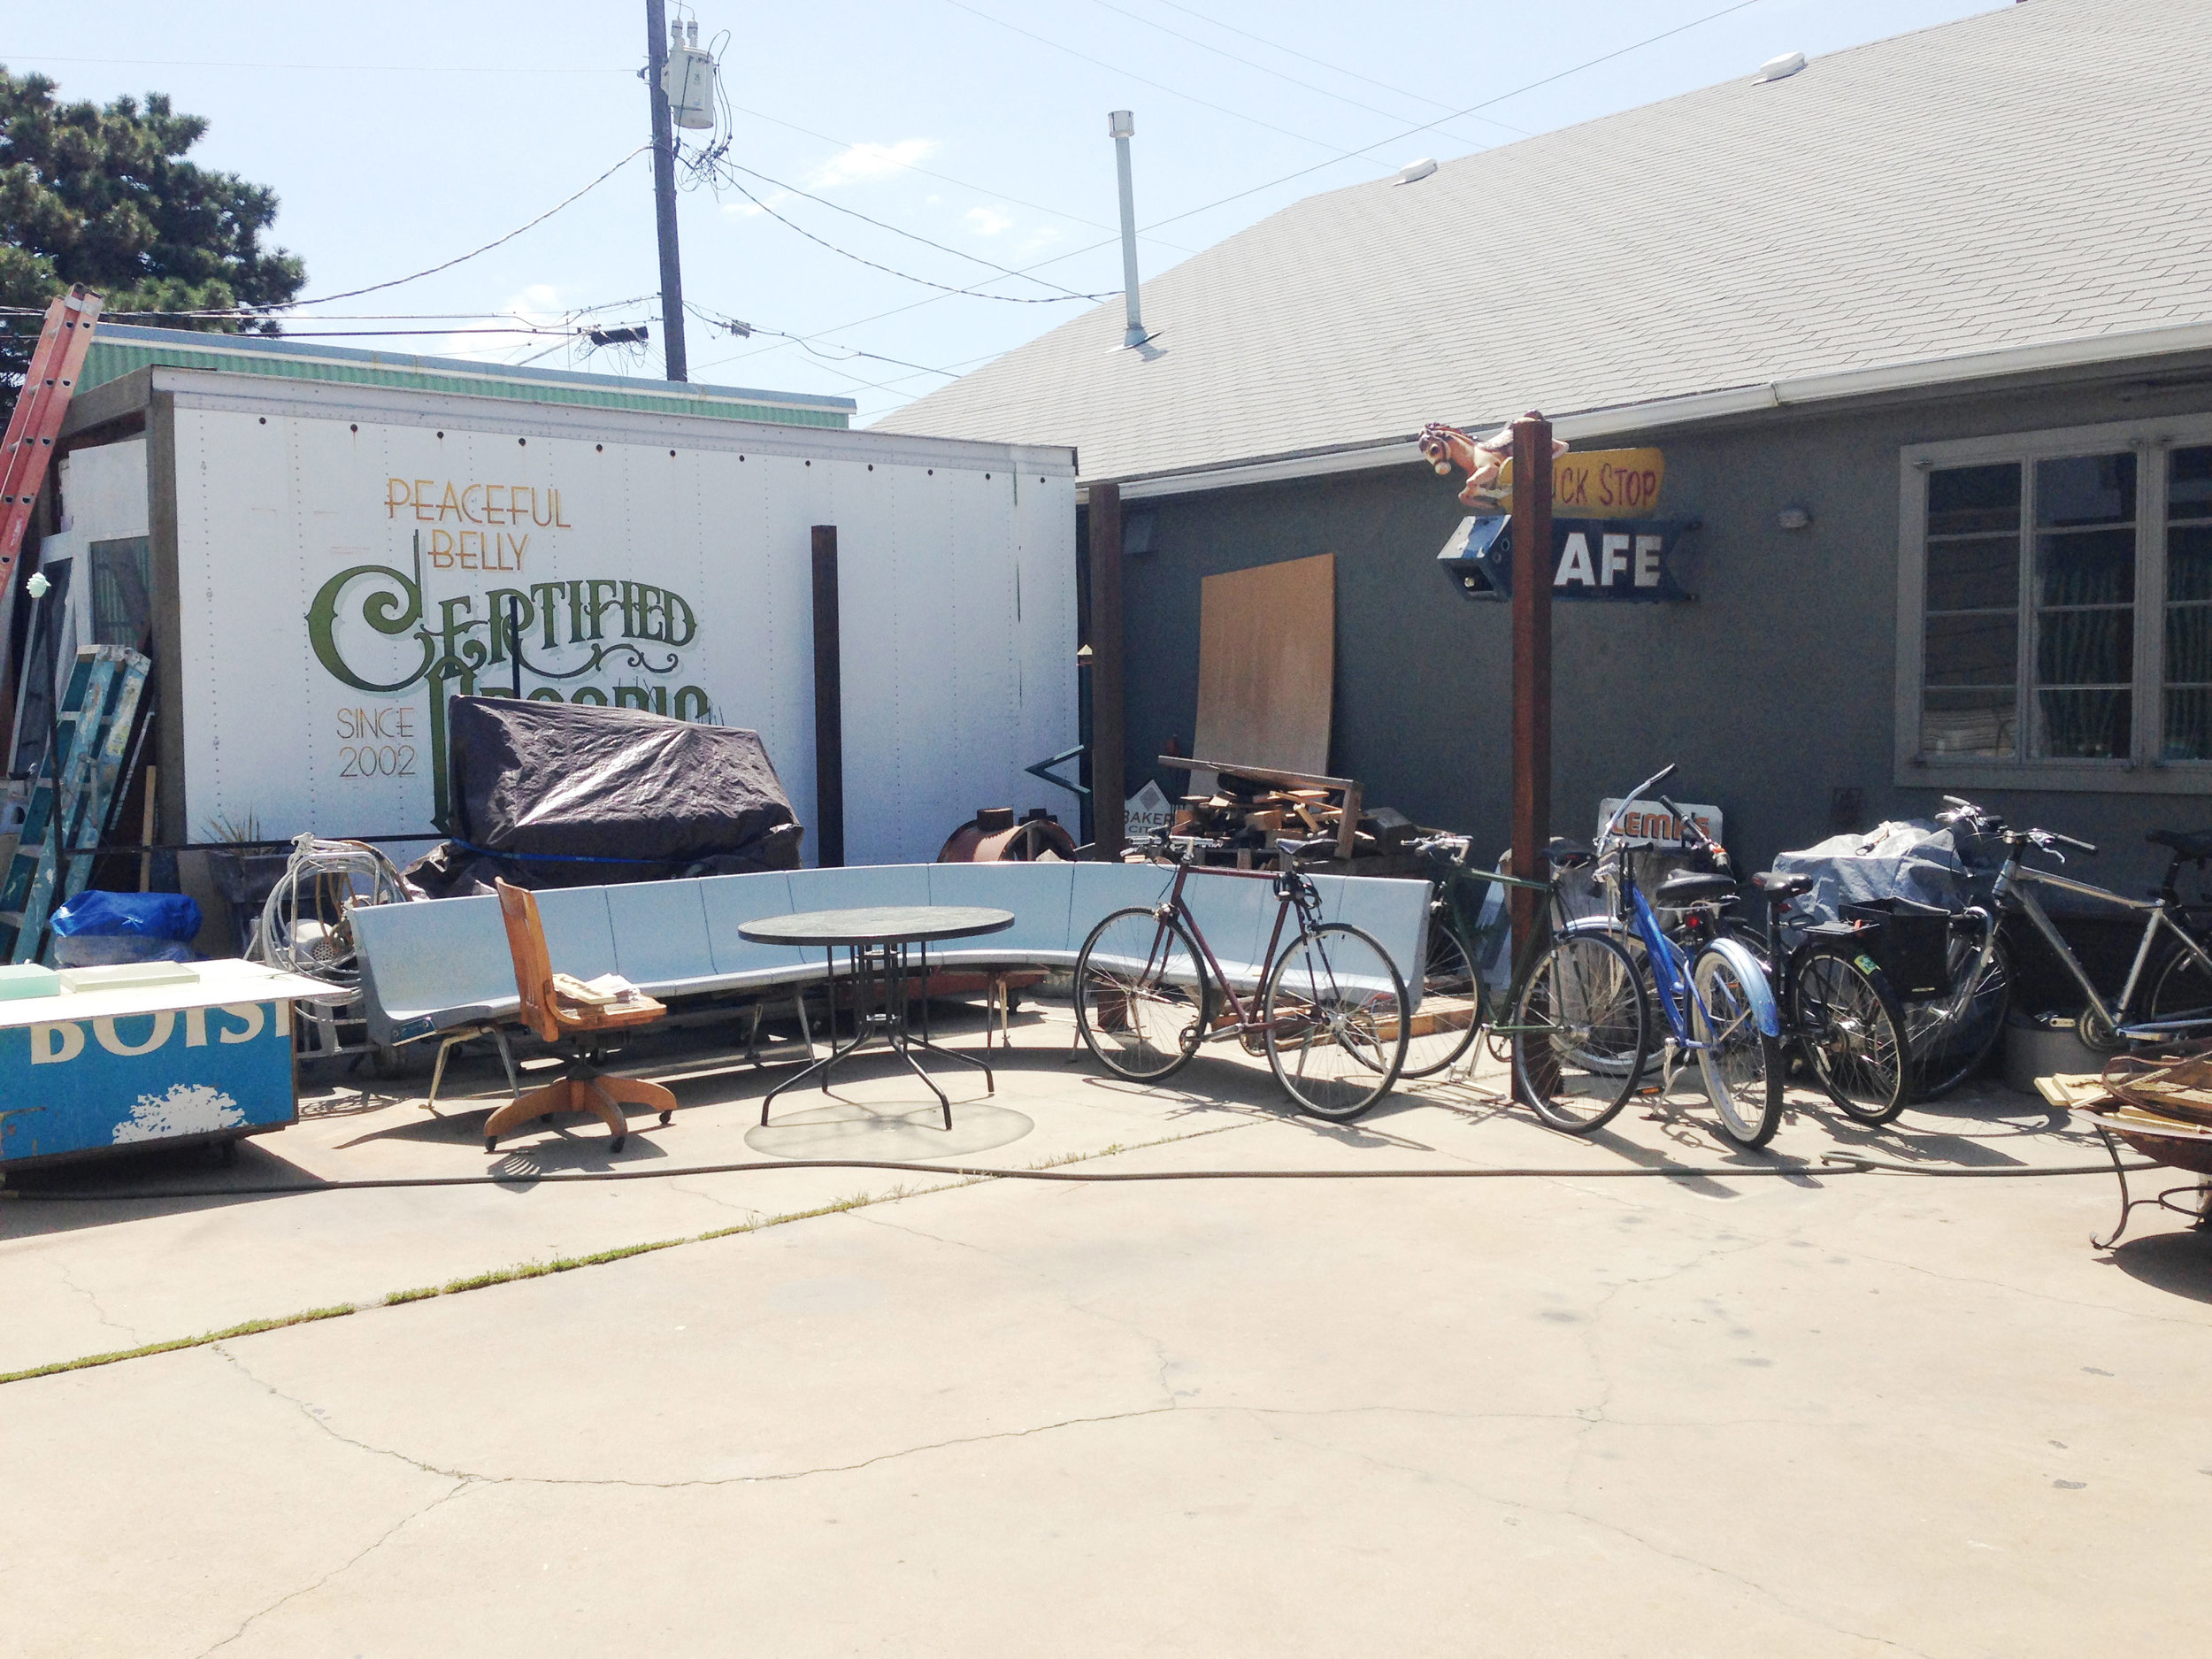
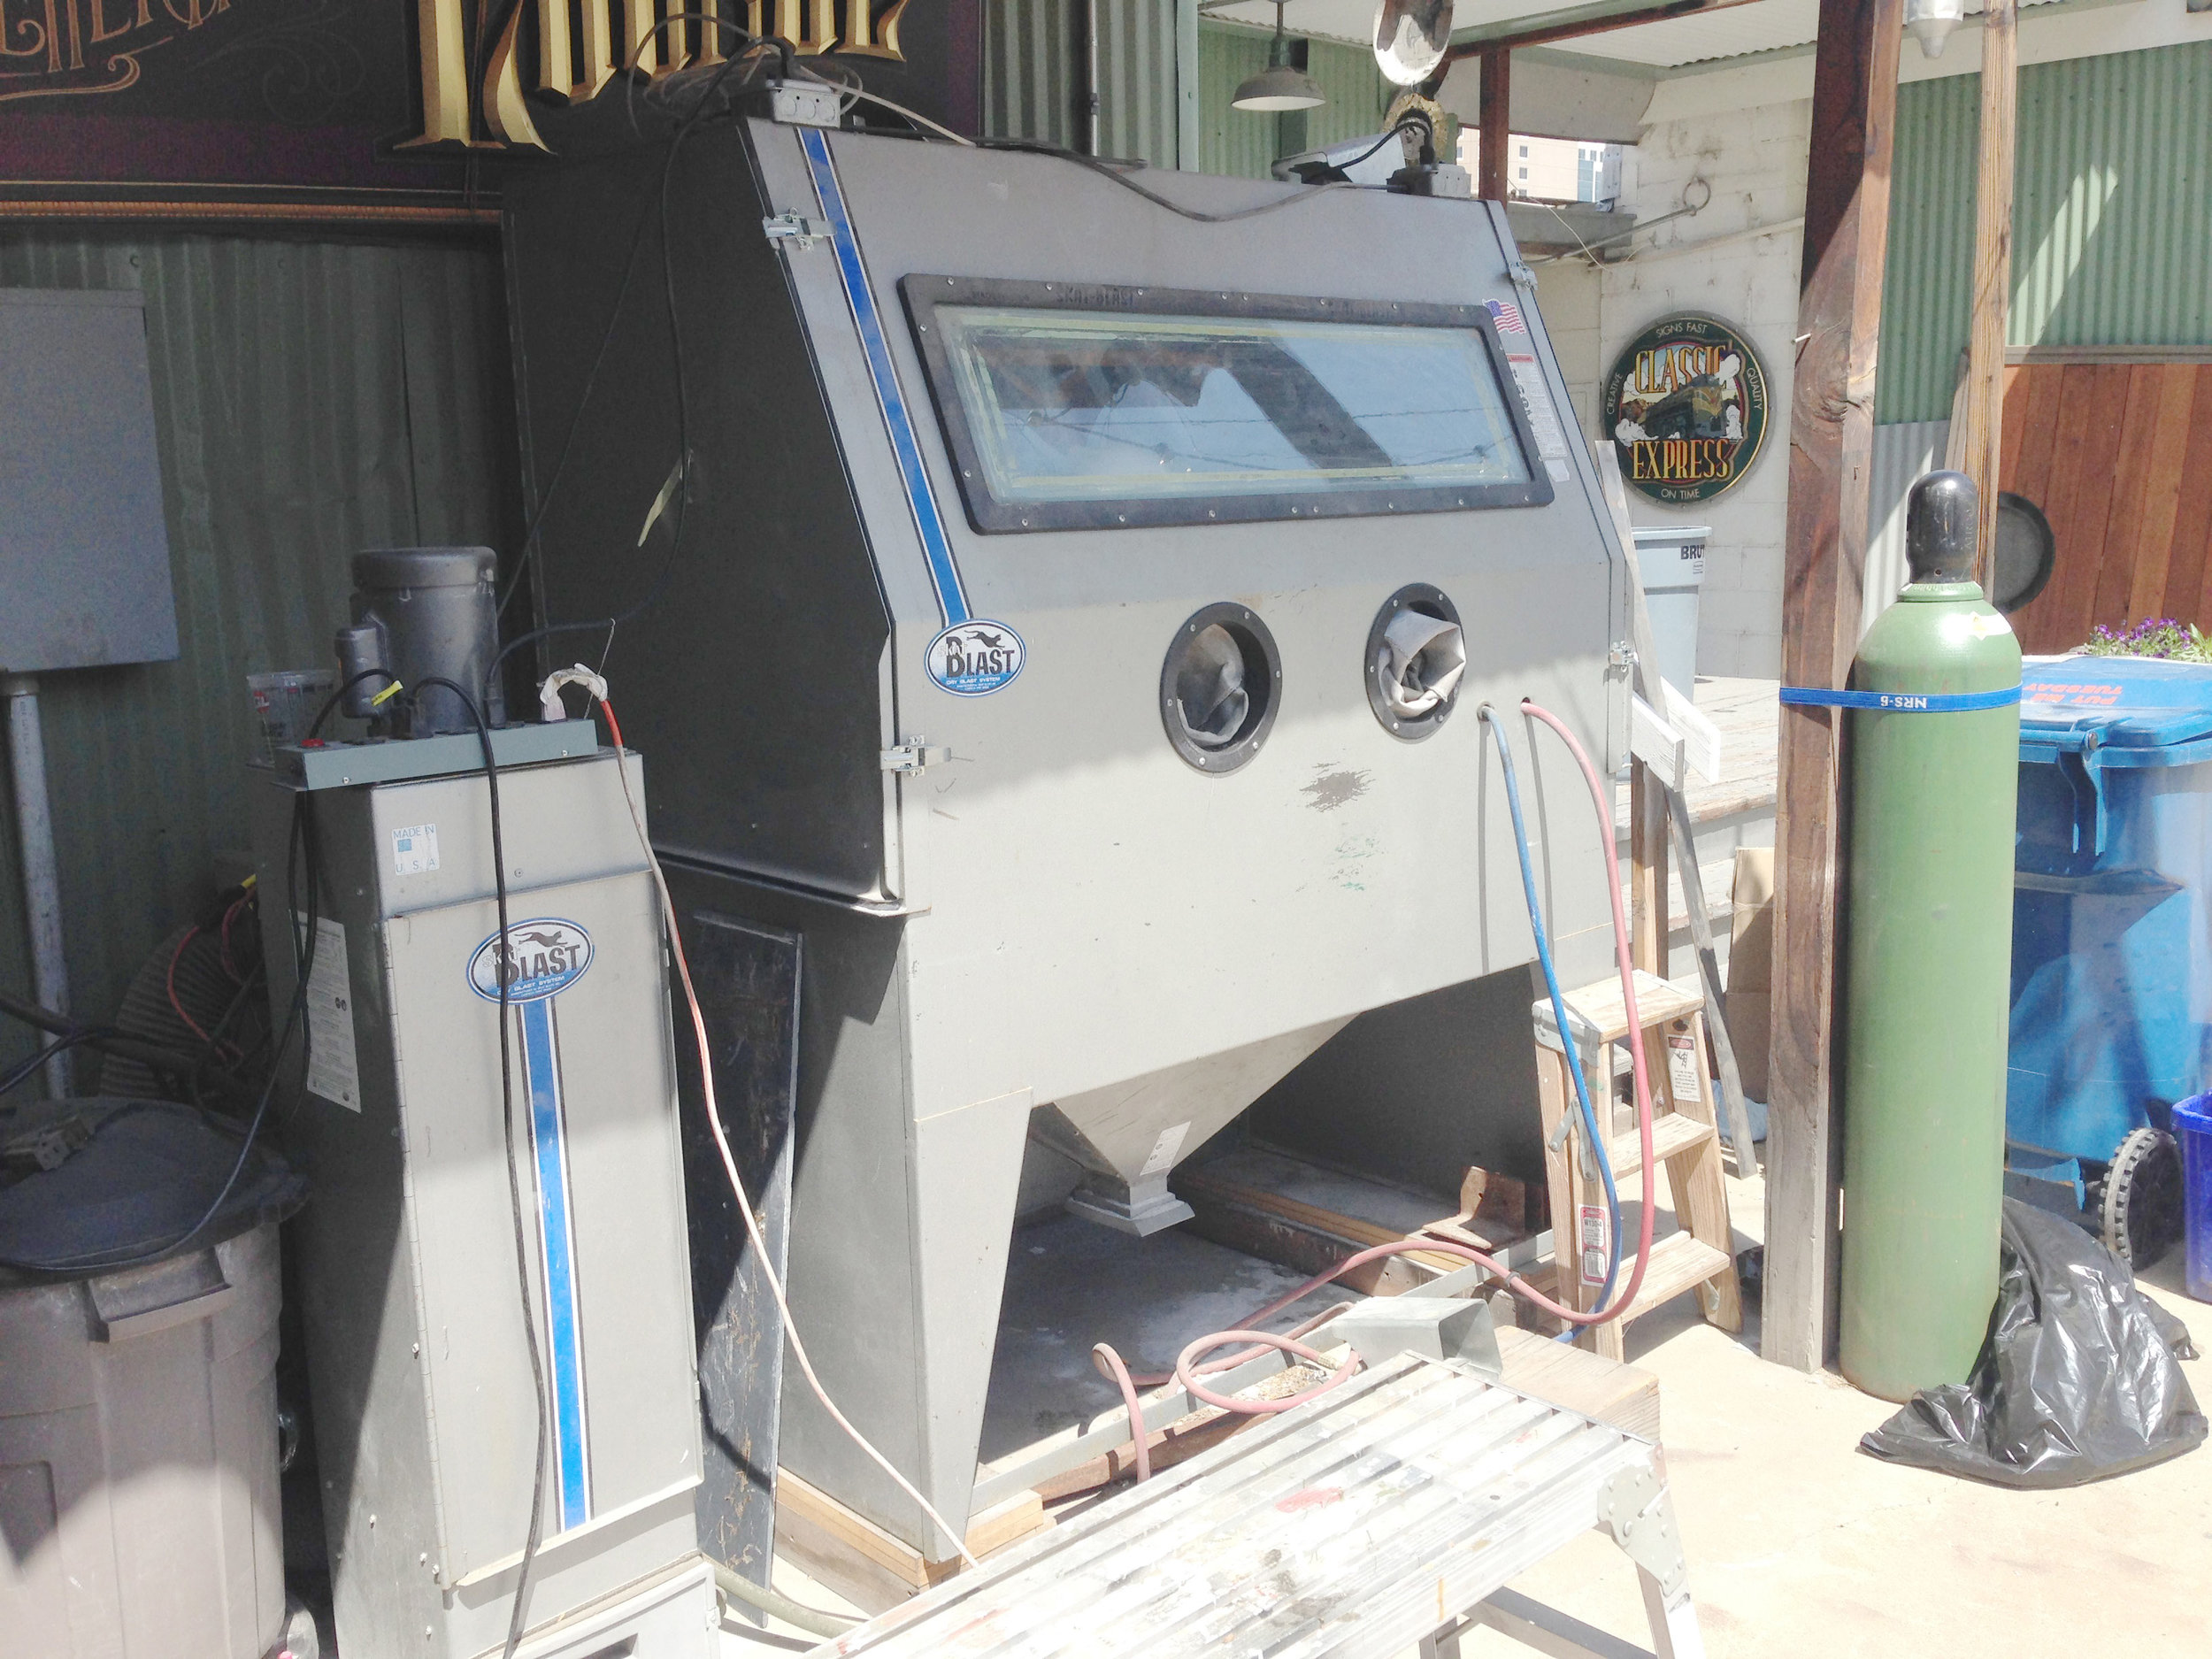
The Facilities
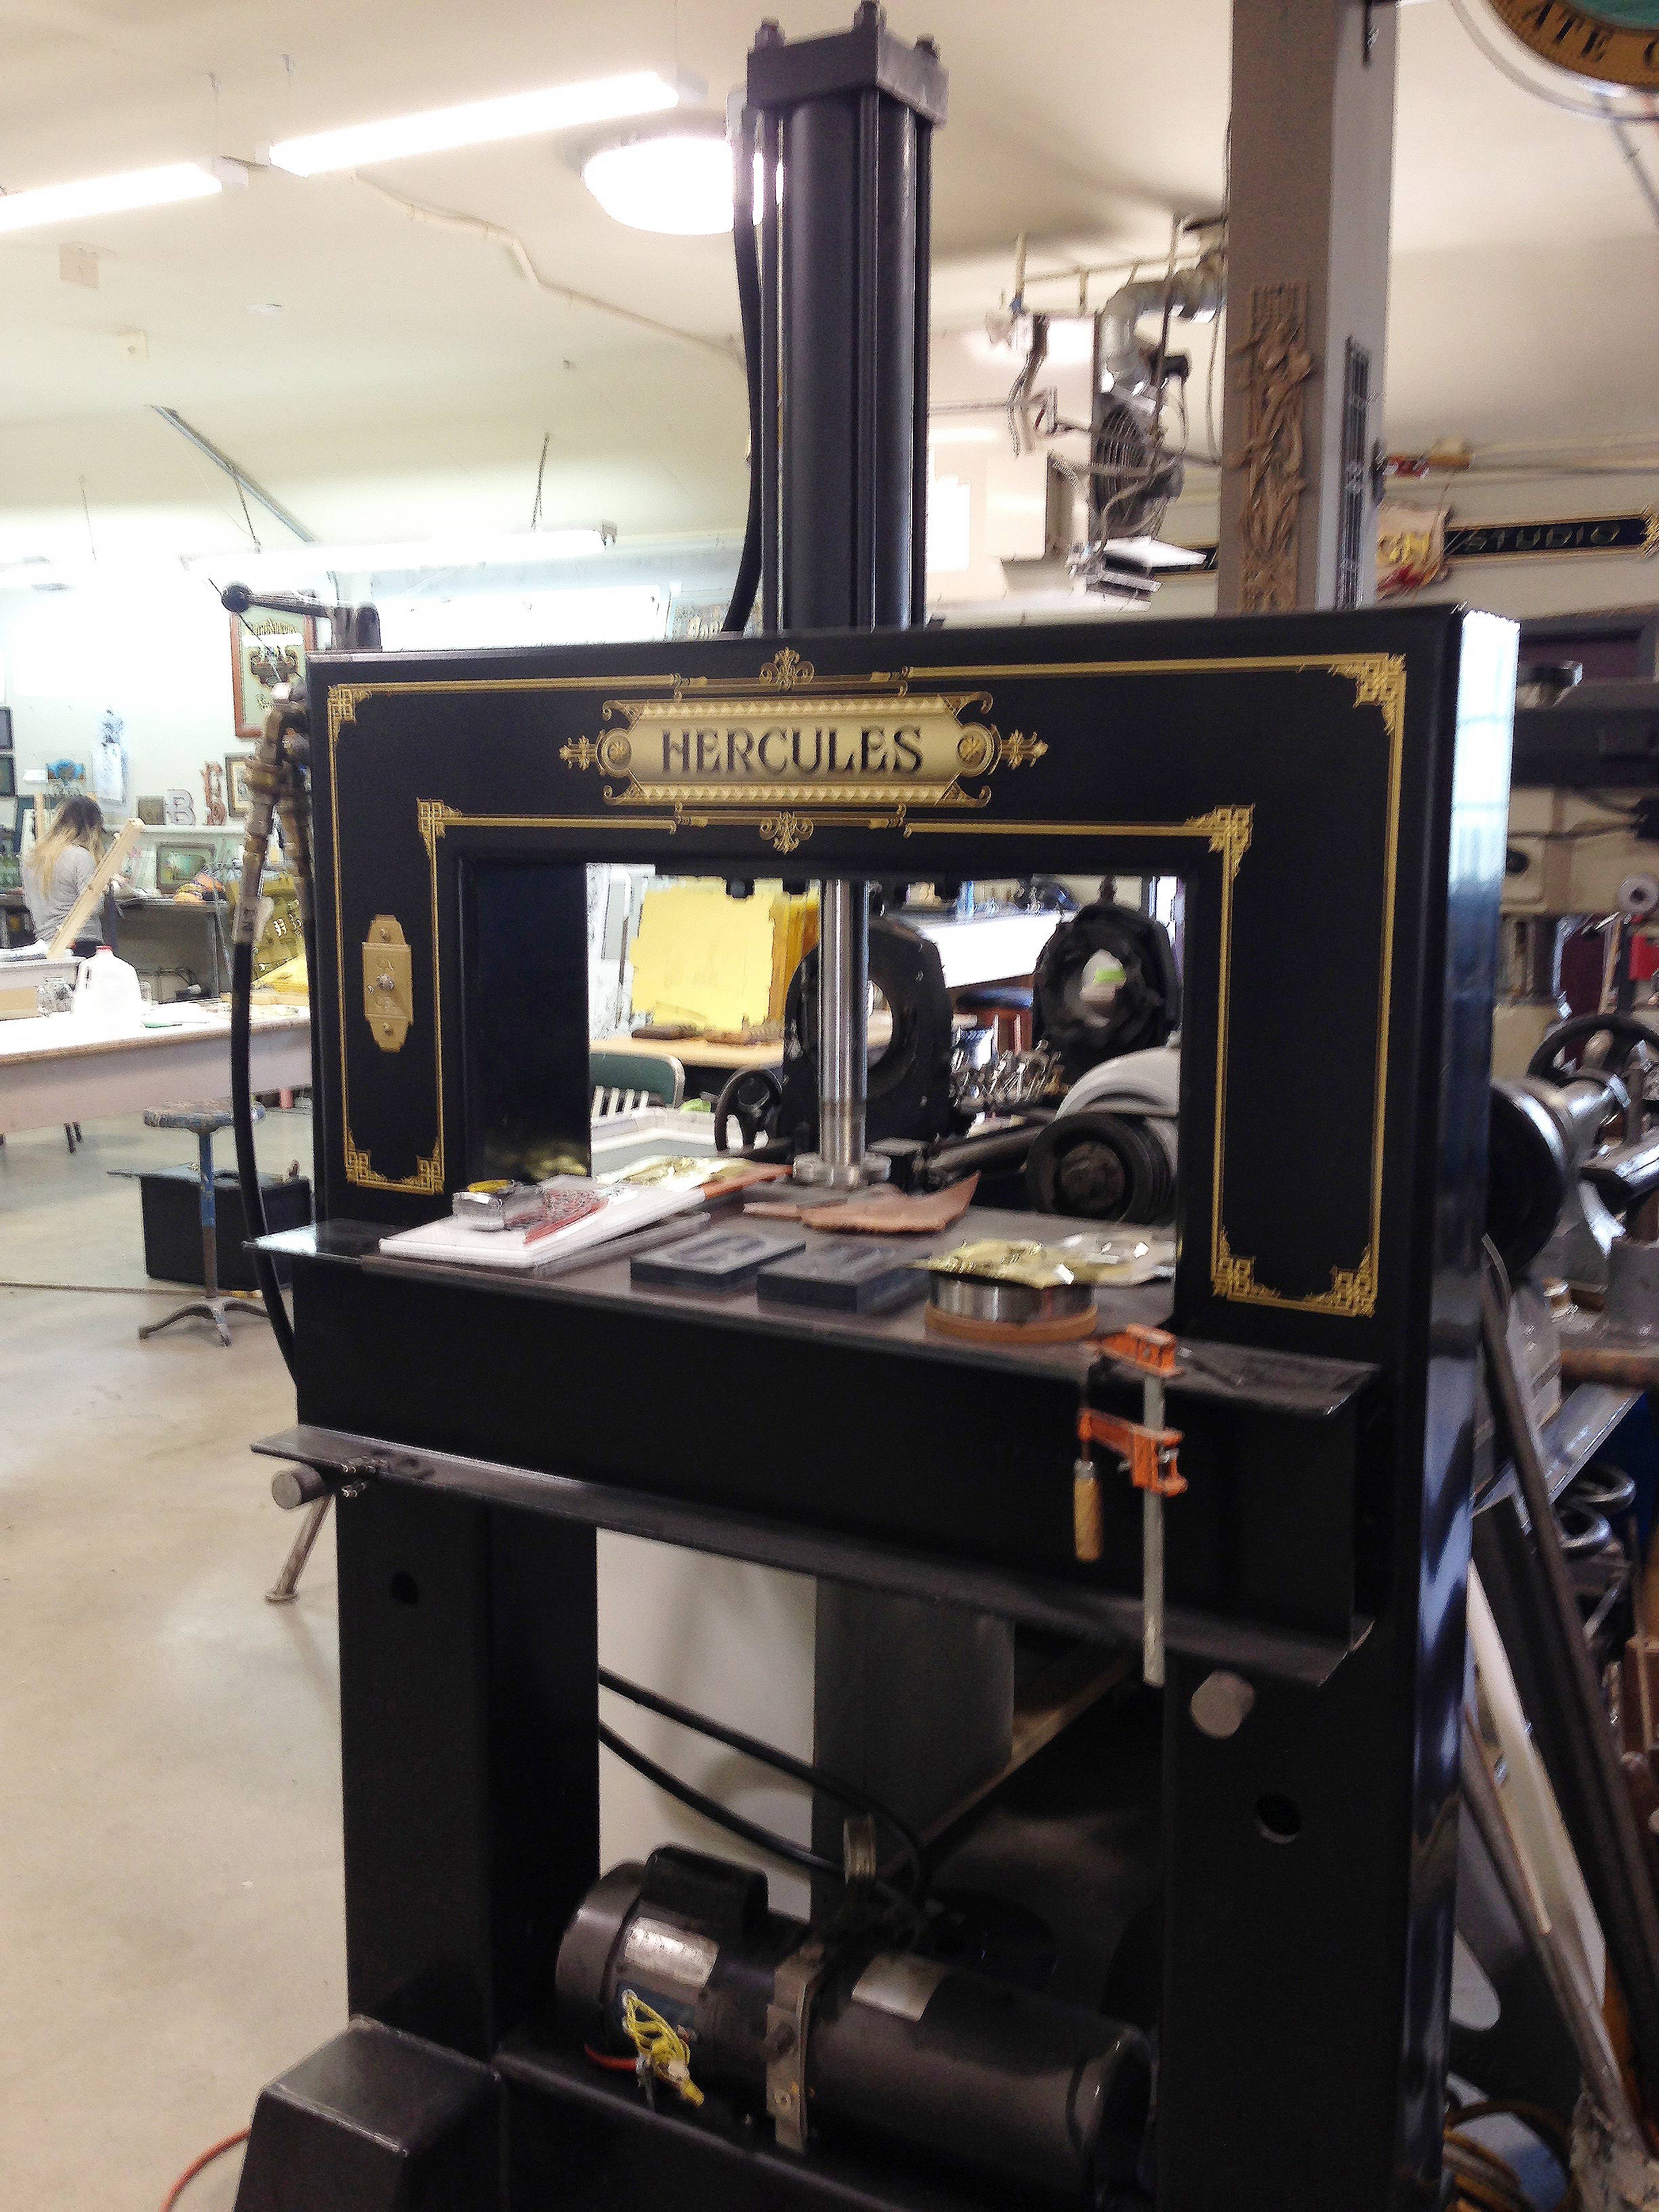
Here are a few images of the amazing shop setup. Classic Design is really a hidden gem in the city and well worth the visit! They have the main painting area with an office and a shop with a CNC mill, various saws, and a spraybooth. Adjoining the two areas is an open courtyard with a sand-blasting booth and seating for when you just want to eat some pizza and crack open a beer. They are next to a screen printing and neon bending shop with an artist residency and gallery space on the other side. The place is a creative zone for collaborators working and making art. A dream setup!
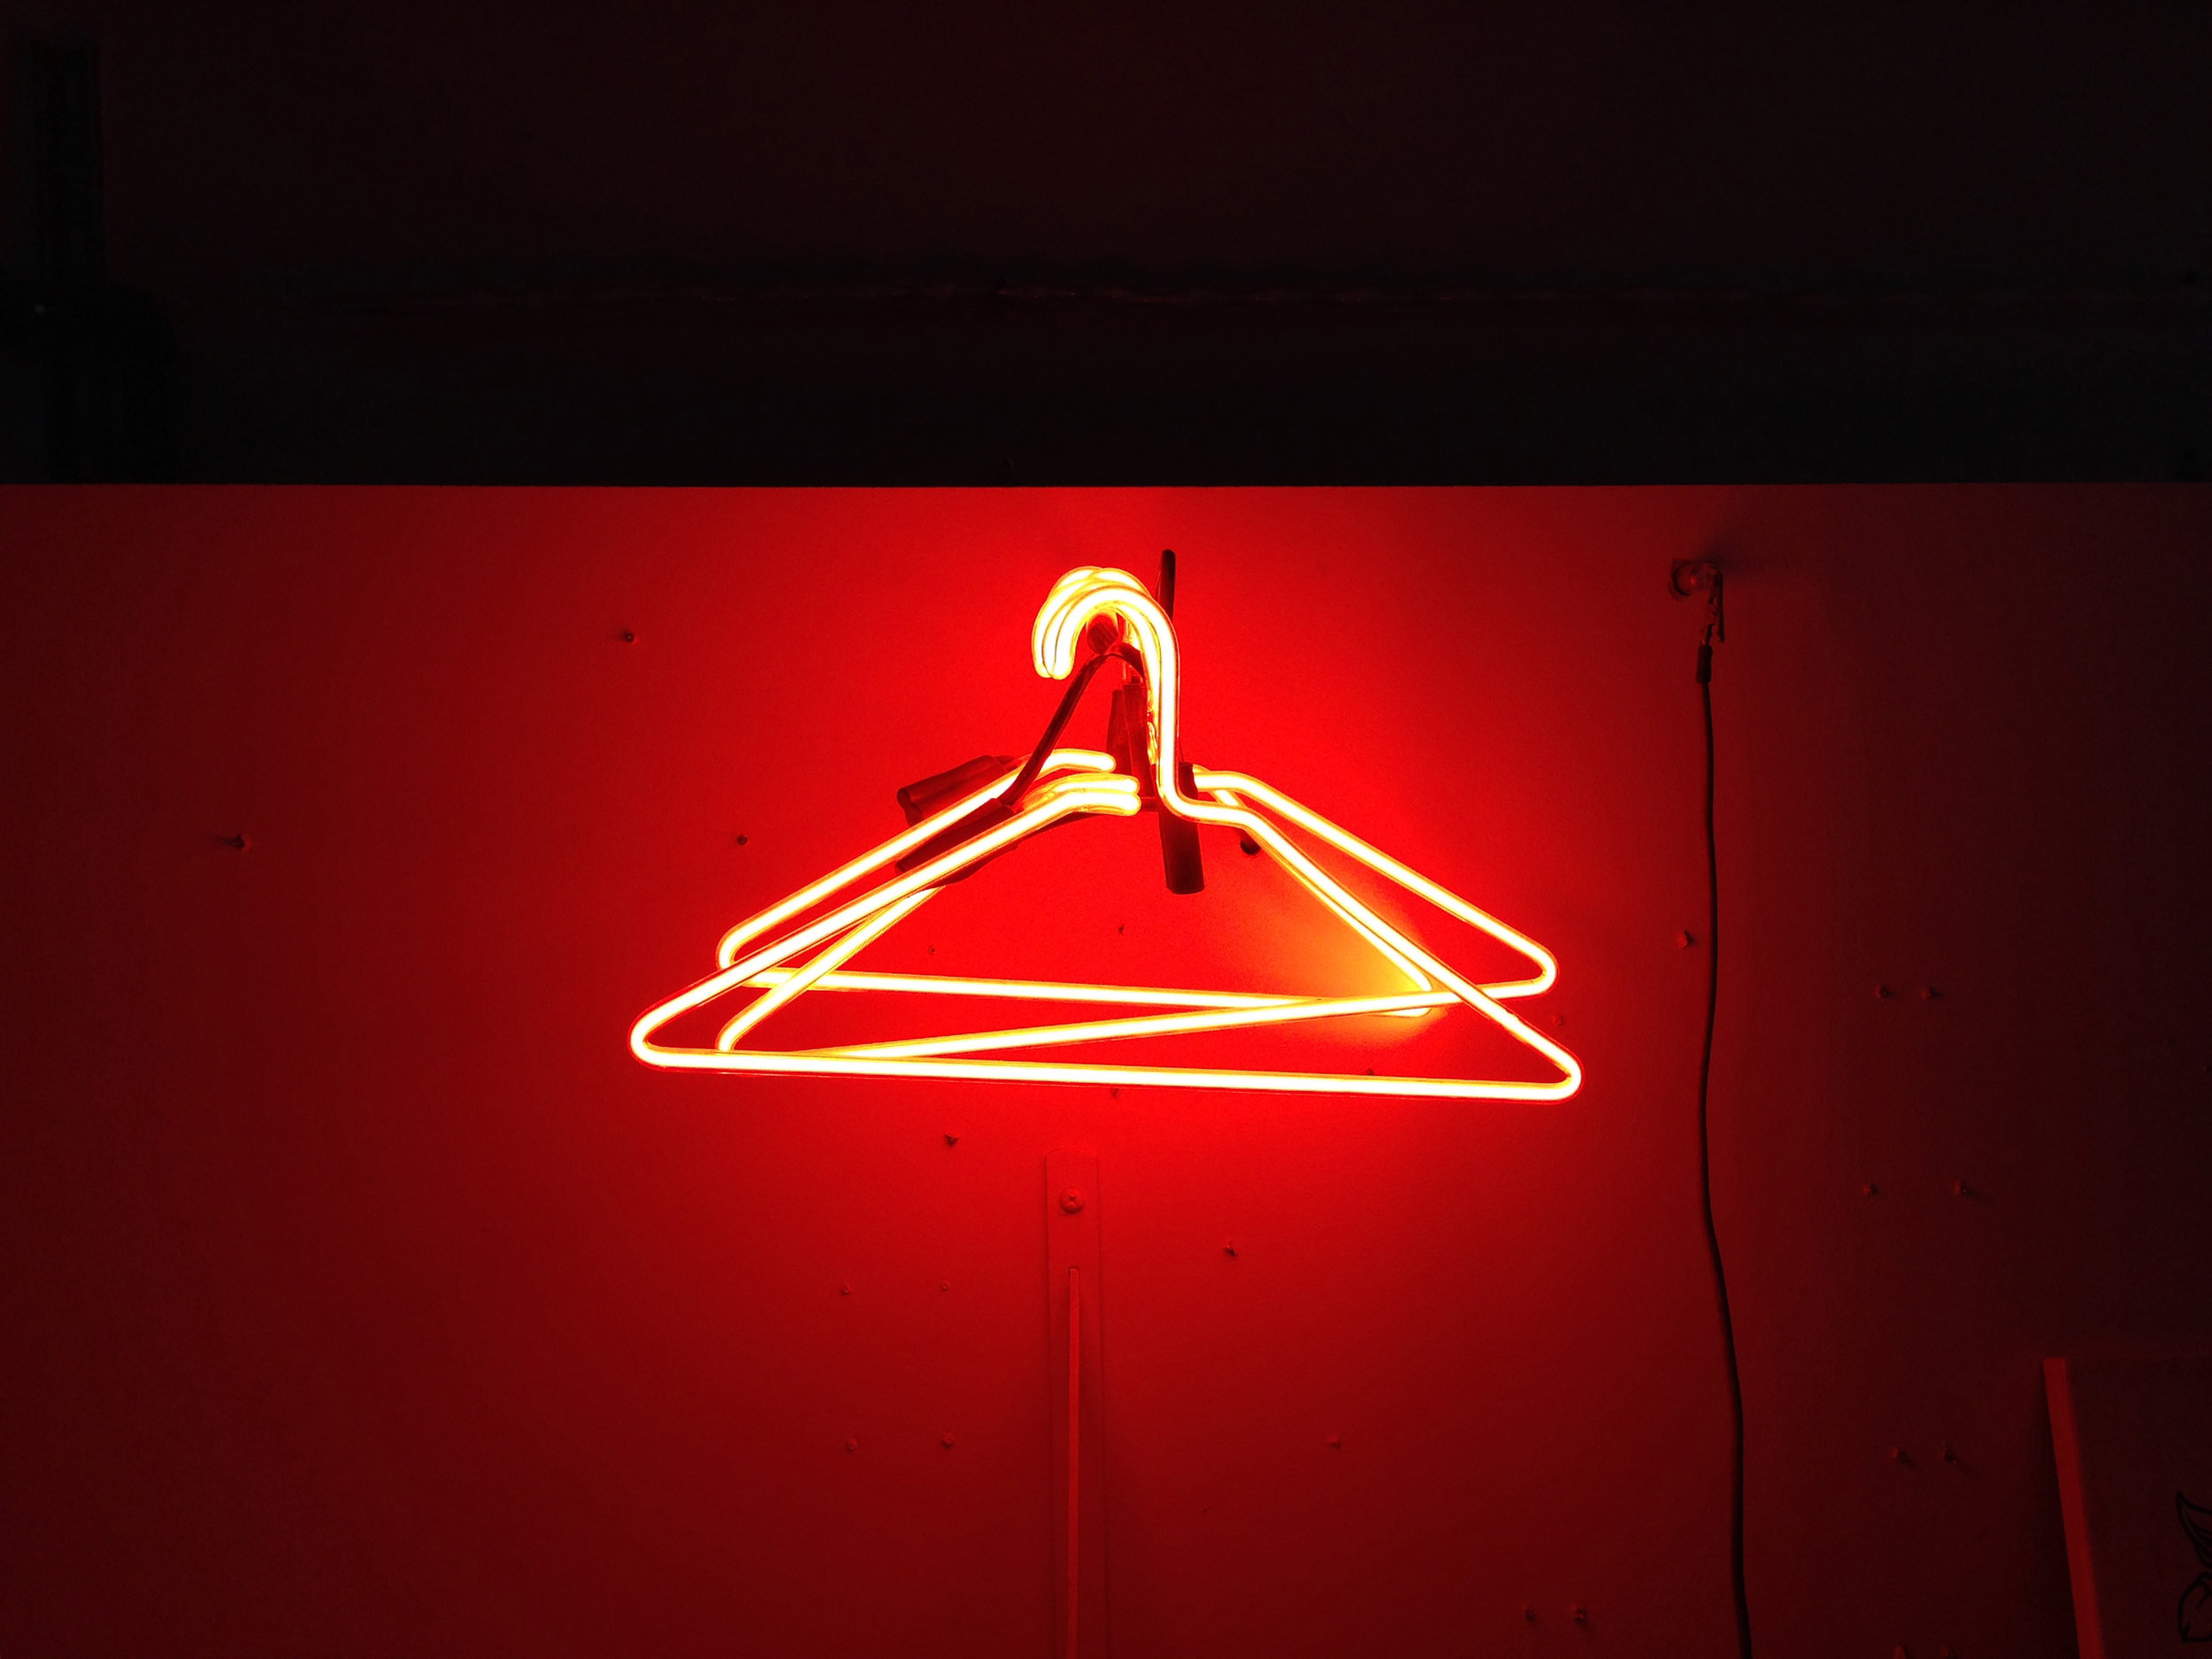
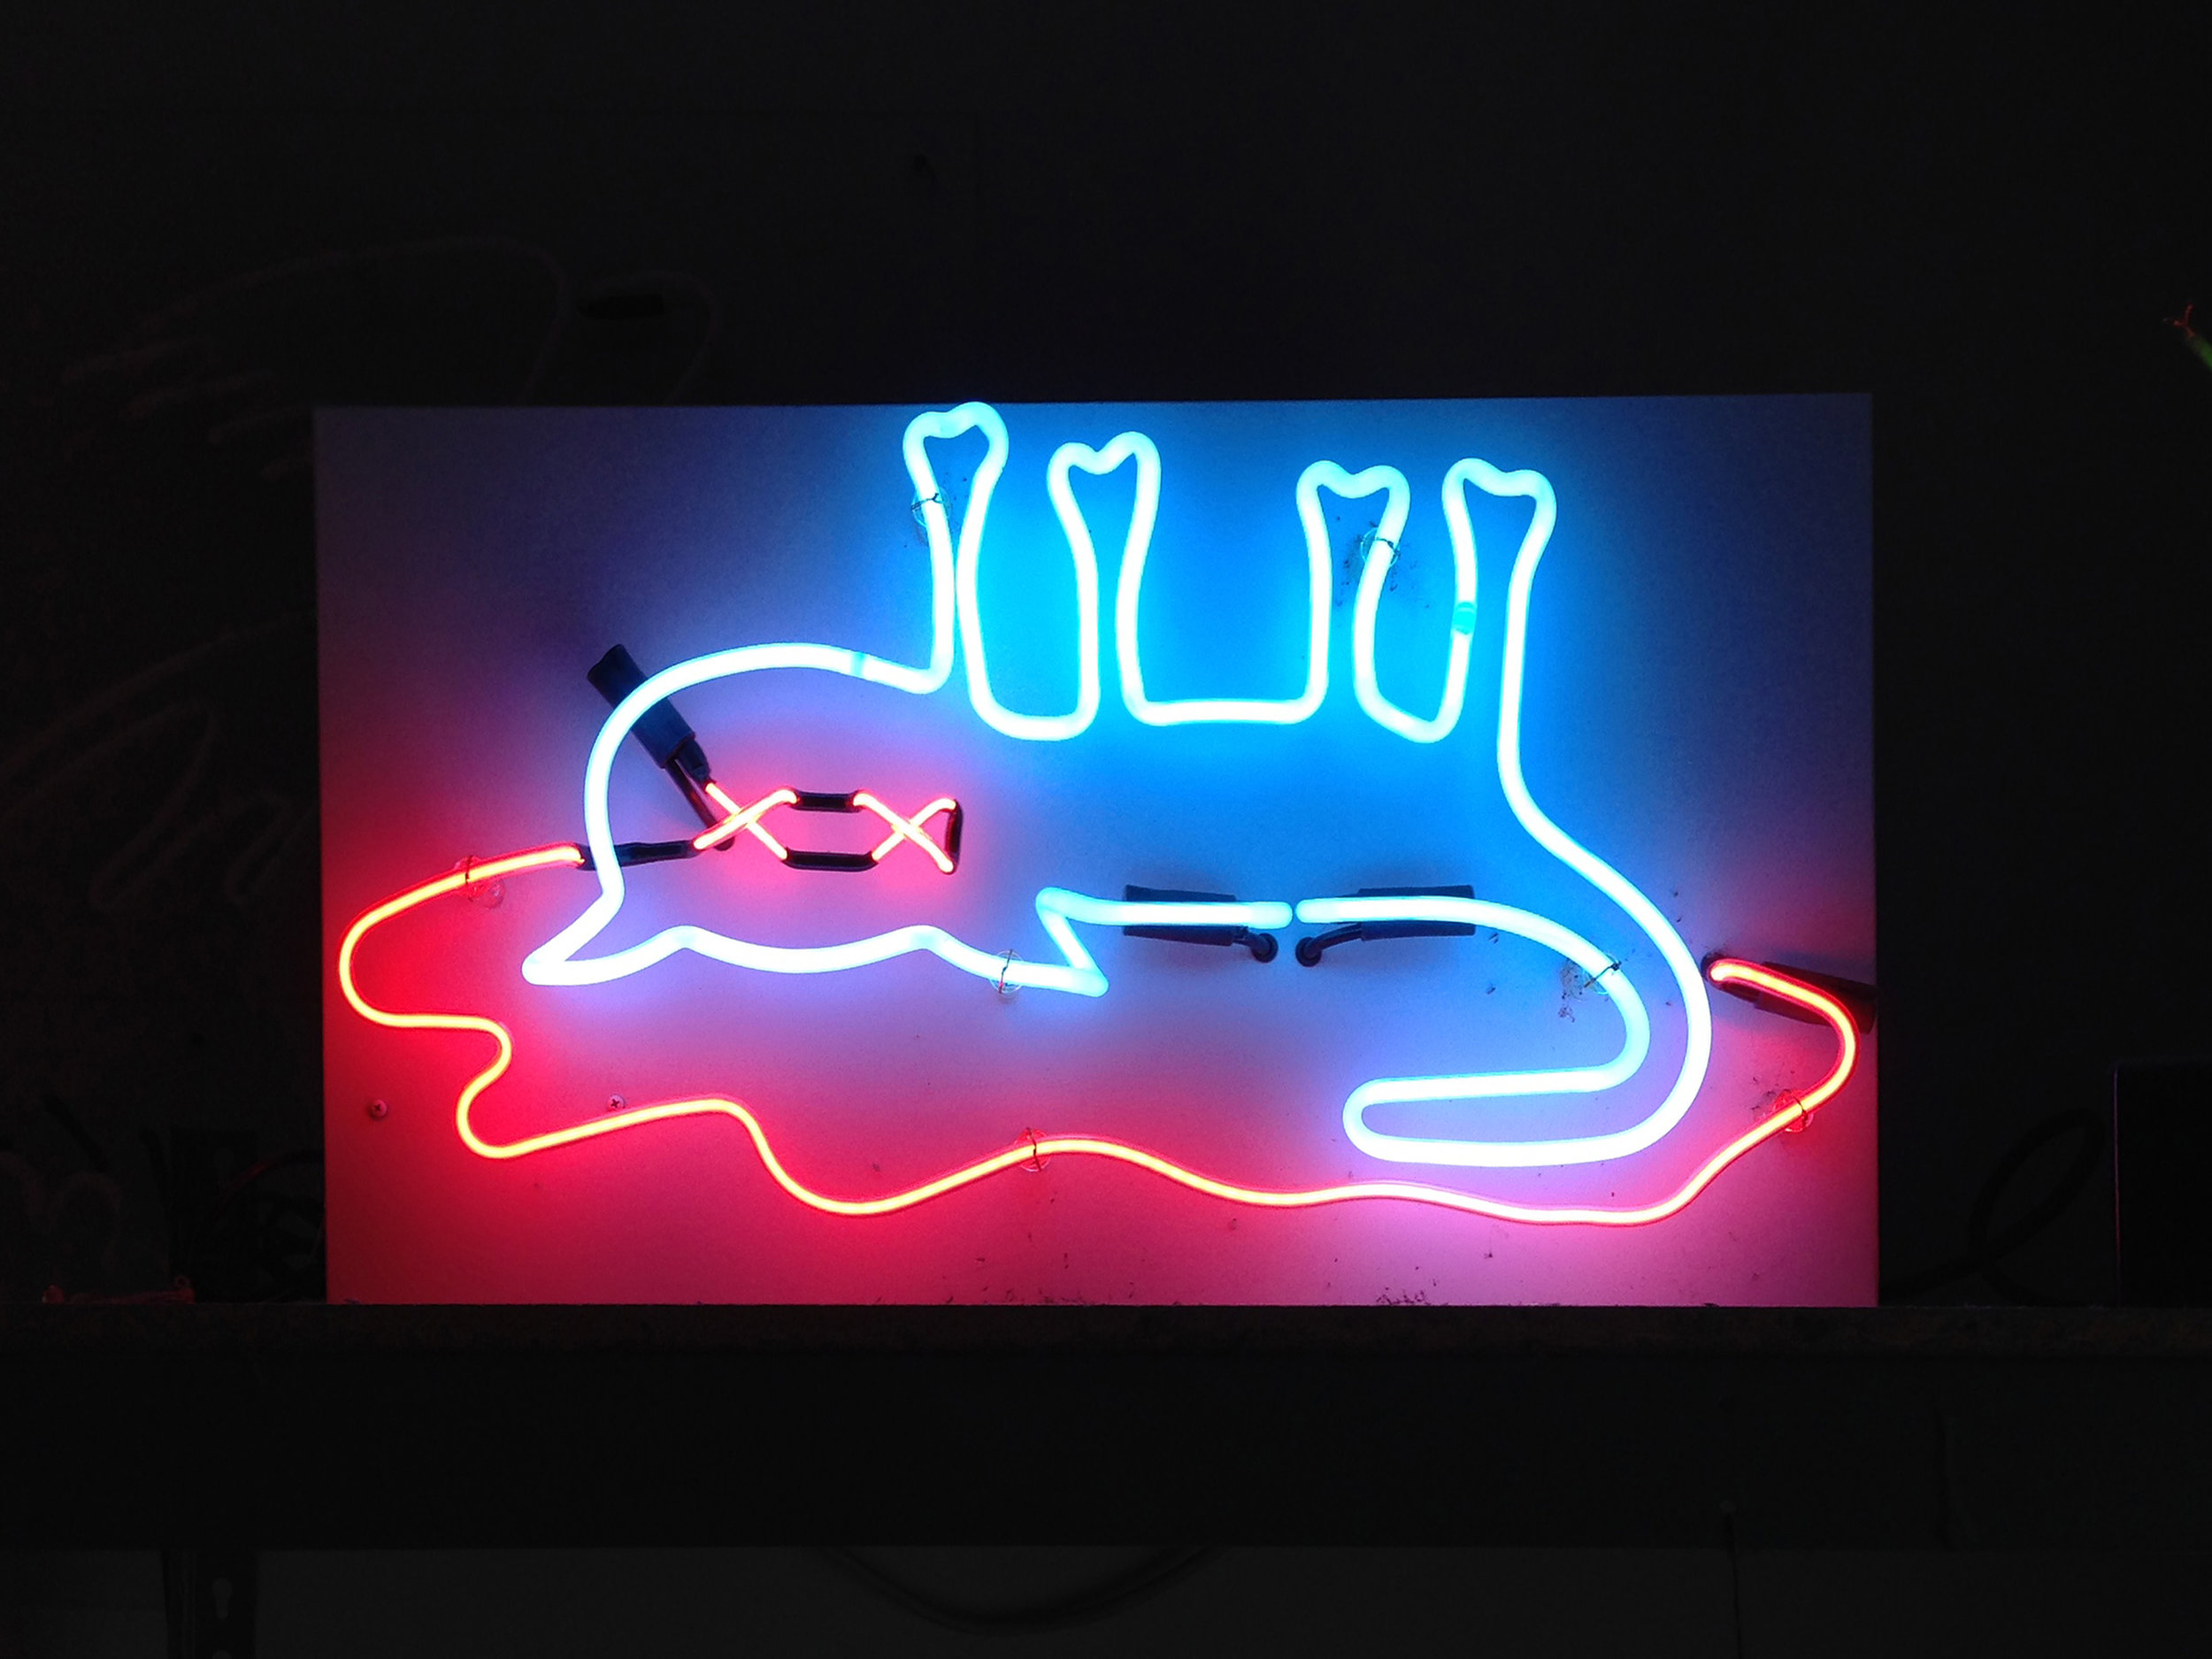
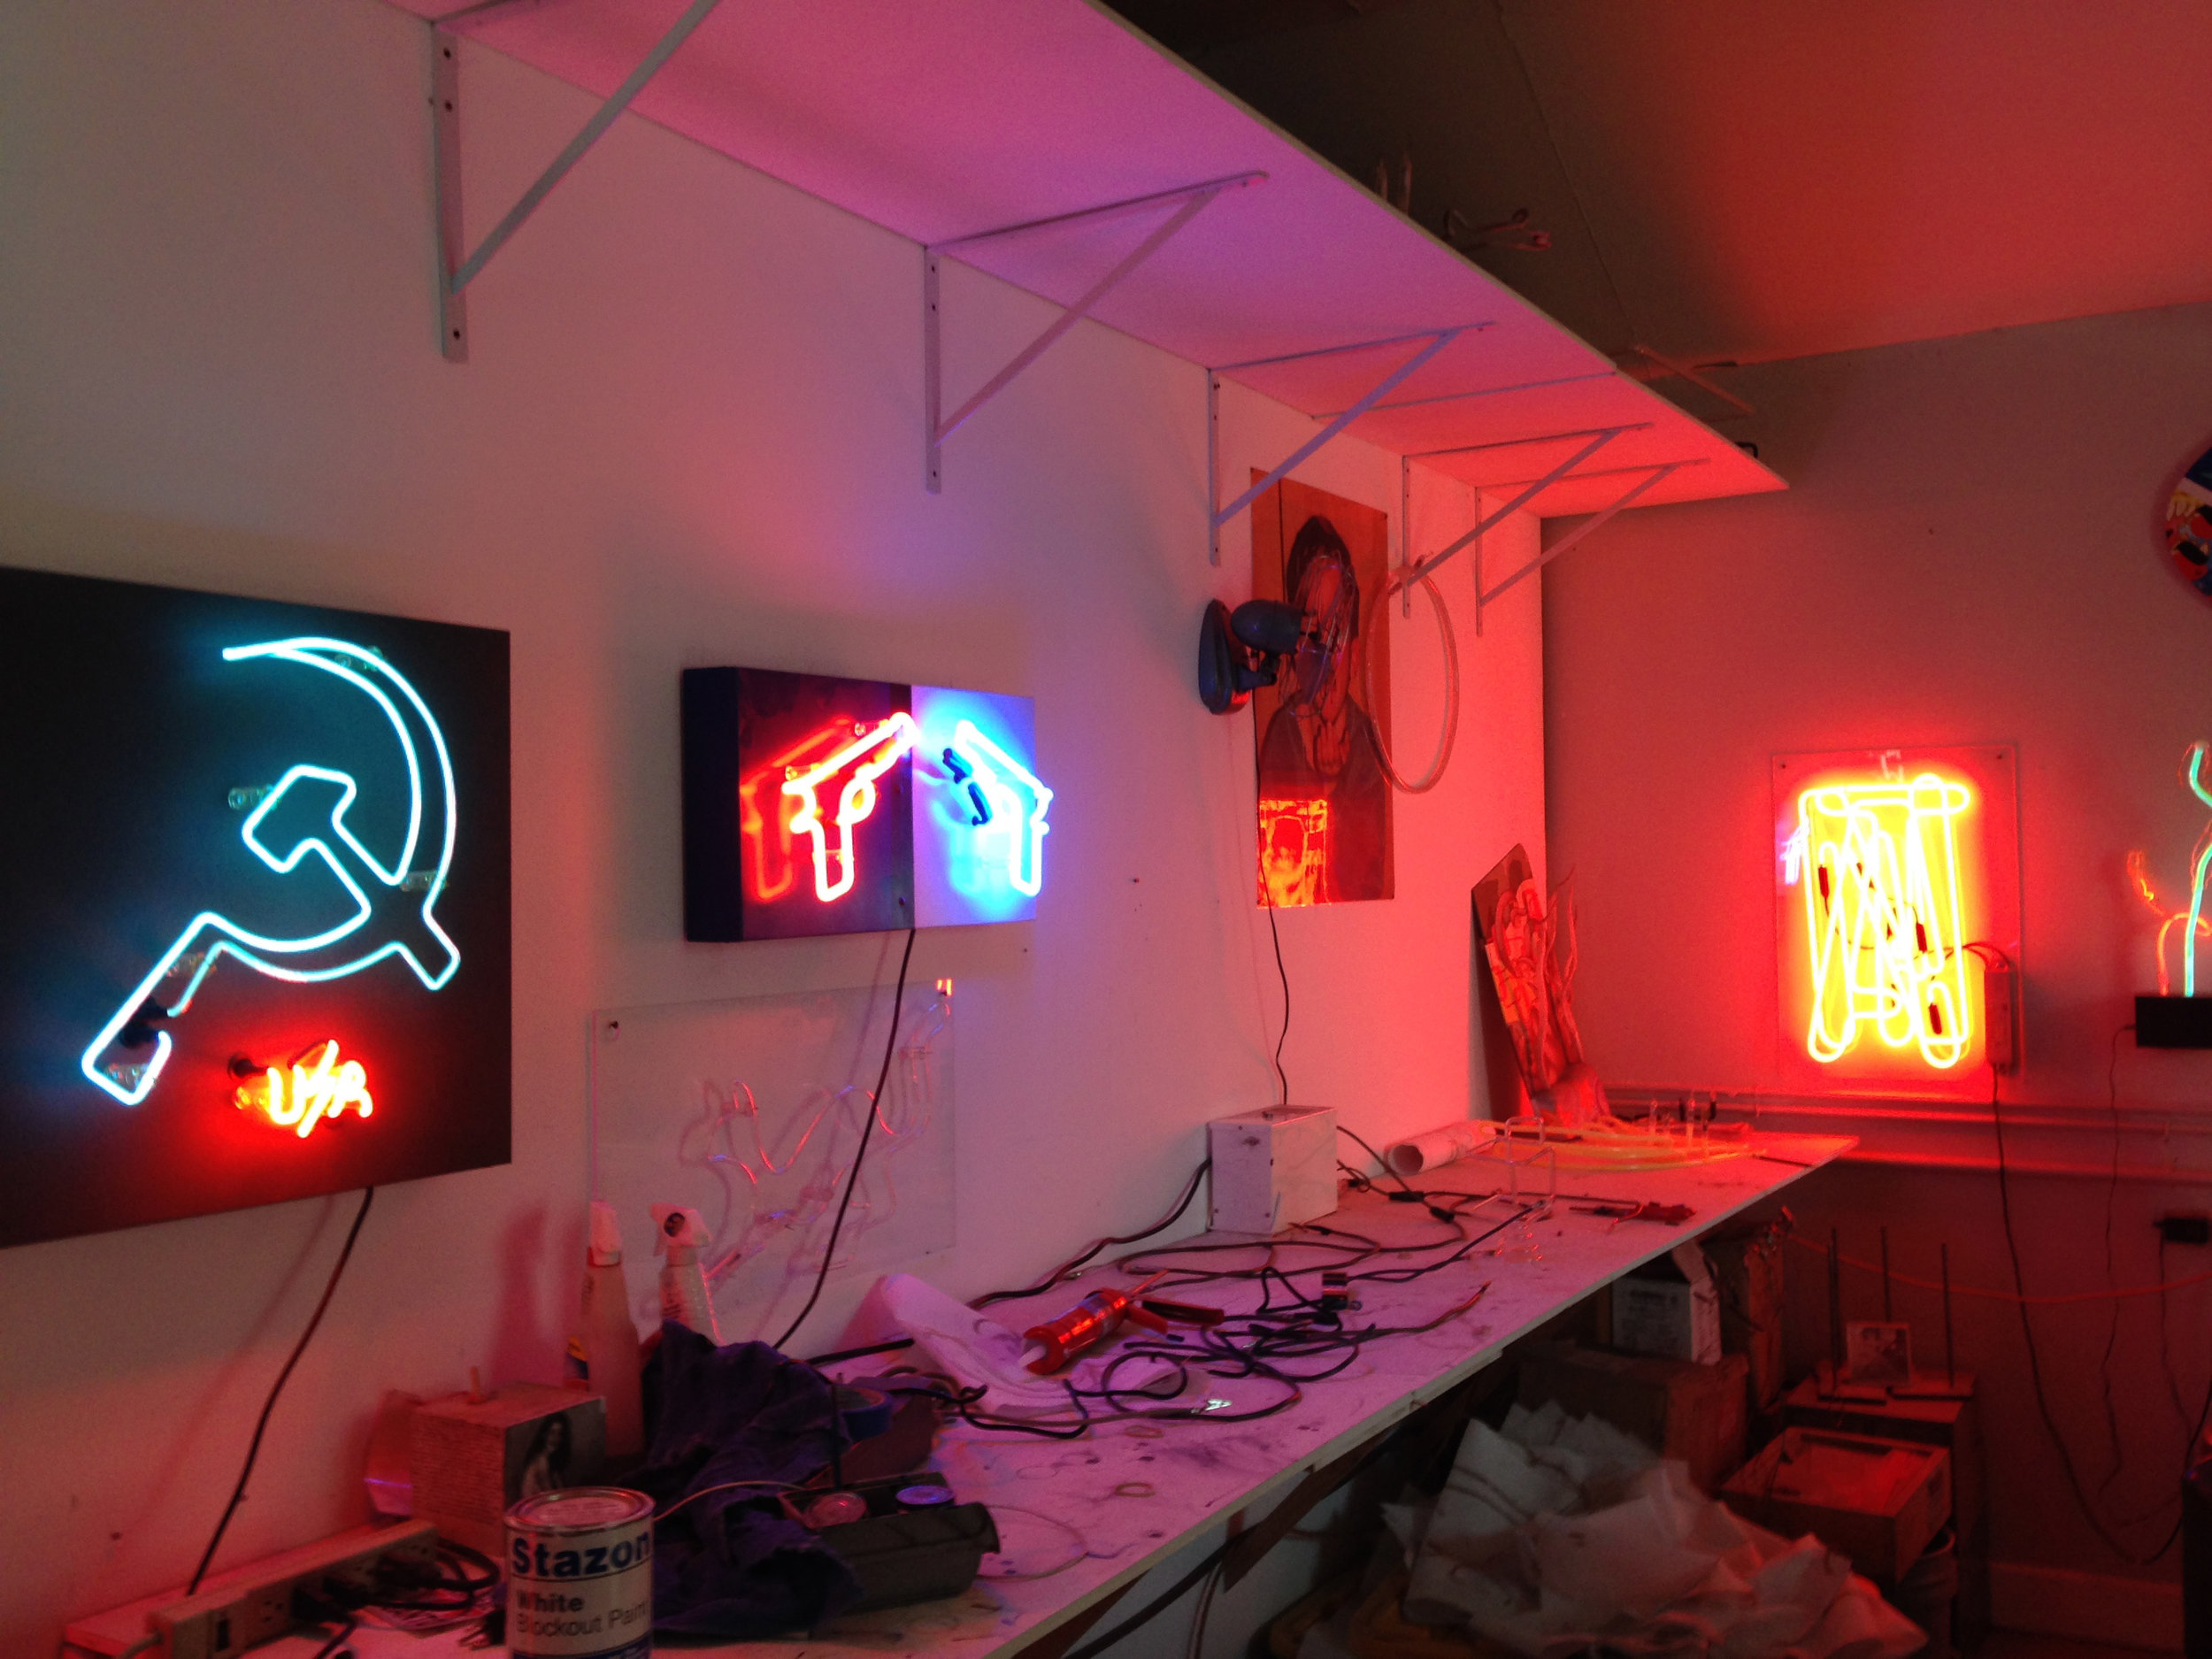
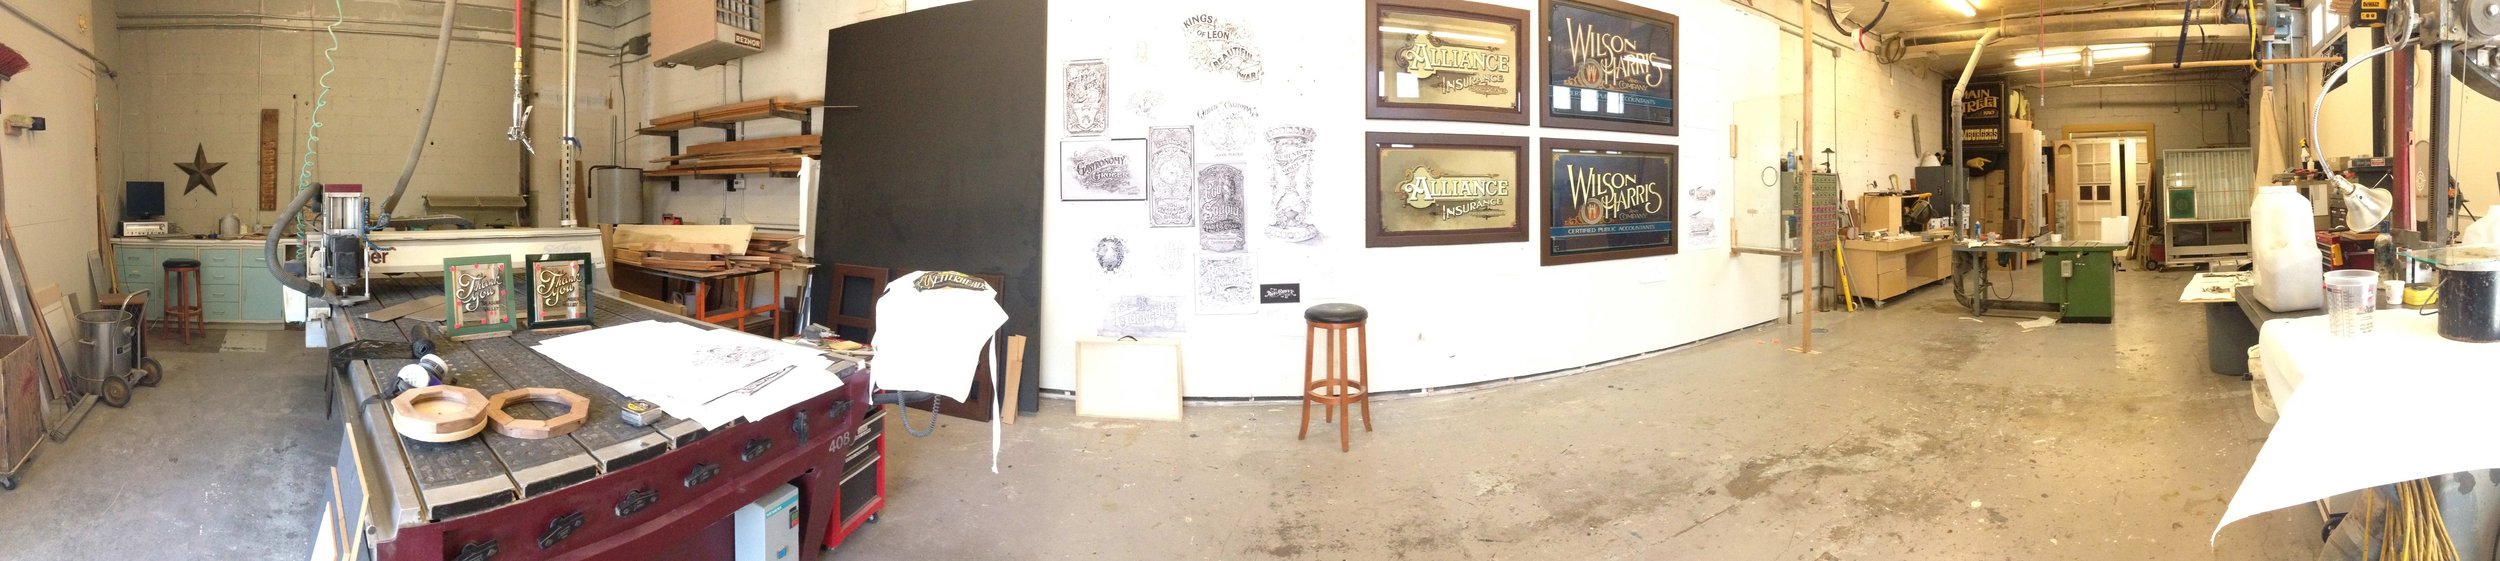
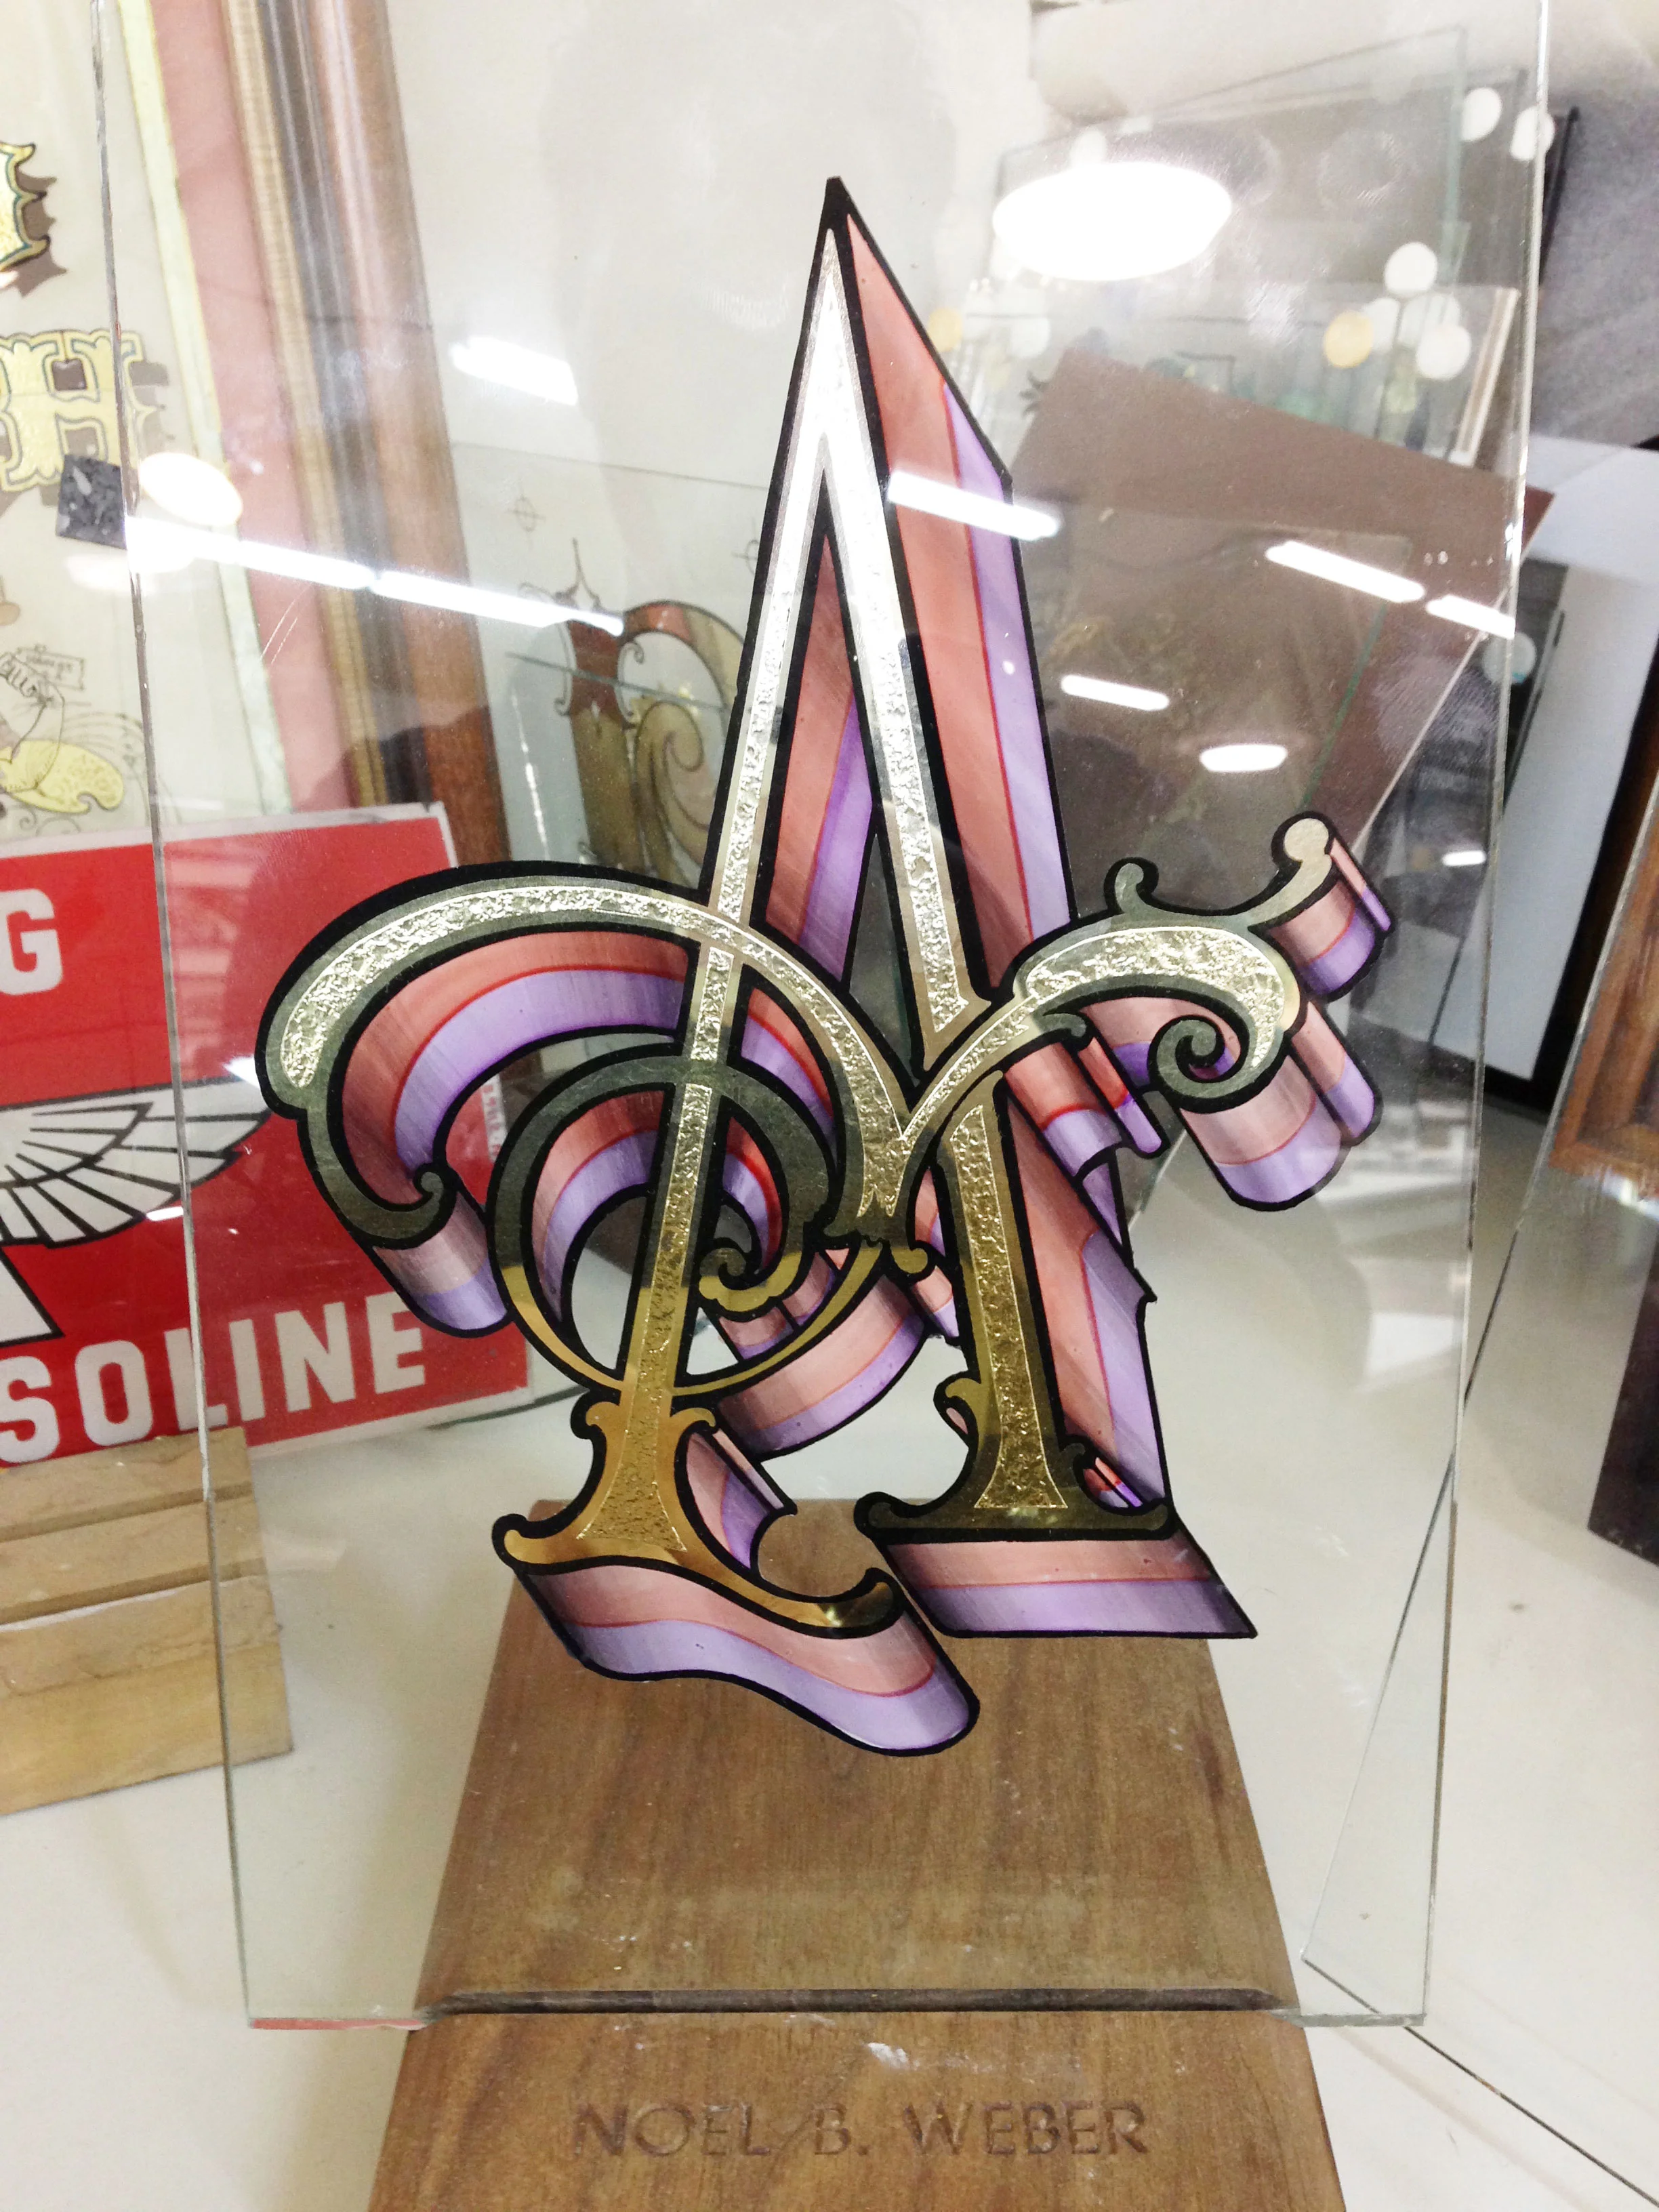
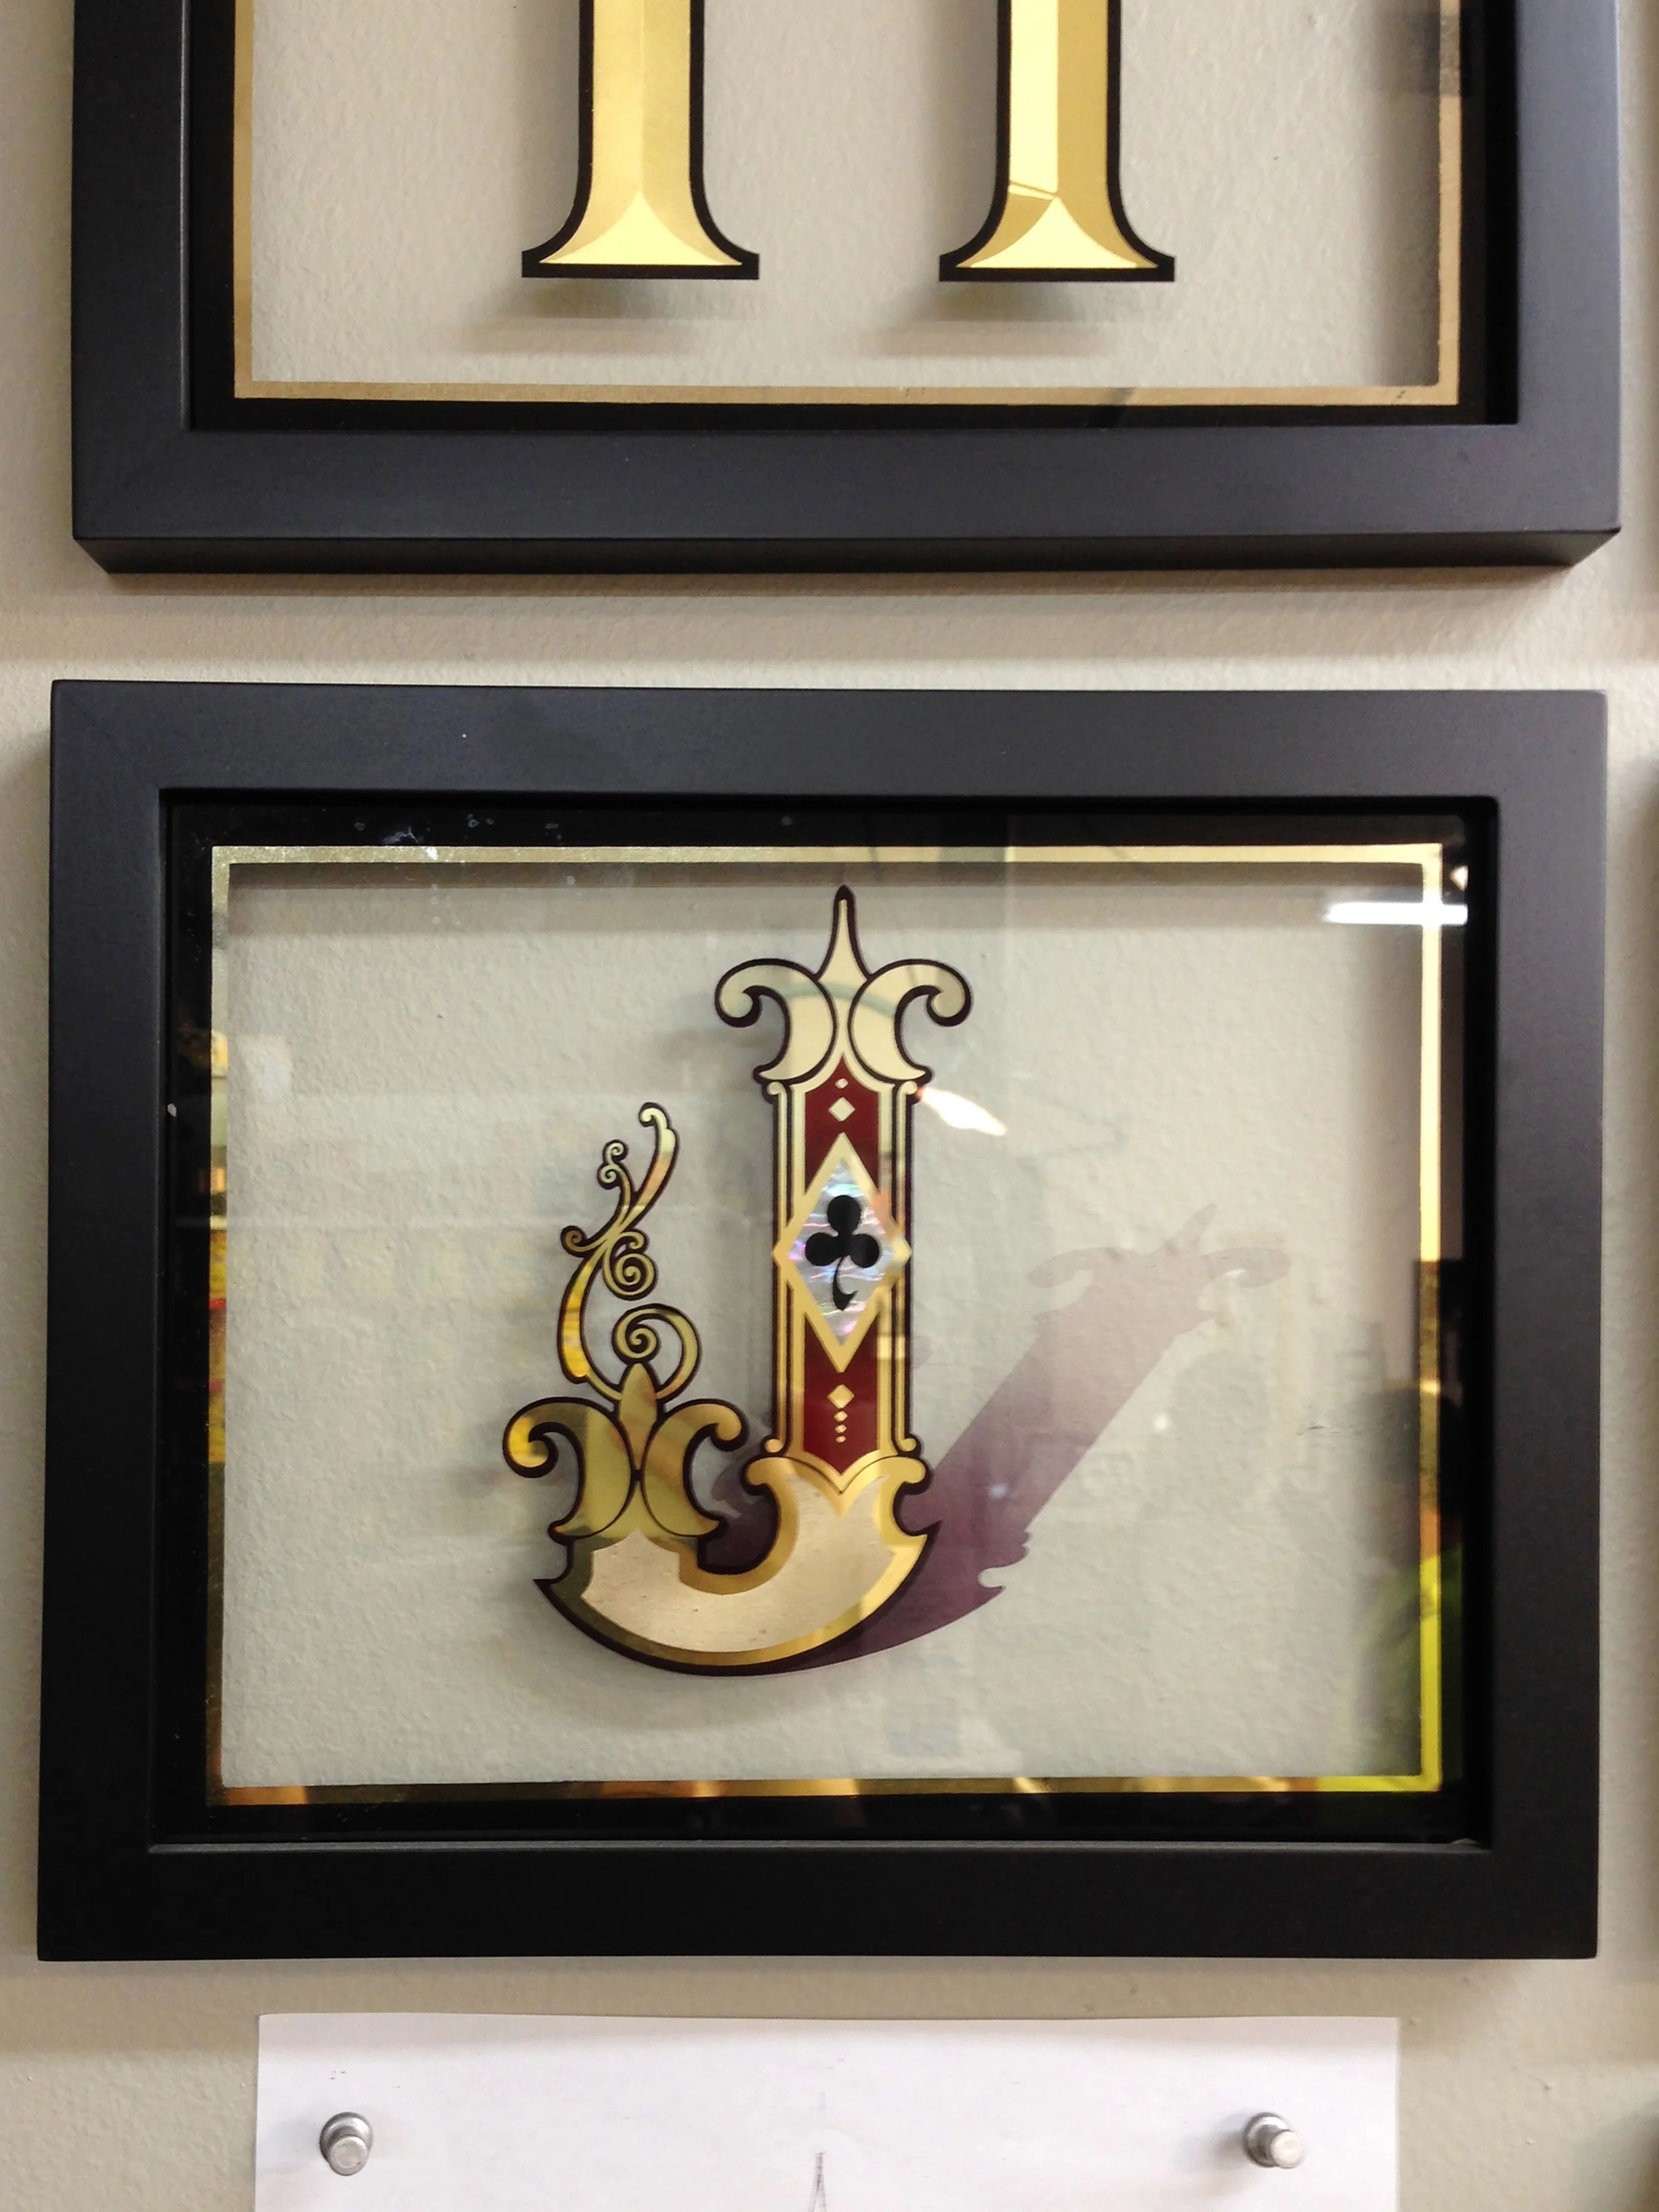
Of course, the shop was full of eye-candy and inspiration. Here are just a few of the pieces that Noel had laying around the shop.


Boise
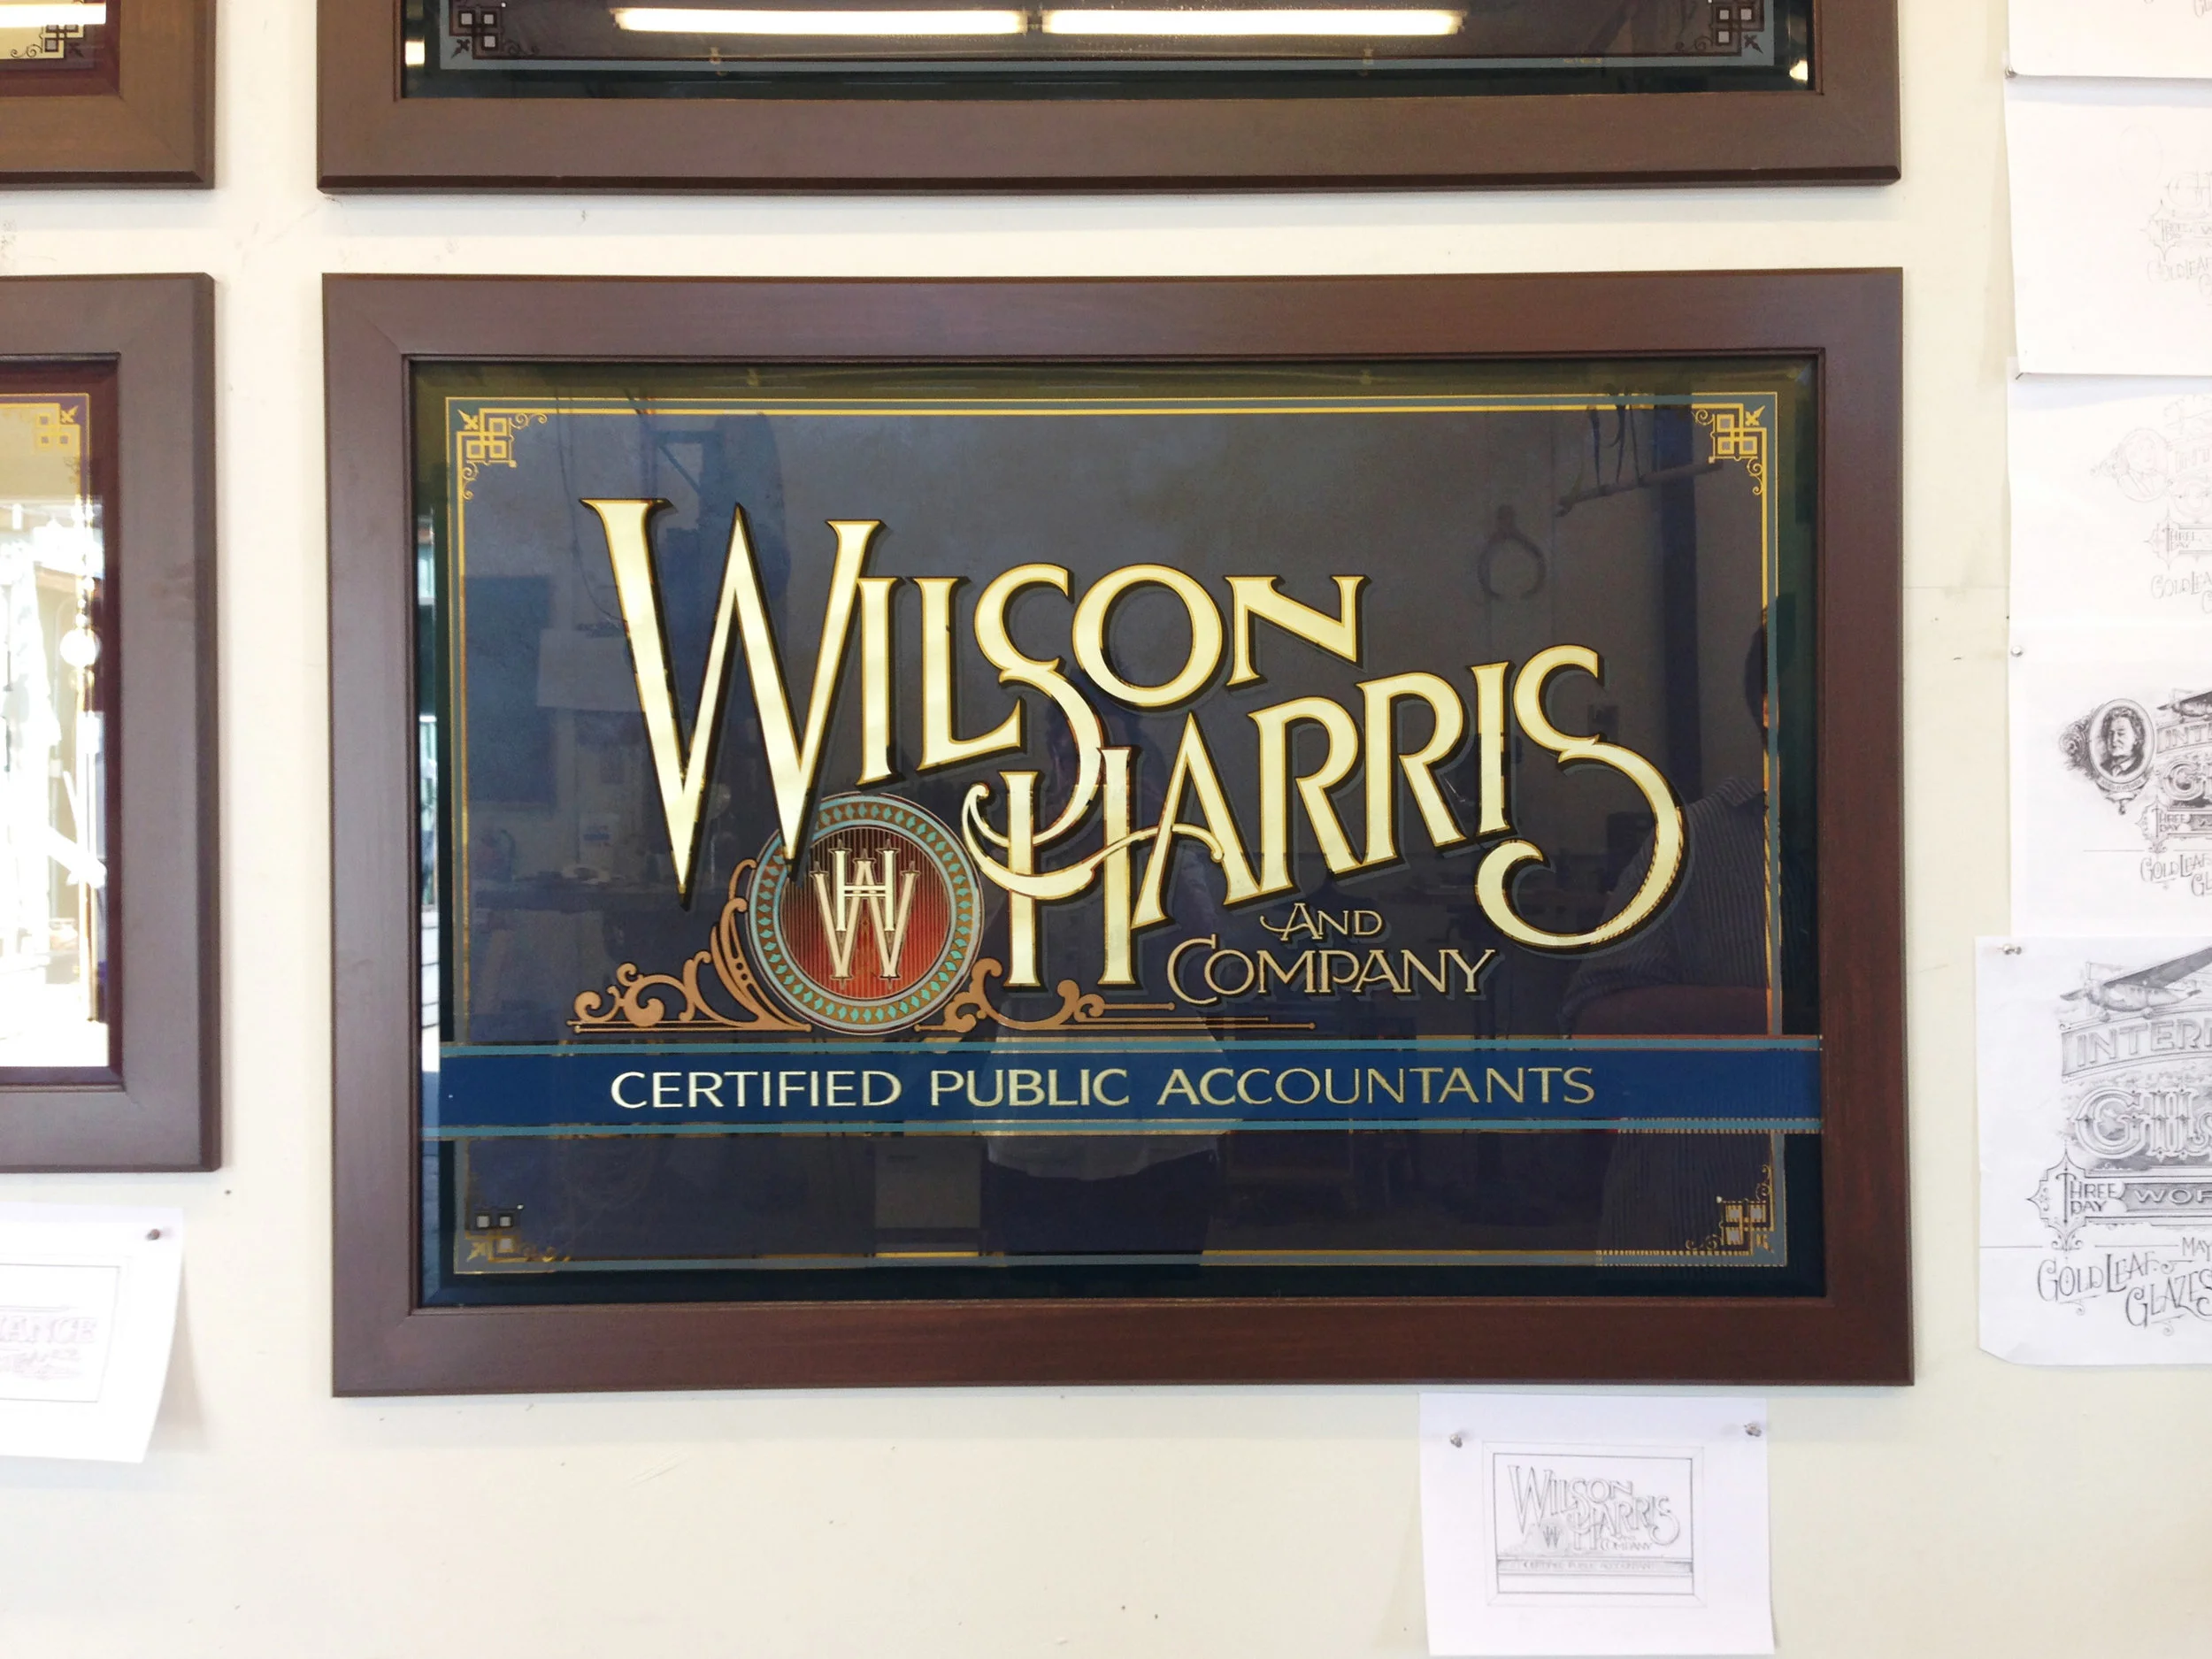
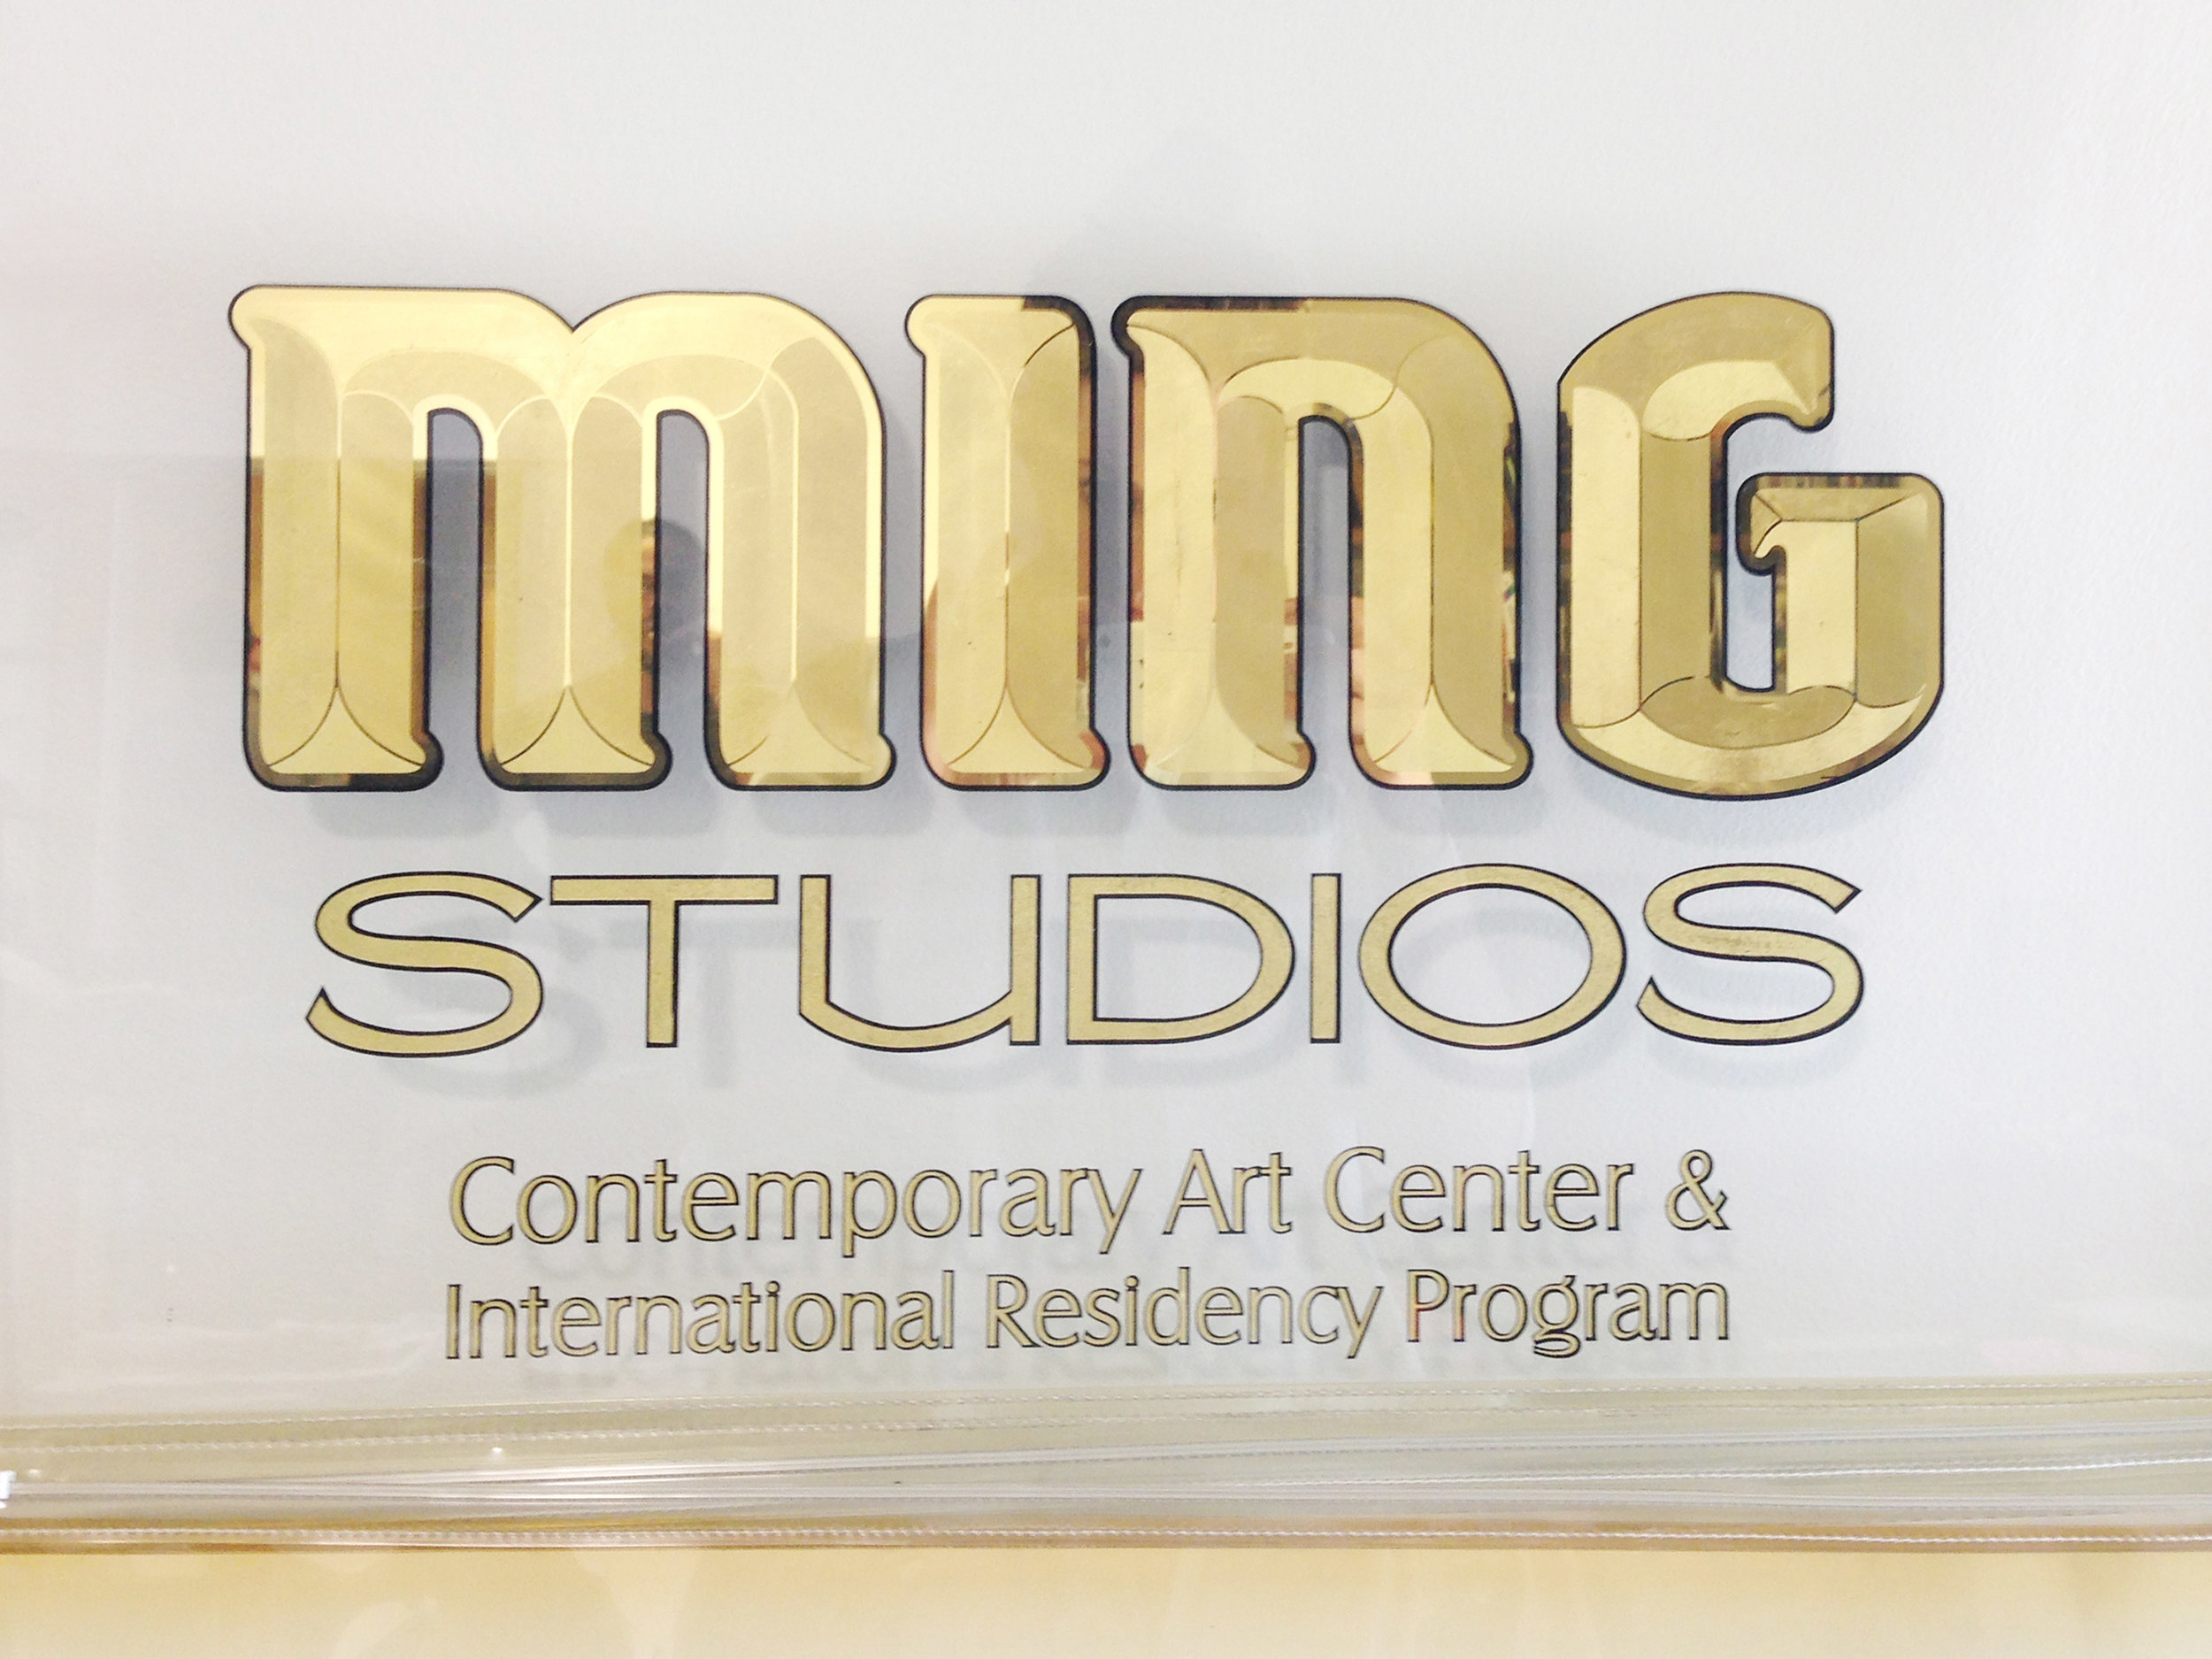
Because I came a few days early and stayed a few days later, I did some sight-seeing around Boise. The following is a few photos I snapped from around town. They include some of the hand-painted signage done by Noel Weber and his Classic Design Studio as well as images of some old houses being restored in the area, and some parks. Boise is a beautiful city and I was pleasantly surprised by the artistic culture and rich history that seemed to permeate the downtown.

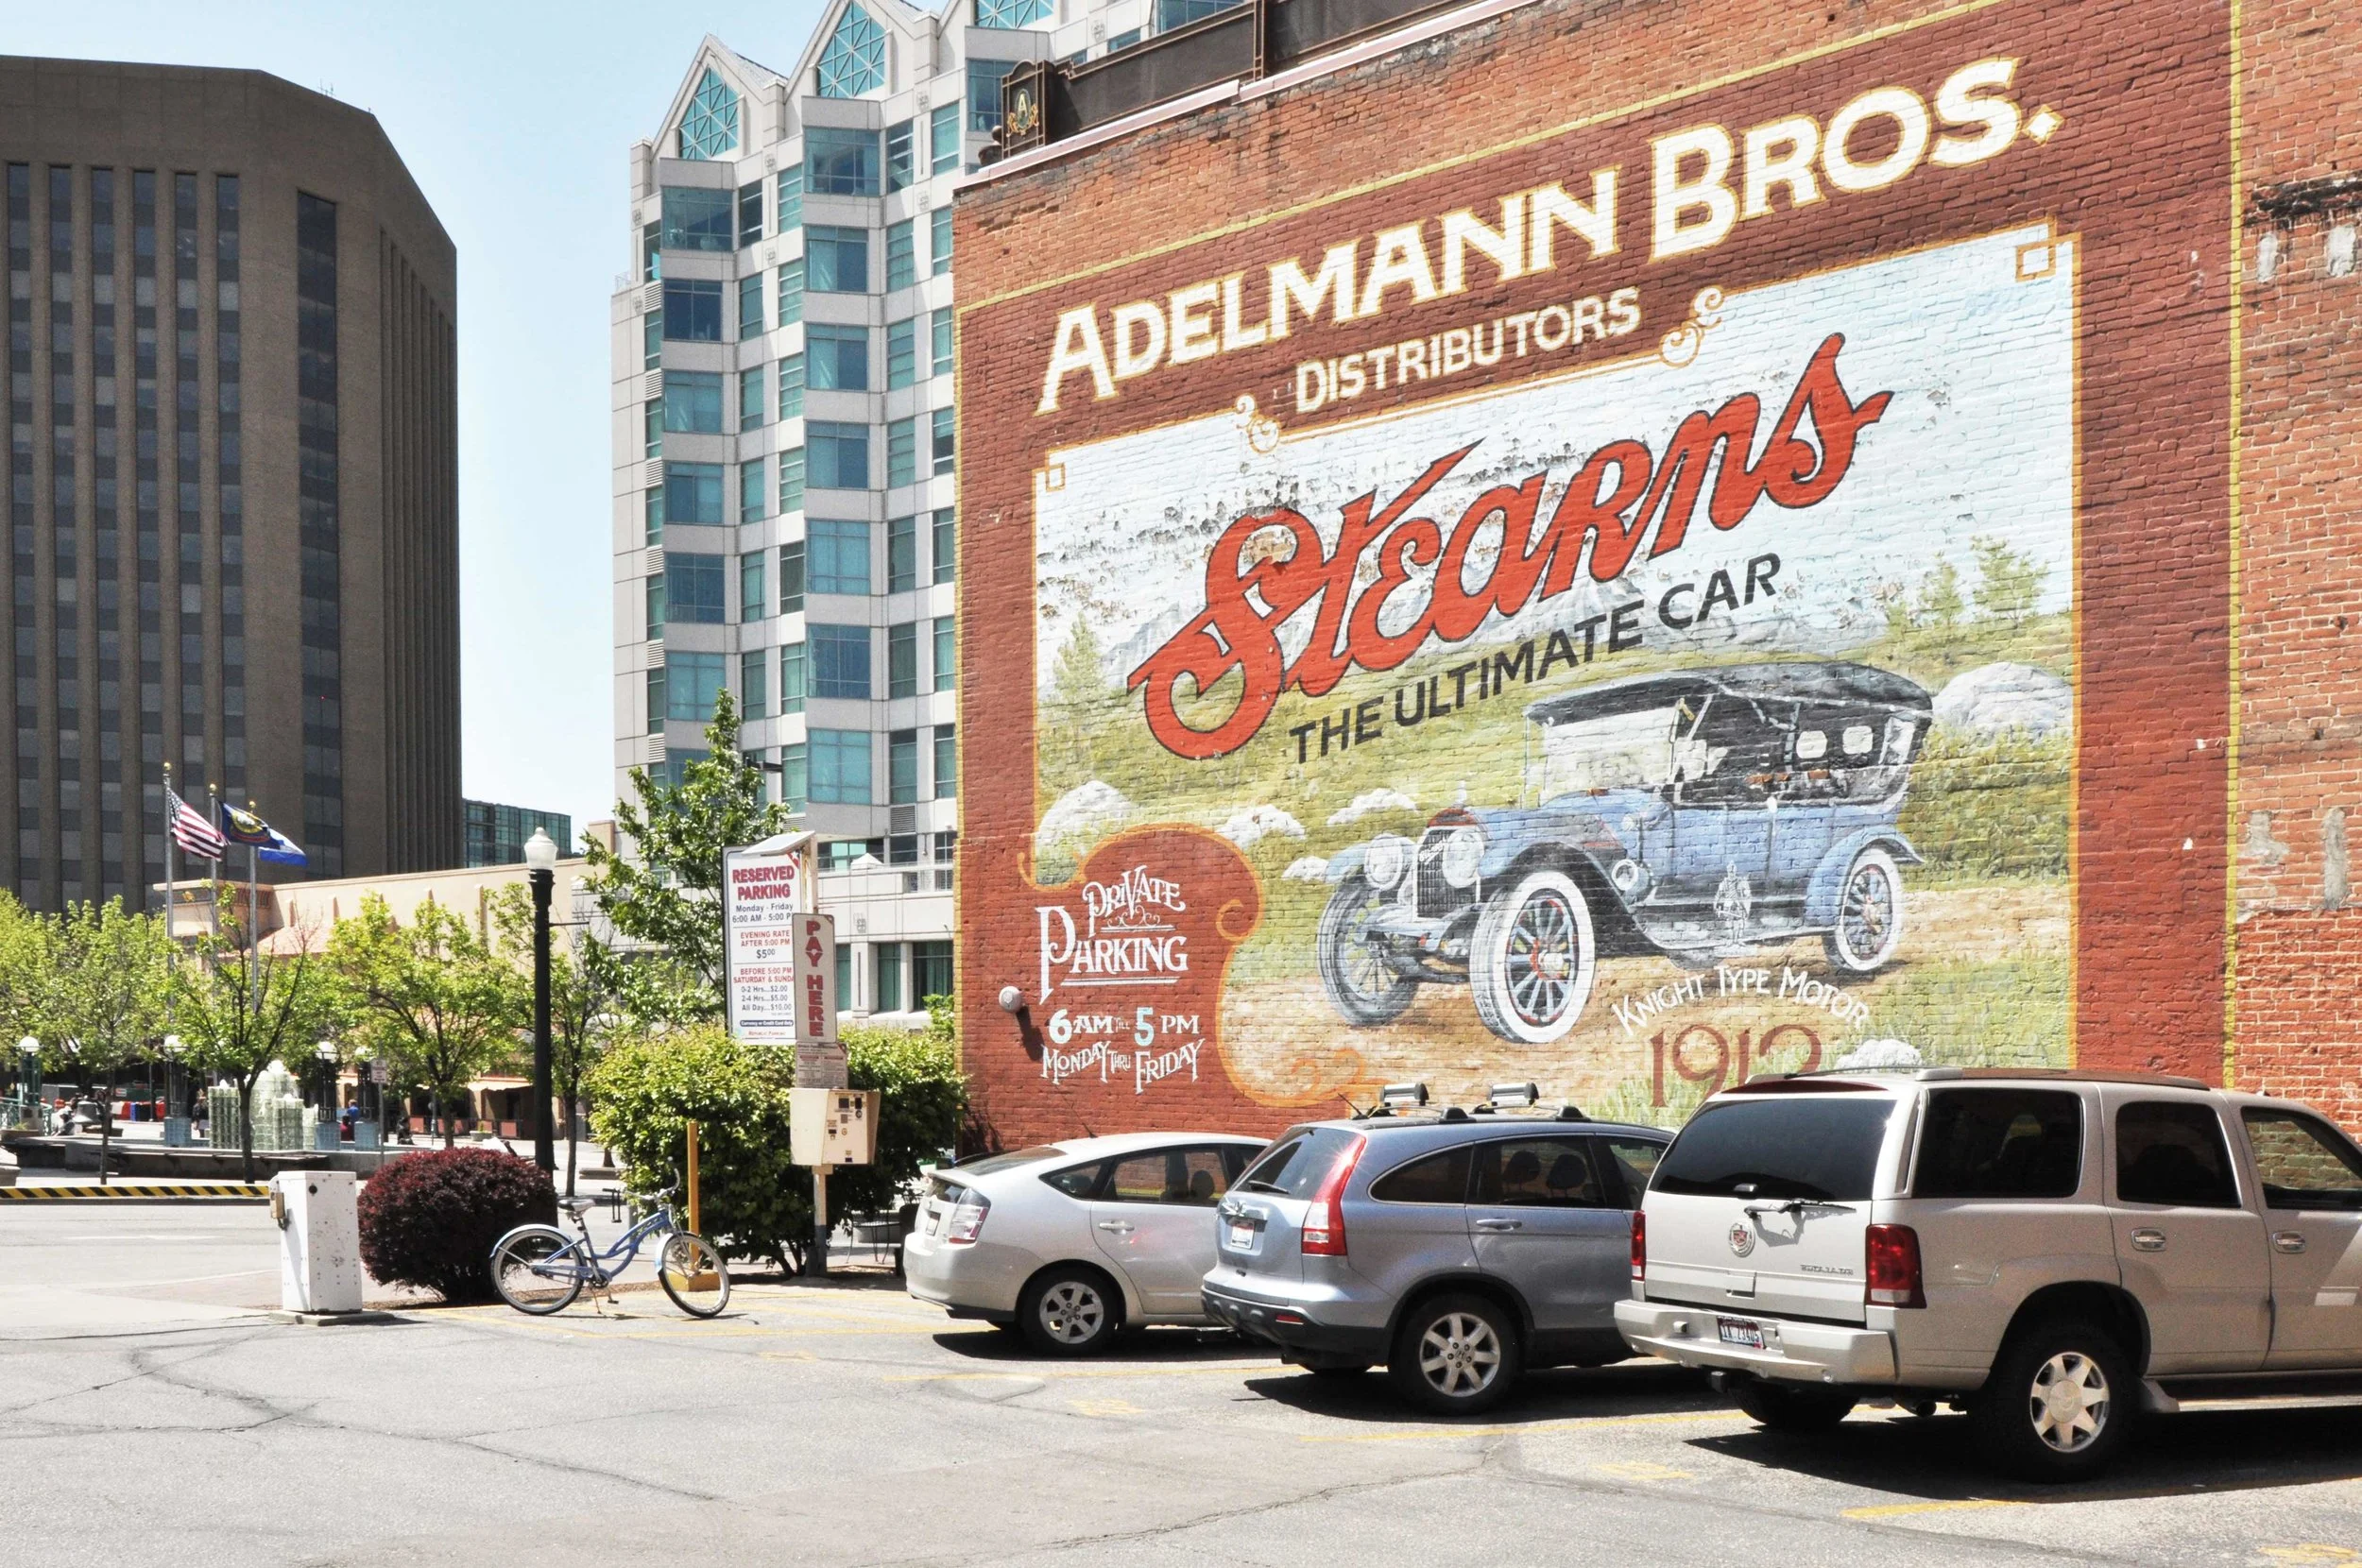


Photo Credit - Matthew Wordell
About the Instructors
Check out Noel Weber's Classic Design Studio. They do SO much more than gilding - you can see they offer workshops in gold gilding on glass (which was this class) as well as classes on neon, glass casting, and porcelain enamel (which is a workshop coming up this October for people who are interested.
David Adrian Smith is a sign writer based out of Torquay, England. He has been sign writing since he was 14 years old. When he saw some of Noel's glass gilding work, he wrote him a letter asking if he could come to America and learn his techniques. Since then, he's become one of the best-known glass gilders, doing work for high-profile clients including John Mayer for his "Born and Raised" record cover. Dave offers classes in his home studio in Torquay which are worth checking out as well. Check out his website at davidadriansmith.com.